Silhouette Studio has two different types of grid lines - both of which assist with lining up designs to match the placement of materials on the cutting mat.
The older Silhouette CAMEO cutting mat had 1 inch grid lines, but the Silhouette CAMEO 4 cutting mats (including for the 15" CAMEO 4 Plus and 24" CAMEO Pro cutting mat) have quarter inch grid lines. To best match these cut lines for cutting accuracy, you can adjust the grid in Silhouette Studio.
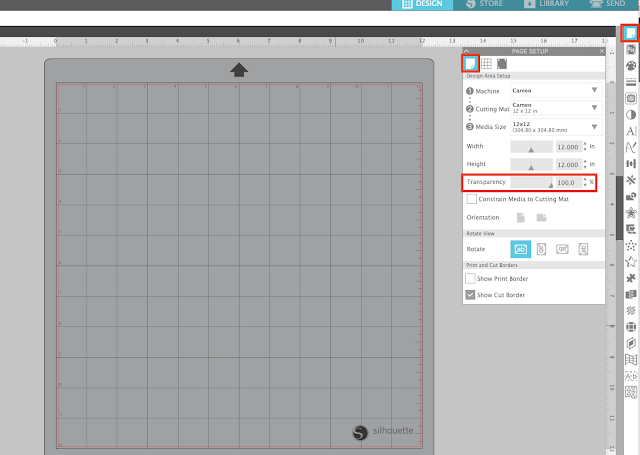
All of the grid controls are in the Page Setup panel. However, they are spread across two different tabs: the Design Area SetUp tab and the Options/Grid tab. Let's start by opening the Page Setup panel.
My work area is solid white because I have the Transparency at 0% (this is my preference when designing).
If I slide the Transparency bar to the right, it will reveal some grid lines and grid numbers. However you'll notice this grid is a 12 inch grid.
When using the grid to line up materials and designs on the virtual mat vs the CAMEO 4 cutting mat, the one inch grid isn't as accurate as it could be. It would be more helpful if you had the quarter inch grid on the virtual mat to match the actual cutting mat.
To turn on the more detailed grid you need to move to the second tab in the Page Setup panel called the Options tab. I will warn you, before you do this, I would slide the Transparency bar all the way back to 0% because as counterintuitive as it seems, the grid will not appear when you are on 100% transparency.
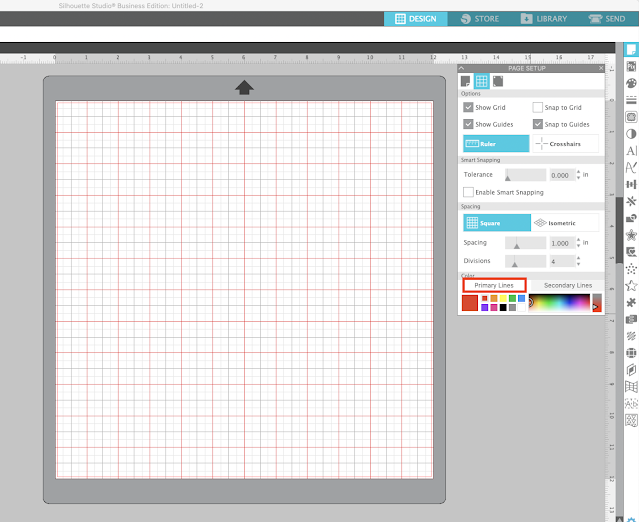
Once you're in the Options/Grid panel, check the box to "Show Grid." This can also be done at anytime using the Silhouette Studio keyboard shortcut "G".
You'll see there are now more grid lines, however each 1" box is now divided in half both vertically and horizontally. That's because the "Divisions" under Spacing is, by default, set to 2. This results in a half inch grid.
Changing the "Divisions" to 4 will divide each 1" box into 4 giving you a quarter inch grid, just like the CAMEO 4 cutting mats.
To make it easier to see the main 1" boxes you can change the Primary Line color.
Now when you click "G" to turn on and off your grid you'll have something that more closely resembles the Silhouette CAMEO 4 cutting mat.
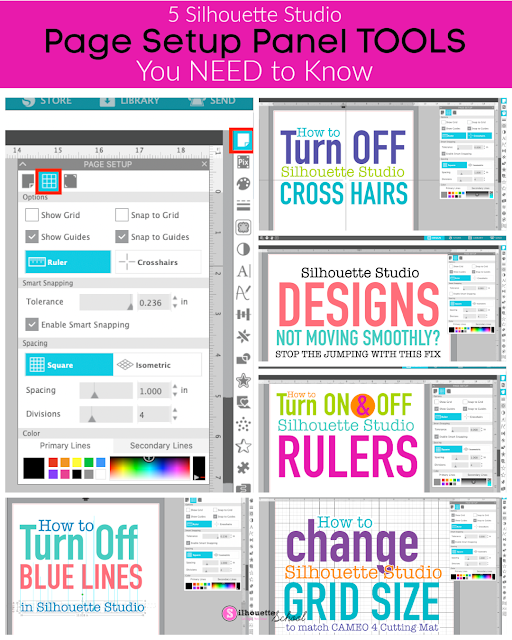
This same Options/Grid tab within the Page Setup Panel also has controls the following design area tools and features:
- How to Turn off the Blue Lines in Silhouette Studio (Smart Snapping)
- Enabling the Crosshairs in Silhouette Studio
- Turning on and Off the Silhouette Studio Rulers
- Enabling and Disabling Snap to Grid (which is what you experience when your design seems to be unable to move freely and instead jumps)
- Changing the Color of the Silhouette Studio Virtual Mat
Get Silhouette School lessons delivered to your email inbox! Select Once Daily or Weekly.


.png)


Ive had my Cameo 2 since 2015... recently the mat in the design area doesn't start at zero any longer....it starts at 0.5. I have played with the setting to get it back to zero with 1 inch spacing with 4 divisions and cant seem to get it to correct. Ive installed the newest version (4.4.920) as well.
ReplyDeleteHello there! If you go to the cog at the bottom right> click defaults> and then select cut to edge of the page, this may help.
Delete