3D layered cut files are gaining a lot of popularity with paper crafters. But if you've never used a layered 3D SVG design before it can be a little intimidating.
In this tutorial you'll learn how to convert a layered SVG into a design that really shines in these popular shadow box projects!
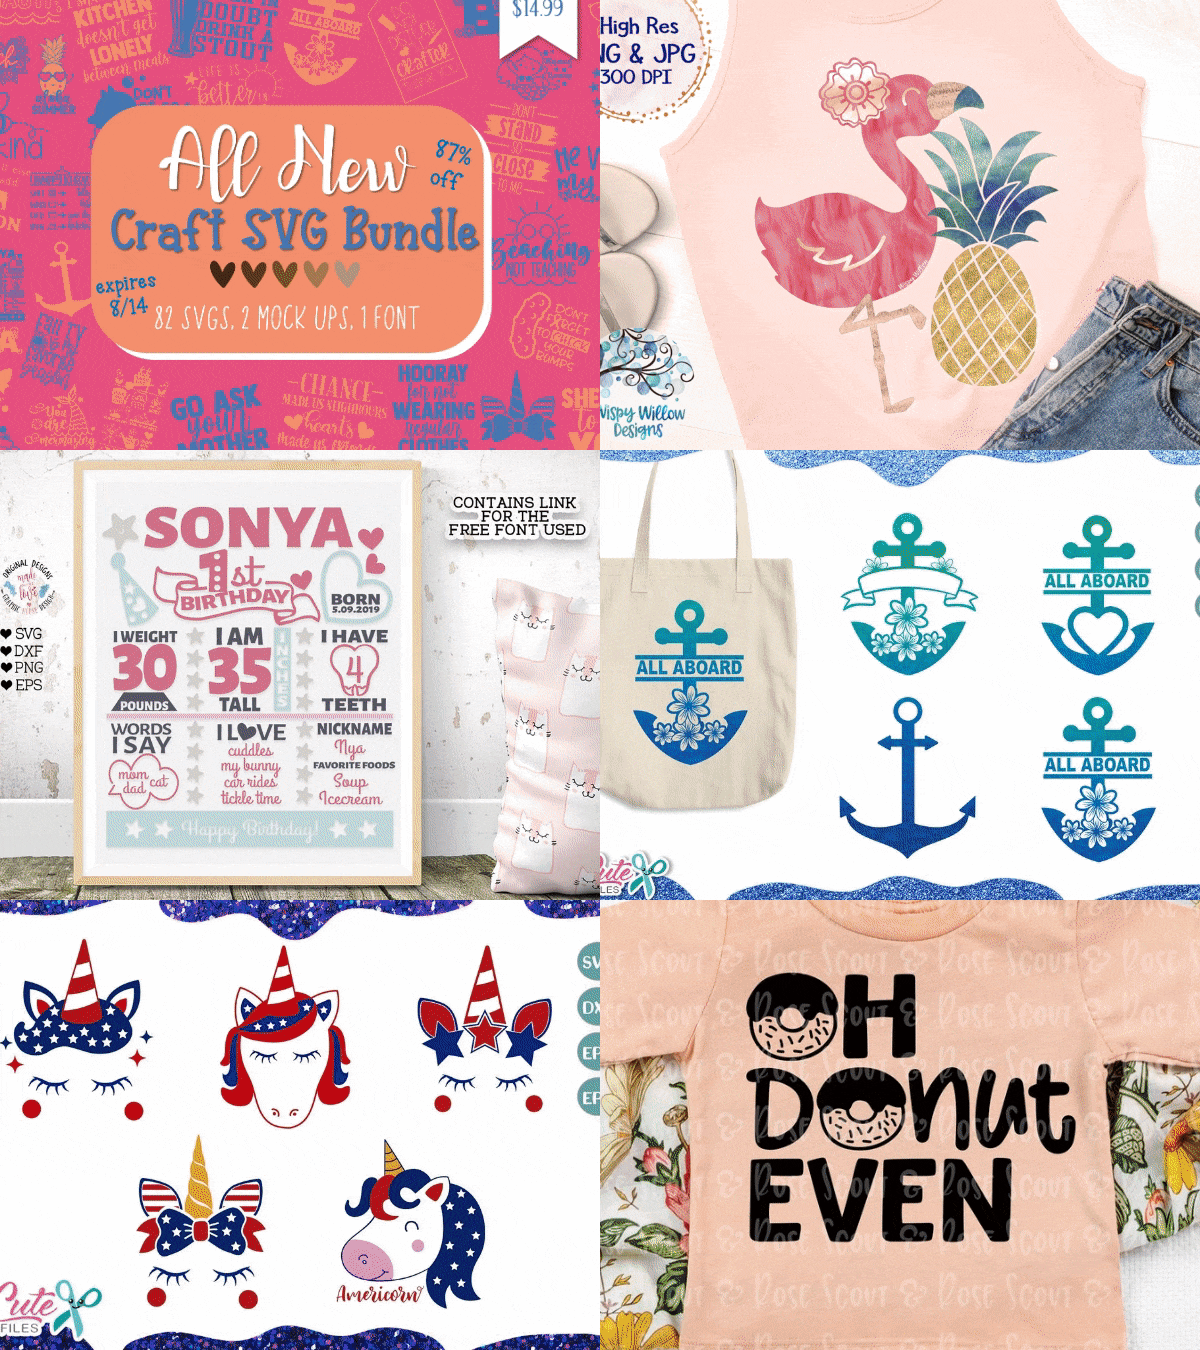
The design we're using is this adorable 3D layered owl SVG which comes from the All New Craft SVG Bundle from So Fontsy. The bundle includes 82 total designs, 2 mockups, and a font - all for 87% off! What a steal!
The design we're using is this adorable 3D layered owl SVG which comes from the All New Craft SVG Bundle from So Fontsy. The bundle includes 82 total designs, 2 mockups, and a font - all for 87% off! What a steal!
Setting Up a 3D Layered SVG Design in Silhouette Studio
When you import the layered owl SVG into Silhouette Studio, there
are a few minor changes you need to make so it'll fit into a shadow box. First, start by ungrouping and separating the different layers of the owl.
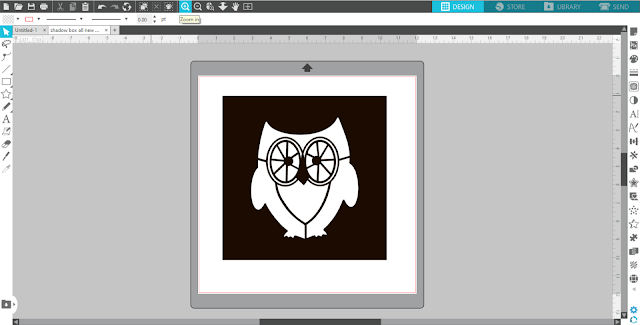
Then, take one of the layers of the owl and draw a square around it. This square should be the dimensions that will fit in your shadow box - for this project we're using a shadow box from Michael's that measures 9 x 9-inches.
Next, select both the owl and 9 x 9-inch square and click the Center icon in the top toolbar menu so that the owl we be centered perfectly inside the square.
Next, select both the owl and 9 x 9-inch square and click the Center icon in the top toolbar menu so that the owl we be centered perfectly inside the square.
Next, right-click on just the owl and select “Release Compound
Path” so you’ll have access to each shape of the owl design.
Change the fill color of the owl's shapes to white and the outline color to black so you'll be able to clearly see each and every shape. Then, select only the outermost outline of the owl and delete it.
Next, select all the shapes, including the large square, right-click and select Make Compound Path. You’ve now created one of the layers for your shadow box!
I suggest giving this layer its own distinctive fill color because you'll be making quite a few layers so a different color for each layer helps to keep them organized.
Repeat these steps with each piece of the layered owl SVG. When you
get to the last (bottom) piece of the layered owl SVG, there is only one owl shape, so you do not need to
release a compound path. Simply draw a 9 x 9-inch square around it, center it, select both the shapes, and make them a compound path.
You should now have five 9 x 9-inch squares which become the layers of the owl for your shadow box! To arrange the layers correctly in Silhouette Studio, use the Bring Forward/Send to Back icons in the top toolbar menu to reorder the different layers so you can see all of them.
To perfectly align all the different layers together, select all the layers then click the Center icon in the top menu.
Now, you could actually cut out just these 5 layers as your shadow box, but if
you want more depth to the shadow box, it's really easy to add more layers using the Offset tool.
Adding Additional Layers (Optional)
To add additional layers, select the top layer of the owl and open the Offset
panel. Click Offset and select the square corners option underneath it. You can make this offset whatever
size you like by adjusting the Distance (I used 0.090 inches). Then, click Apply and give this new offset a distinctive fill color.
Repeat this as many times as you want, making offsets off the offset. For consistency, keep the offset distance the same for each layer.
Each offset creates an additional layer to your shadow box; I created 6 additional offsets/layers for this owl shadow box project.
Now, because the Offset tool also adds an offset to the outside of the 9 x 9-inch square, the outside of these new layers will actually be larger than 9 x 9. So, you'll now need to resize just the outside square down to 9 x 9, but without making the owl shape in the center any smaller.
Just release the compound path on each of these layers and resize the square ONLY to 9x9. Recenter the owls in the square and make it a compound path again by selecting both > right click > make compound path.
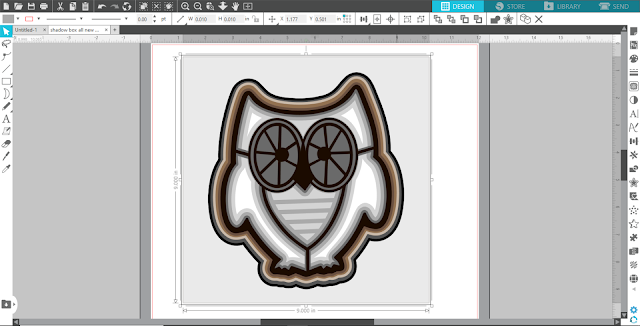
This is what the finished design looks like in Silhouette Studio with the new layers you created!
Cutting a 3D Paper Design on Silhouette CAMEO
Now, it's time to cut each layer from white 65lb cardstock. White 65lb cardstock is recommended because it's a sturdy cardstock, but still allows light to shine through. If you go much thicker with the cardstock, the light won't be able to pass through it as well which will affect the overall look of the shadow box.
For 10 tips on how to successfully cut cardstock, check out this blog post.
For 10 tips on how to successfully cut cardstock, check out this blog post.
As you cut each layer, stack them together to help keep them in the correct order. The last cut you'll need to make is a 9 x 9-inch square - this will be the bottom layer.
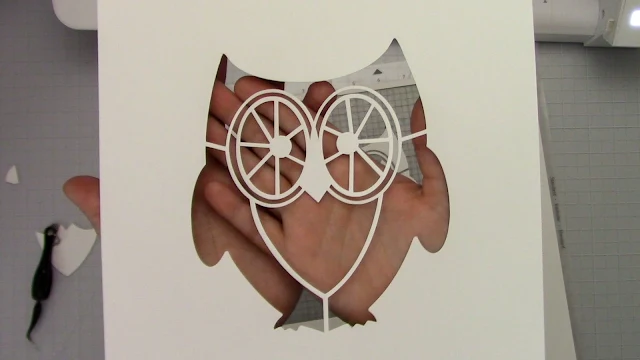
After cutting, hold the stack together and take a look at how awesome it already looks – and you haven’t even added the lights yet.
After cutting, hold the stack together and take a look at how awesome it already looks – and you haven’t even added the lights yet.
Adding Lights & Assembling the Shadow Box
The lights are quite easy to add to the shadow box. These
lights are a flat strand of LED lights with tape adhesive on the back.
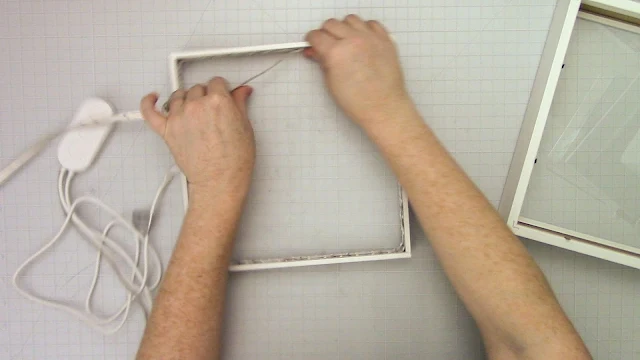
Remove the tape backing from the light strand and stick them to the inside of the shadow box.
Adhere the light strand to the inside of this wooden frame start with the end of the light strand that is connected to the cord. Begin adhering the light strand so that the cord sticks out of the wooden frame at one of the corners. Rotate the wooden frame and continue pressing the strand all around the inside of the wooden frame.
Just keep wrapping...
You want to use the entire strand of lights so that the shadow box is as bright as possible.
Then, take the backing of the shadow box and trim off a small piece of one of the corners. This is for the cord of the light strand to slip through.
Set the wooden frame and backing off to the side while you put the cardstock layers into the shadow box. Remember the back layer should be just a 9 x 9-inch square of white 65lb cardstock.
Then, put the wooden frame into the shadow box on top of the cardstock layers.
Weave the cord through the cut in the corner of the backing and press down the metal flanges on the shadow box to keep the backing on.
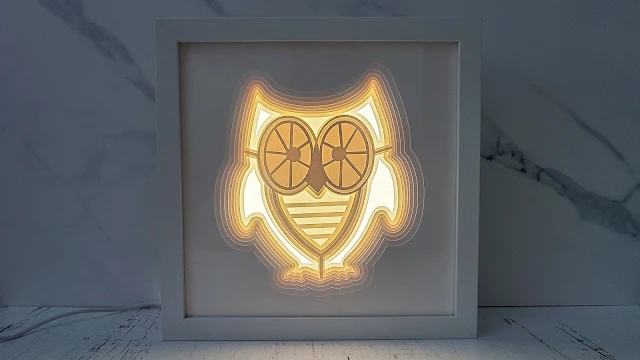
Now, all you need to do is turn on the lights and admire your work!
To make this owl shadow box yourself, grab the 3D layered owl SVG from the All New Craft SVG Bundle over at So Fontsy! The commercial use SVG designs and font in the bundle are the best newest releases all in one bundle, so you definitely want to check it out!
So Fontsy has dozens of commercial free 3D Layered SVG designs including many layered mandalas!
Note: This post may contain affiliate links. By clicking on them and purchasing products through my links, I receive a small commission. That's what helps fund Silhouette School so I can keep buying new Silhouette-related products to show you how to get the most out of your machine!
Then, put the wooden frame into the shadow box on top of the cardstock layers.
Weave the cord through the cut in the corner of the backing and press down the metal flanges on the shadow box to keep the backing on.
Now, all you need to do is turn on the lights and admire your work!

To make this owl shadow box yourself, grab the 3D layered owl SVG from the All New Craft SVG Bundle over at So Fontsy! The commercial use SVG designs and font in the bundle are the best newest releases all in one bundle, so you definitely want to check it out!
So Fontsy has dozens of commercial free 3D Layered SVG designs including many layered mandalas!
Get Silhouette School lessons delivered to your email inbox! Select Once Daily or Weekly.












.png)


Wonderful tutorial, but I cannot seem to find the lights you used. Could you tell us where you got them? Thanks!
ReplyDeleteThanks a lot for sharing! Really liked the way you made the tutorial!
ReplyDelete