Silhouette Studio Designer Edition Plus or higher will open embroidery files which means you can cut fabric applique with your Silhouette then finish the machine embroidery applique on your embroidery machine!
This Silhouette tutorial combines several other techniques - all of which we also have tutorials on. To keep the focus on how to do machine applique embroidery with Silhouette-cut fabric I have linked to the lead up tutorials in case you need a refresher at each step.
Start by saving the PES file on a thumb drive that you can later open on your embroidery machine.
How to Open Embroidery Files in Silhouette Studio
Open the same size PES embroidery file in Silhouette Studio. Remember not to change the size at all. If you're not familiar with how to open the embroidery files in Silhouette Studio, get a step by step refresher here.I am using this adorable potted cactus applique embroidery design.
Once you have your placement stitch separated and a small offset created around your design return here.
How to Cut Fabric Applique with Silhouette CAMEO 4 and Rotary Blade
The placement stitch from the PES can be used as the cut line in Silhouette Studio to cut the fabric applique with the Silhouette machine.It's easiest, fastest and you'll get the best results cutting fabric with the Silhouette CAMEO 4 and rotary blade. The rotary blade can also be used in the CAMEO Plus and upcoming Silhouette CAMEO Pro. Read a full tutorial on How to Cut Fabric with the Silhouette Rotary Blade
You can also cut fabric with older model Silhouette machines including the Silhouette CAMEO 3, but you'll need to use a stabilizer on the fabric and use a new ratchet blade or fabric blade. Read a full tutorial on How to Cut Fabric without a Rotary Blade.
How to Machine Applique Embroider with Fabric Cut on Silhouette CAMEO
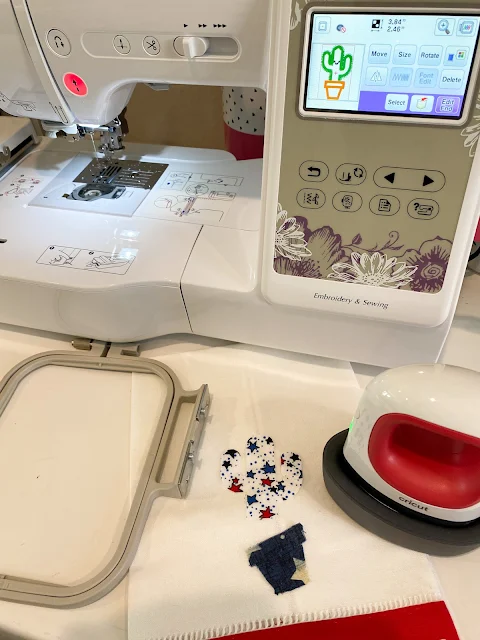
Now it's time to move to the embroidery machine. I have a Brother SE600 which is a great beginner level embroidery and sewing combo machine.Insert the thumb drive with the PES design into the sewing machine's USB port on the right side to open the embroidery design on the Brother SE600 Embroidery and Sewing machine..
Tap the touchscreen then click the Embroidery hoop button and then click the USB drive button. Find your design and tap it to select. (Read a full tutorial on how to open embroidery files without embroidery software here.)
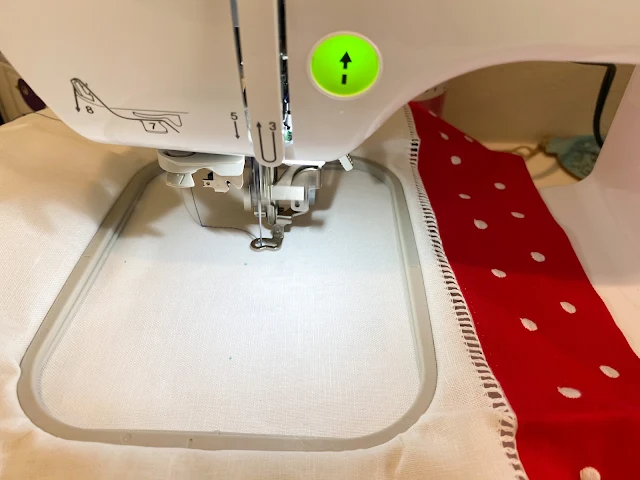
The first stitches are the placement stitch. They are used so we know where to place the fabric applique.
Stitch them out.
Once they are stitched look at the screen on the sewing machine to see which part of the design is going to stitch next.
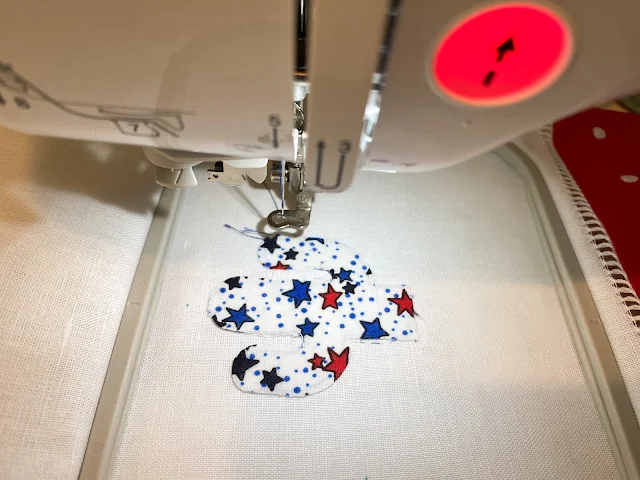
If it's the tackdown stitch for the same shape, you need to first place your fabric applique.
Raise the presser foot (red light with up arrow).
Spray the backside of your fabric applique with a light layer of spray adhesive then lay it on your hooped fabric over the placement stitch. The adhesive spray will help keep the fabric piece in place while you stitch out the tackdown stitch.
Make sure the fabric is security in place before your lower the presser foot and continue stitching.
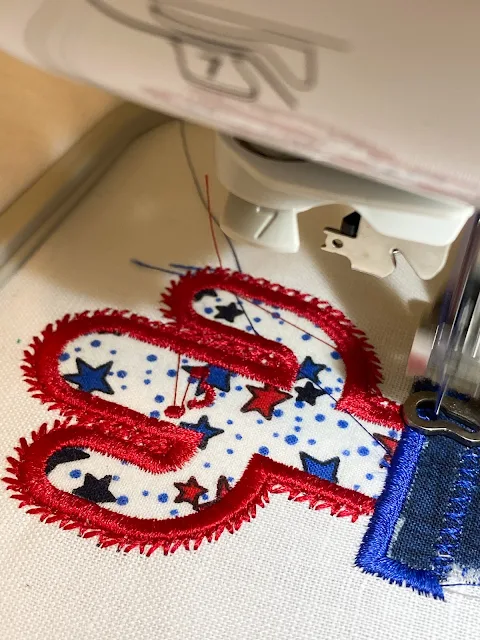
In this example, the third stitch is the placement stitch for the pot so I repeat the above steps: stitching that out then placing the fabric applique for the pot then stitching the tackdown.
Once both pieces of fabric applique are in place continue through the stitches to finish your first applique embroidery project.
If you want the satin stitches to be different colors on a single needle embroidery machine you'll need to pause between stitches to re-thread the machine.
When you're done snip all the little threads to clean up your design and pull off the tear away stabilizer on the back and you're done!
Congrats! You just completed your first machine applique embroidery project!
Note: This post may contain affiliate links. By clicking on them and purchasing products through my links, I receive a small commission. That's what helps fund Silhouette School so I can keep buying new Silhouette-related products to show you how to get the most out of your machine!
Get Silhouette School lessons delivered to your email inbox! Select Once Daily or Weekly.


.png)


Here are some of the leading brands and models in the market today. sewing machines
ReplyDeleteIF you have video for youtube how you make it, you can buy youtube views from this site https://soclikes.com/
ReplyDeleteIroning an adhesive made for appliqué on the back of the fabric before cutting will help to stabilise the fabric and stop fraying at the edges, I use Floriani Applikay Wonder when cutting out patches. One side is an iron on adhesive with a backing paper. When the paper is removed it exposes a sticky back which can be manually stuck down to the embroidery design, ironing after the embroidery is completed makes it a permanent adhesive. Cutting the fabric with the backing paper attached limits any bias stretching when removing the fabric from the sticky mat.
ReplyDeleteIf you have embroidery creation software you can import svgs and create new embroideries quickly at a precise size. If you combine with the Pixscan mat you can create embellishments for pre printed fabric that will exactly fit the pre printed designs. I use Premier+ Ultra 2 (Husqvarna Viking) and Silhouette Studio to create new designs, but this should be possible in any embroidery design programme that can import svgs at actual size. Silhouette Studio is particularly useful when designing in the hoop designs, as it is best practice to offset tack down lines and seams so that the machine does not stitch in the same place too often, no one likes bullet proof designs.
Nice
ReplyDelete