Now of course there are always exceptions, like some patterned
HTV that doesn't come on a carrier sheet that shouldn’t be mirrored, and believe it or not, there are actually some exceptions
with adhesive vinyl as well.
You need to mirror an adhesive vinyl design before cutting when it will be applied to the back of a clear item, like clear acrylic or glass. This is because the design will show through to the front and you want it to be viewed the correct way (a.k.a. not backwards).
How to Mirror Your Design in Silhouette Studio
It’s really easy to mirror your design before cutting it out. In Silhouette Studio, just right click on the design and select Flip Horizontally.
Then, send to cut, weed, and apply like normal - just remember to apply the vinyl to the back or bottom of the item.
(If you find that you’re having trouble with mirroring a design that includes wrapped text, this blog post can help.)
Why wouldn't you just apply the vinyl to the front? You certainly can and for many projects that's exactly what you want to do. But take a look at this glass cutting board with vinyl...
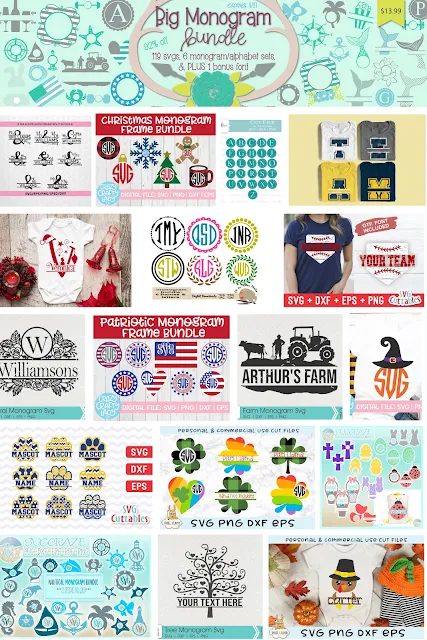
A best practice with adhesive vinyl is that it shouldn't come in contact with food. To personalize this cutting board, we just applied the Tree Monogram (cut in Oracal 651) from the Big Monogram Bundle at So Fontsy to the underside of the board. Problem solved!
A best practice with adhesive vinyl is that it shouldn't come in contact with food. To personalize this cutting board, we just applied the Tree Monogram (cut in Oracal 651) from the Big Monogram Bundle at So Fontsy to the underside of the board. Problem solved!
Now it's stunning and functional!
There are over a hundred more monogram designs and fonts in the Big Monogram Bundle, and it's now 92% off - but only for a limited time!
Below are a few more project examples we used from the bundle where you need to mirror adhesive vinyl design before cutting.
There are over a hundred more monogram designs and fonts in the Big Monogram Bundle, and it's now 92% off - but only for a limited time!
Below are a few more project examples we used from the bundle where you need to mirror adhesive vinyl design before cutting.
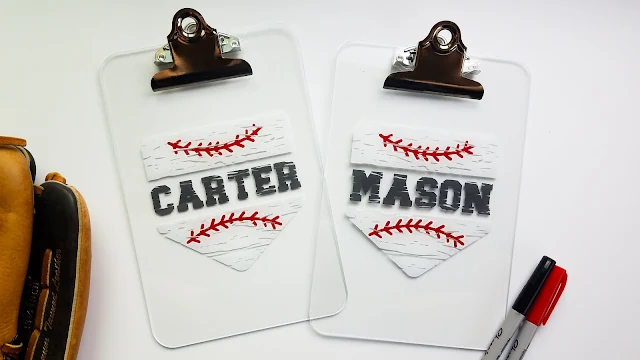
These clear clipboards were personalized with Oracal 651 and the Split Home Plate Baseball monogram (that also includes the distressed font too!). The vinyl was applied to the backside of the clipboard so that the writing surface wouldn't be bumpy.
If the design contains more than one layer, you will need to "reverse layer" your vinyl. Check out this blog post for exactly how to do that.
If the design contains more than one layer, you will need to "reverse layer" your vinyl. Check out this blog post for exactly how to do that.
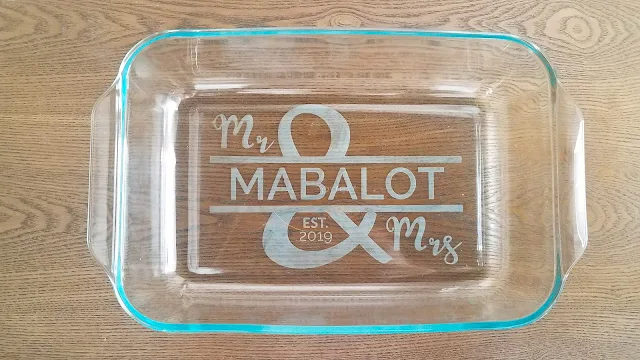
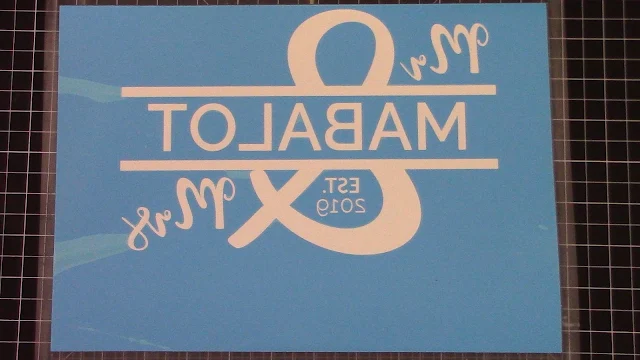
This personalized glass dish, popular housewarming, wedding, or anniversary gifts, used stencil vinyl (Oramask 813 stencil material) to etch this Mr and Mrs Split Monogram.
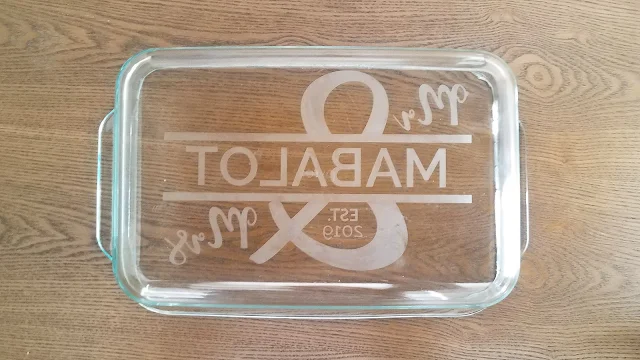
The stencil vinyl needs to be mirrored before cutting because the stencil is used on the back/bottom of this glass dish. Etched glass become more porous and stains much more easily, so that's why it's best to etch on the back of the dish where it won't come in contact with food.
The stencil vinyl needs to be mirrored before cutting because the stencil is used on the back/bottom of this glass dish. Etched glass become more porous and stains much more easily, so that's why it's best to etch on the back of the dish where it won't come in contact with food.
Remember when weeding a stencil you want to remove the "positive" pieces so you create the empty spaces where you will apply the etching cream into.
Transfer your stencil onto the back of dish and burnish really well around all the edges. Then, tape off the outside of the stencil to ensure that etching cream does not accidentally extend beyond the stencil.
For a step-by-step glass etching tutorial, check out this blog post.
For a step-by-step glass etching tutorial, check out this blog post.
Now for this last project using window cling material doesn't necessarily need to be mirrored before cutting, but there are certainly some good reasons to do so.
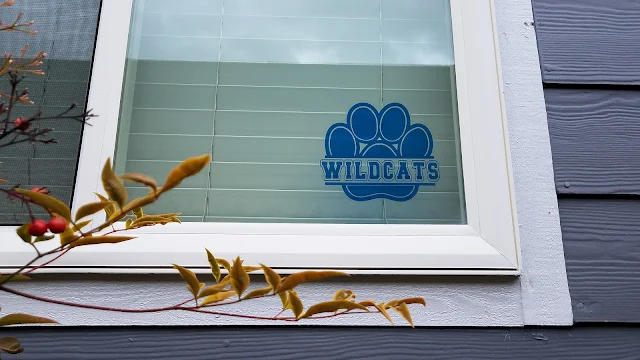
These designs were printed on Silhouette Window Cling material using the Split Patterned Paw Prints monogram in the Big Monogram Bundle. You would only mirror the design prior to printing if you wanted to adhere the window cling to the inside of the window and have it viewed the right way from the outside.
Putting a window decal on the inside of a window protects it from the elements. And it's also a perfect way to easily decorate second
floor windows for holidays or to show your team spirit!
So there are certainly many more clear acrylic and glass items you can personalize with adhesive vinyl and the Big Monogram Bundle. I mean, who doesn’t like a gift with their name on it?! Just remember that if you're adhering the vinyl to the back of it, you need to mirror the design before cutting.
Note: This post may contain affiliate links. By clicking on them and purchasing products through my links, I receive a small commission. That's what helps fund Silhouette School so I can keep buying new Silhouette-related products to show you how to get the most out of your machine!
Note: This post may contain affiliate links. By clicking on them and purchasing products through my links, I receive a small commission. That's what helps fund Silhouette School so I can keep buying new Silhouette-related products to show you how to get the most out of your machine!
Get Silhouette School lessons delivered to your email inbox! Select Once Daily or Weekly.







.png)


I actually tried this a few months ago for a project I was working on. When I mirrored the Oracal 651 to put on glass, you could see the adhesive goop (for lack of a better word lol). Did I miss a step or is there a way to not see that? I ended up putting on the glass and not mirroring and adding additional sheet of glass on top. Any suggestions would be appreciated. Thanks!
ReplyDelete