Before you start using Silhouette printable shrinky dink sheets you want to make sure you have a solid understanding of the how to print and cut. If you need a refresher, this beginner Silhouette Print and Cut tutorial will catch you up.
Any designs can be used with printable shrink plastic sheets and you can make them any size. Just keep in mind, the images you cut from the shrink plastic sheets will reduce to about 30% of their original size.
For the Easter charm bracelet I am using a few of the designs from So Fontsy's March Bundle which has 147 cut and 13 fonts and it's 94% off right now! The leopard print Shamrock design I used for the pin is from the same bundle. If you want to grab the whole bundle hurry up - it's only available till the end of March 2020.
Sizing and Coloring Designs for Silhouette Shrinky Dinks
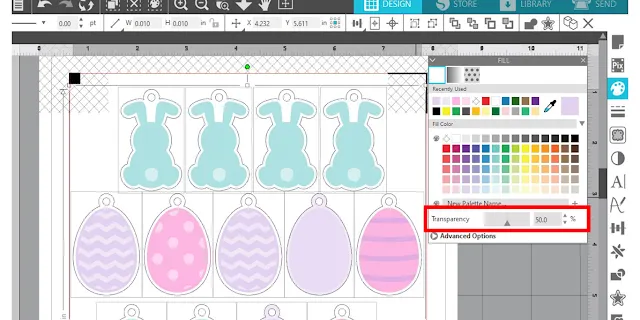
The Easter SVG designs came into Silhouette Studio in full color. If you need to add color or change the colors in a design you can do so using the Fill Color tool from along the right sidebar.The color will also darken as well. To account for this, adjust the transparency of the original images to about 50%. This way you can achieve about the same color as the original size once it shrinks.
Adding a Hole to a Design to Make Charms on Silhouette CAMEO
You'll also need to add a hole to the design to turn it into a charm so you can hang it from the bracelet.
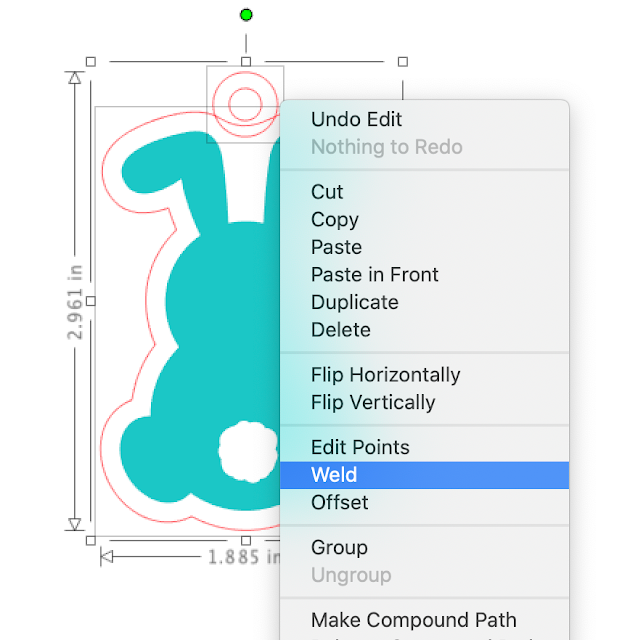
Open the Offset panel on the right sidebar and start by creating a small offset around the image. (Red)
Tip: Double click the offset shape to access the edit points and delete the edit point that's deep between the ears of the bunny. (Blue)
From the Flexishapes tool on the left sidebar, select the donut shape. (You can also draw two circles, one smaller circle inside a larger circle. Turn those two circles into a compound path which creates a little "donut.")
Move the donut shape so it's partially touching the offset around the design. Select both the shape's offset and the donut (but not the original shape aka bunny) > right click "Weld."
Lastly, group all the pieces together.
How to Print and Cut Printable Shrink Sheets with Silhouette
From the Page Setup Panel make sure the material size is Current Printer or Printer. Check the box to Show Print Border.Add registration marks to your page and arrange the designs in the safe print and cut area.
The clear shrink plastic has a Silhouette-branded liner attached to the back. Make sure it's in your printer correctly so you are printing on the correct side (the plain side) of the Silhouette clear shrink plastic. You can print on either side of the white Shrinky Dink shrink plastic.
From Silhouette Studio go to File > Print. In the printer settings you may want to change the material type to matte photo paper.
After the shrink sheet has printed it's times to cut.
Silhouette Cut Settings for Printable Shrink Sheets
Place the full printed sheet on your cutting mat and load into your Silhouette machine.The default Shrink Plastic cut settings in Silhouette Studio did not work for me. I found it cut too deeply and the blade was dragging and getting stuck. After some trial and error, this is what worked best for me:
Blade 4
Force 30
Speed 3
2 passes
Once cut, to remove the cut pieces, the easiest way I found to do it was to flip the entire sheet over and fold it back until a small part of one of the pieces separated.
Then, hold that piece down on your workspace and peel the excess away. Work gently though because you can rip the plastic if you pull too hard.
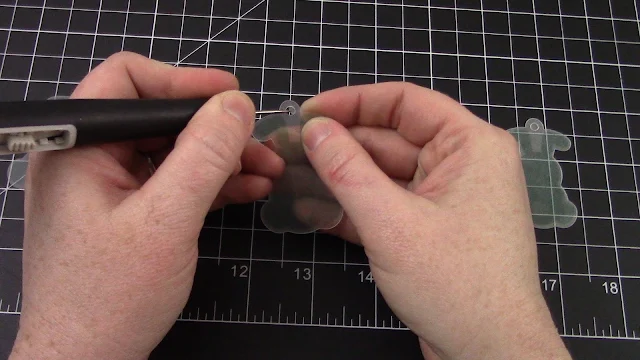
If the small circle for the hole is still attached, you can poke it out with a thin poking tool.
How to Bake Silhouette Printable Shrink Sheets
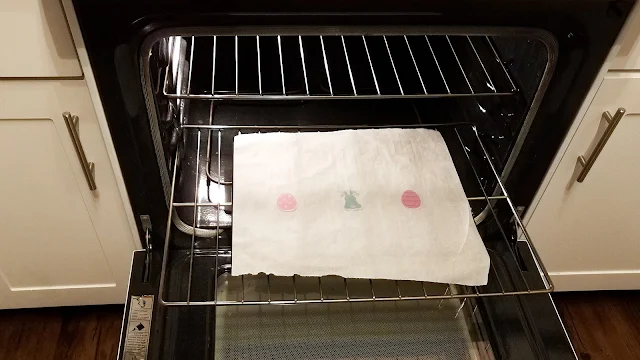
Preheat your oven to 325 degrees. Line a cookie sheet with parchment paper and arrange the pieces with the printed side up. Make sure there's a fair amount of space between the pieces. I found it easiest to do about 3 or 4 at a time.Once the oven has completely preheated, bake the pieces and watch them closely as they bake. As they shrink, they’ll start to curl up, but that’s okay. Keep baking until they flatten out. Then bake for an additional 30 seconds. I found I baked them for about 3 minutes.
Next, carefully take them out of the oven and use a flat object to gently press the pieces flat until cool (about 5 seconds or so).
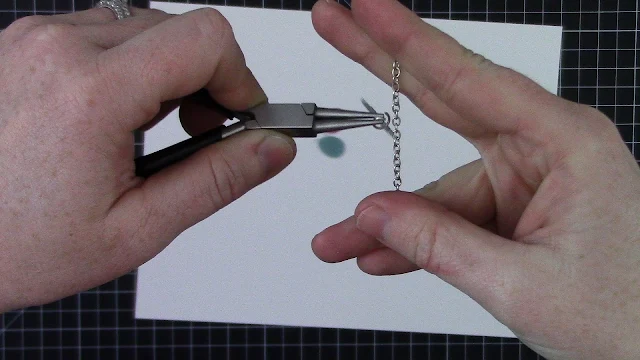
To assemble the bracelet, open a jewelry jump ring and slide one end through the hole in one of the charms.
Then, put the jump ring through one of the
links in the bracelet chain and close it.
I mean how cute is this charm bracelet!
To make the pins, print the shamrock images on white shrink plastic. Bake and flatten the same way as the charms.
Then, glue a pin mechanism to the back. You can also add a glossy finish to them with epoxy or resin if you want.
Need more Silhouette kids craft ideas? I've got plenty more!
Note: This post may contain affiliate links. By clicking on them and purchasing products through my links, I receive a small commission. That's what helps fund Silhouette School so I can keep buying new Silhouette-related products to show you how to get the most out of your machine!
Get Silhouette School lessons delivered to your email inbox! Select Once Daily or Weekly.












.png)


What printer can you use to print on the shrink film? My Epson won't even print on overhead transparencies--just typing paper and photo paper.
ReplyDeleteI have a Canon printer and it prints on the shrink plastic sheets - I use the photo paper matte settings to print :)
Delete