If you're like me and you hate painting but you have multi-color designs you need to put onto wood which would require a lot of layers of HTV - use printable inkjet instead! The process is as simple as print then press.
Start in a Silhouette Studio work area and open the Page Setup panel.
Adjust the material size to Printer (or Current Printer if you are using a pre-V4.3 version of the software). I would recommend changing the orientation to Portrait.
Check the box for Show Print Border.
Now merge in or drag and drop your designs into the same work space, if you haven't done so already.
All of the designs I am using are from So Fontsy's Bundle of Bundles 2.0. There are a 660 designs to pick from in the limited time $29.99 bundle. I went with some holiday designs since it's that time of year.
The only thing I needed to do was size the designs to fit on my wood ornaments and then mirror each of the designs. You can use this free Wood Ornament Template to help size your designs the perfect size!
If you want to change the colors in any of the designs you can ungroup the design and select a new color from the Fill Color panel or Quick Access Toolbar.
You don't need registration marks with Starcraft Printable Heat Transfer for lights. I would recommend, though, that you leave some space between your designs so you can cut them apart. It's best if the entire piece of wood is covered with the printable sheet. If it's not there could be a slight color difference on the wood that was not covered by the printable transfer sheet.
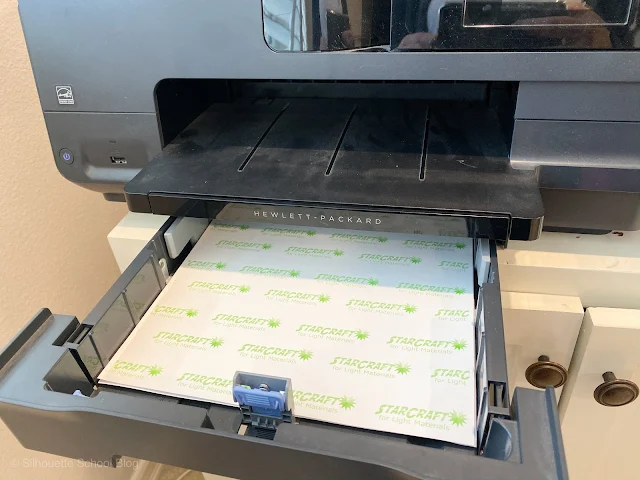
Put a sheet of the Starcraft Inkjet Printable for Lights into your printer. I use an HP Officejet.
From Silhouette Studio click the Print tool from along the top tool bar. I would suggest you change your print settings to reduce the amount of ink that is laid down. If you pick a material type like glossy paper or glossy photo paper your printer will use less ink. Less ink means it's less likely to bleed into the grain of the wood and you'll get a more crisp print onto your wood.
Now just send the designs to print.
When the printing is done you can cut them apart with scissors. You do not need to use your Silhouette machine at all for this. The areas without ink will not transfer when pressed.
Make sure your heat press is warmed up to 375 and set to light to medium pressure.
Take one of the transfers and center it on your piece of wood. I am using these natural wood ornaments. Place the wood piece or pieces if you are brave enough to do several at a time on your heat press with the transfer on top.
The top platen of the press needs to press directly onto the inkjet printable transfer.
Close the press and apply heat and pressure for about 15 seconds. Open the press and immediately remove the transfer sheet.
Do not let the transfer sheet cool at all or you'll have a mess. You'll be able to peel up the sheet, leaving the ink behind on the piece of wood.
These come together so fast! You can use them as Christmas ornaments or gift tags!
Note: This post may contain affiliate links. By clicking on them and purchasing products through my links, I receive a small commission. That's what helps fund Silhouette School so I can keep buying new Silhouette-related products to show you how to get the most out of your machine!
Get Silhouette School lessons delivered to your email inbox! Select Once Daily or Weekly.


.png)


Has anyone tried this same process on the tiles for coasters? Wondered how the inkjet printable designs would transfer to tiles and if it would be waterproof.
ReplyDeleteIt may transfer to an unglazed tile, but would probably not be waterproof. I would suggest epoxy over it to seal for waterproofing.
DeleteHello..I am trying this with a cricut easy press. I also have the starcraft paper for light materials. It seems only part of the design is transferring and the rest is coming out blotchy. Like a rough, almost washed out look left behind on both the wooden ornament and the transfer sheet. Any suggestions? I tried increasing time an pressure but similar result.
ReplyDeleteHi there! It could be uneven pressure rather than not enough. Also make sure that you're as still as possible while pressing, it could be smudging.
DeleteHas anyone tried this with photos? Also, I don't have StarCraft - I do have JetPro for light fabrics. When I've tried it so far, eh, results are light and textured. I am using a heat press.
ReplyDeleteSorry if this sounds stupid, I'm a beginner and was wondering if you could do this on the ceramic ones as well as wood
ReplyDeleteUnfortunately, I assume it would smear rather than be imparted into the material.
Delete