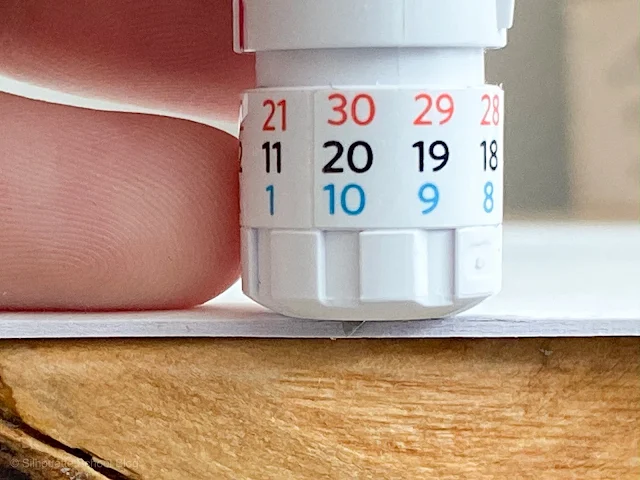
Unfortunately the 2mm and 3mm Kraft blades were released prior to when the cut settings, for the large majority of the materials they can cut, are available in the Silhouette Studio software.
I have done a whole lot test cutting on a wide assortment of materials...and am going to share my biggest tip for finding the best blade depth for materials. Or at least to give you a good place to start!
Knowing how to zero in on the best Silhouette cut settings to start with will reduce the amount of test cutting you need to do and also reduce the amount of material you waste on bad cuts.
What Do Silhouette Blade Depths Actually Mean?
The 2mm and 3mm blades are intended for thick, dense materials. The 2mm Kraft Blade has blade settings of 1-20. A blade setting of 1 would be 0.1 mm, 10 would be 1.0 mm and 20 is 2.0 mm. Same goes for the 3mm blade with a blade depth of 30 being 3mm.It's also important to understand that the Kraft blades work like an Xacto knife with the tip being very fine to reduce drag. It's so sharp though that it can get stuck in the cutting mat if the blade depth is too deep.
If you have a 2mm thick material you don't want to try to cut it on a blade depth of 20 because the tip of the blade may hit the mat and cause you cutting problem. Instead you want to have a slightly lower blade depth. Keep in mind force will also play into this by pressing the blade depth into the material - that's why it's okay (and actually ideal) to have a blade depth that is less than thickness of the material itself.
Finding the Best Blade Depth for 2mm or 3mm Silhouette Kraft Blade
Let's take this genuine Cricut leather, for example. Each sheet is 1.6mm which gives me an idea that I should set the blade depth around 16 to cut all the way through it. Some products will tell you exactly how thick they are in the product description. If you don't have this information, however, hold the blade up to the edge of the material and literally twist the blade until the tip is even with the edge.
Once you know the blade depth that would cut through the material, subtract about 2 or 3 blade depths - and that's the blade depth you want to START cutting on. Always start with a slow speed of 1 or 2.
Finally, you need to figure out the force. That's the trickiest one. Keep in mind any material you need a kraft blade to cut is going to be thick. Softer materials like craft foam and balsa wood can handle strong force on every pass.
But dense materials like chipboard and leather - cut best with 3mm kraft blade - need to essentially be scored first, on a low force like 4, with each additional pass increasing the force slightly until cut through. You can follow this Silhouette School tutorial to learn how to set up varying force passes for the 3mm Kraft Blade.
Understanding how to find cut settings is also important because, while I could tell you what cut settings I used for balsa wood, unless you get the exact same thickness and brand of of balsa wood, my settings may not work for you.
Note: This post may contain affiliate links. By clicking on them and purchasing products through my links, I receive a small commission. That's what helps fund Silhouette School so I can keep buying new Silhouette-related products to show you how to get the most out of your machine!
Get Silhouette School lessons delivered to your email inbox! Select Once Daily or Weekly.


.png)


I am wanting to design my own shapes for cutting. Gingko leaves, snowflakes, logos. How easy is it to do this with the Silhouette software? Do they have a feature that allows flipping the image over and pasting it to the original, to make a symmetrical design?
ReplyDelete