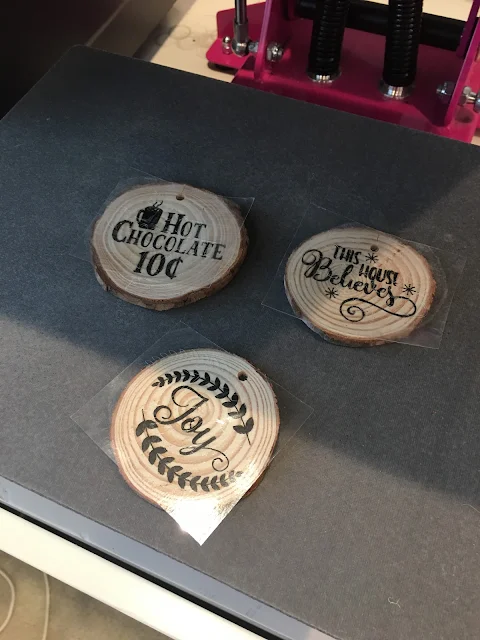
You can actually heat press directly onto wood - including wood slices. The great thing about putting heat transfer vinyl on wood slices is you can use your heat press!
The trick is to make sure the wood slices are pretty thin and your heat press pressure knob is pretty loose.
Start by grabbing a pack of wood rounds. I bought a 30 pack of 2-2.5" wood rounds on Amazon. These are great because they are pre-sanded and come with a pre drilled hole for the included jute rope.
Create your designs in Silhouette Studio - remembering to mirror the design. I am using four designs from a mini Farmhouse Christmas set in So Fontsy's September Bundle.
You'll also want to make sure your designs are sized to fit on the wood slices. Not all of the wood slices are the same size or shape so just keep that in mind.
The great thing about this Silhouette HTV project is you can cut a bunch of designs at the same time and then cut them apart and press onto the wood slices simultaneously. Make sure you put a little space between your designs so you have room to cut them apart.
Cut the HTV with your Silhouette CAMEO and then weed the vinyl like your normally would.
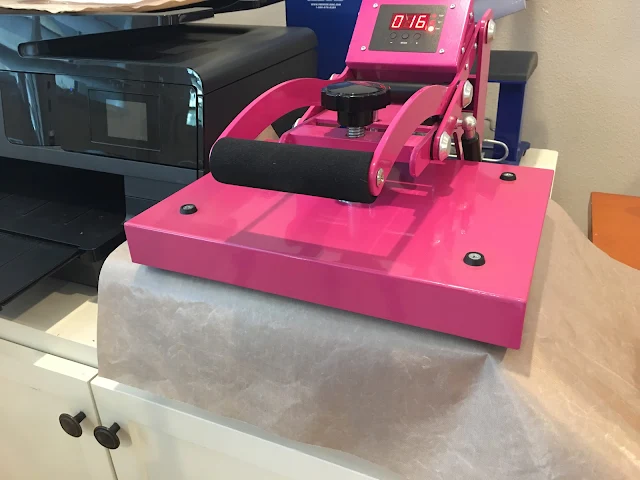
Warm up your heat press to 305 degrees. I am using my pink 9x12 Craft Press.
Cut apart the designs and find wood slices that fit each. Lay the heat transfer vinyl designs down onto wood.
When the heat press has come up to temperature, loosen the pressure knob so the top platen has a little wiggle to it.
Place as many wood slices with HTV that will fit onto the bottom platen. Cover with a teflon sheet.
Remove the carrier sheet from each wood slice.
Loop a piece of the jute twine or ribbon through the hole and tie off.
That's it!! I think the custom wood slices with HTV would be perfect as:
- Gift Tags
- Christmas Ornaments
- Wine bottle charms
- Favors for a rustic wedding
- Thanksgiving table place settings
Note: This post may contain affiliate links. By clicking on them and purchasing products through my links, I receive a small commission. That's what helps fund Silhouette School so I can keep buying new Silhouette-related products to show you how to get the most out of your machine!
Get Silhouette School lessons delivered to your email inbox! Select Once Daily or Weekly.


.png)


I have been doing this for sometime now and after I pressed them I stained them or added some burnt umber oil paint around the design to give it a wood burned look
ReplyDeleteGreat post man thanks for sharing this useful information. All photos are beautiful clicks.
ReplyDeleteMobile repairing in Delhi
Where can I find the Font that you used for your single letters? I love that look!!!!
ReplyDelete