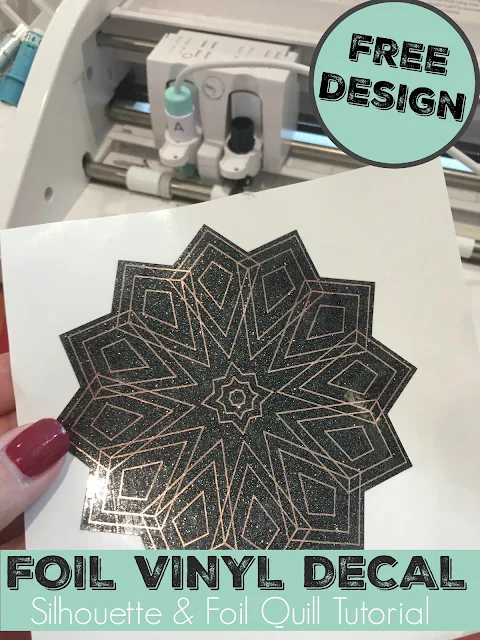
In this tutorial I will show you exactly how to add foil to a vinyl decal AND make sure it doesn't rub off!
Using the Foil Quill to add foil to vinyl is actually the second step in the process, which make this Part 2 of the Making Foil and Vinyl Decals tutorial. The first part of this Silhouette project is to set up the design in Silhouette Studio. The process of How to Set Up a Foil and Cut in Silhouette Studio with Foil Quill is explained in this tutorial. It also includes the free designs you can download to follow along!
Now that you have your design set up, let's move on to actually foiling and cutting this vinyl decal!
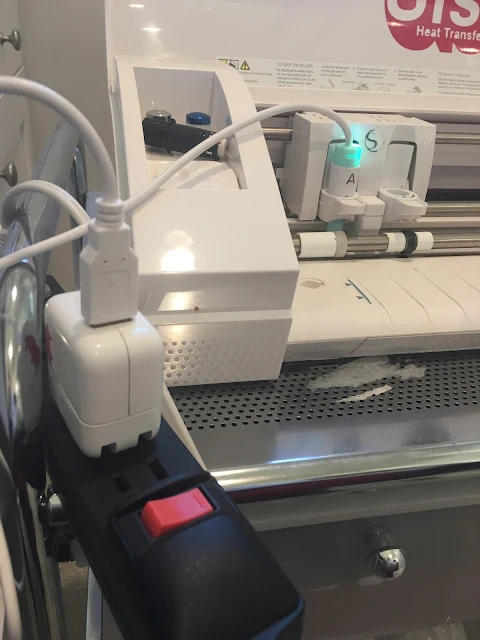
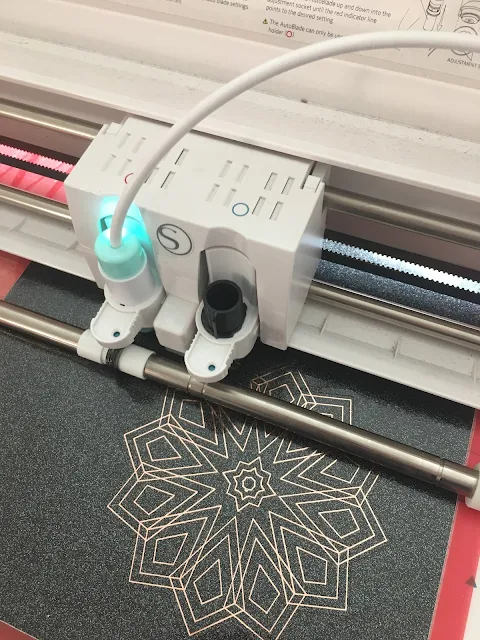
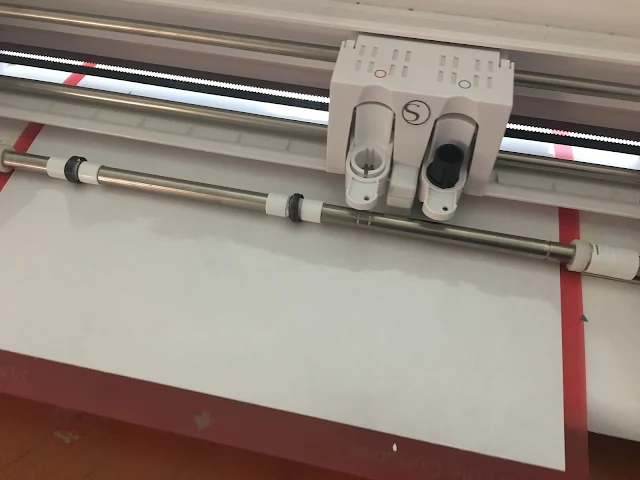
Start by placing the Foil Quill (the tip size is up to you) with the Silhouette adapter on, in the left tool carriage of the Silhouette CAMEO 3. Plug the USB into an outlet - NOT the USB port on the Silhouette machine. Let it heat up for about 5 minutes.
Adjust the Silhouette Ratchet Blade to the recommended blade depth of 1 for glossy vinyl and place it in the blue/right tool carriage.
Working on a flat surface, put a sheet of adhesive vinyl on your Silhouette cutting mat. Make sure there are no wrinkles and that it's stuck down really well.
I am using this black glitter adhesive vinyl from Swing Design.
Take a piece of foil and place it over the vinyl in the same area where the design is in the Silhouette Studio work area. Be sure the foil covers that entire area to be foiled.
Use the tape that came with your Foil Quill Kit or washi tape to tape down all four sides of the foil. Pull each side taunt as you tape making the foil as flat and tight as possible. It's easiest to do this if you put half of the strip of tape on the foil first then pull out and tape down onto the vinyl.
Load the cutting mat into the Silhouette CAMEO 3.
Return to Silhouette Studio and from the Send panel click "Send". The machine will first use the Foil Quill to foil the red cut lines.
Since you added a pause, it will then pause before the cutting begins. During this pause remove the foil from the vinyl BUT DO NOT REMOVE THE CUTTING MAT FROM THE MACHINE.
Resume with cutting after the foil is removed. The ratchet blade will ONLY cut through the outer edge of the vinyl decal.
Once the foil and cut are complete, you can remove the cutting mat.
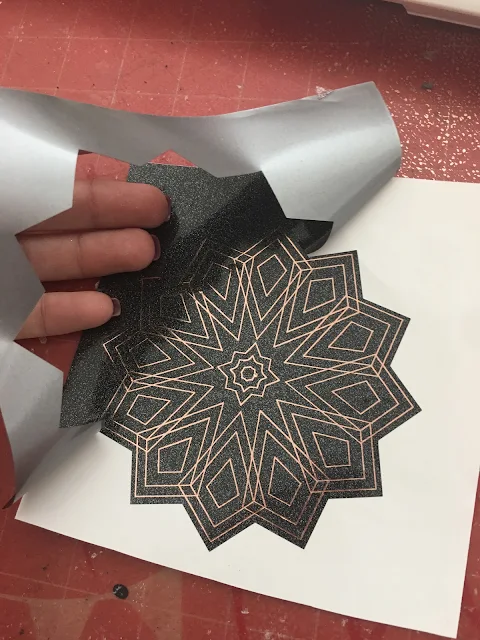
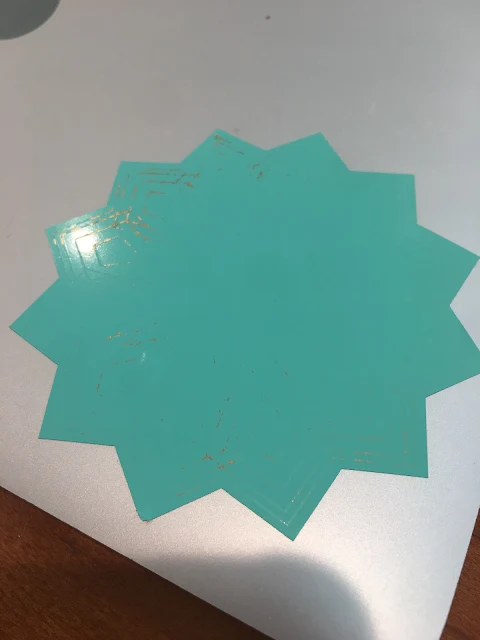
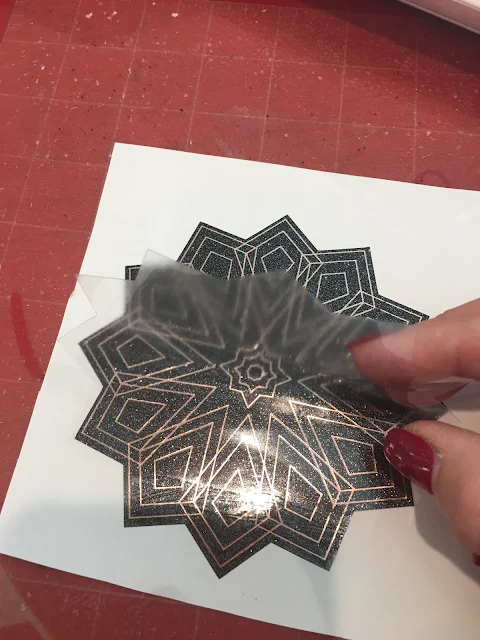
You're not done yet. The foil will eventually rub off the vinyl if it's not protected. So you need to cover it with transparent vinyl.
Place a sheet of transparent Oracal 651, 641 or 631 on your Silhouette cutting mat and load into the Silhouette machine.
In Silhouette Studio grab ONLY the blue cut line and remove or turn off all red internal cut lines. Do not resize the blue shape. Cut this same design on the clear transparent vinyl.
Vinyl Decal with Foil Supply List
Note: This post may contain affiliate links. By clicking on them and purchasing products through my links, I receive a small commission. That's what helps fund Silhouette School so I can keep buying new Silhouette-related products to show you how to get the most out of your machine!
Get Silhouette School lessons delivered to your email inbox! Select Once Daily or Weekly.







.png)


No comments
Thanks for leaving a comment! We get several hundred comments a day. While we appreciate every single one of them it's nearly impossible to respond back to all of them, all the time. So... if you could help me by treating these comments like a forum where readers help readers.
In addition, don't forget to look for specific answers by using the Search Box on the blog. If you're still not having any luck, feel free to email me with your question.