Since then I've been asked quite often how to finish the faux leather earrings. Today I'm going to share a full start to finish leather earring tutorial including all the supplies you need.
Faux Leather Earring Supplies
Setting Up Earring Designs in Silhouette Studio
You want to start by either creating your earring designs or finding leather earring templates. If you're just starting out I'd definitely recommend using some leather earring templates specifically designed for Silhouette. There are lots of options on our sister site So Fontsy.Open the designs in Silhouette Studio. Size the earring designs to your liking.
For each earring you will need both a front and back. These will be put together so you don't see the back of the faux leather sheets while wearing the earrings.
Select the design > right click > Duplicate. Select the duplicate > right click > Flip Horizontally.
Now for each set of earrings you should have four shapes: a front and back for each earring.
Cutting Faux Leather Sheets with Silhouette
Open the Send panel. Hopefully you created a custom material cut setting for faux leather, which you can pick from the material list. If you did not, the best Silhouette cut settings for Cricut brand faux leather sheets are:Put your faux leather sheet on a Silhouette cutting mat and load it into your Silhouette CAMEO or Portrait.
Send the designs to cut.
Assembling Faux Leather Earrings
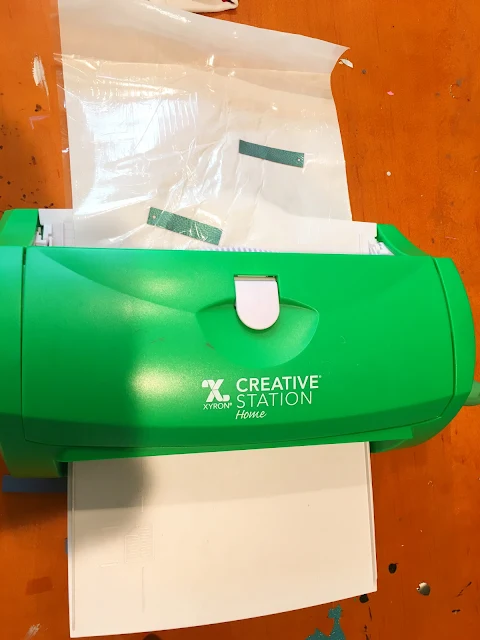
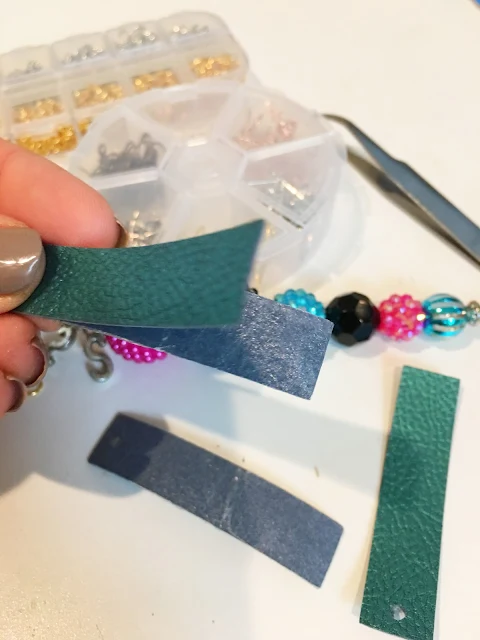
Run two (not all four) earring shapes through a Xyron machine to put a thin layer of adhesive on the back.Take a front and a back leather piece and sandwich them together carefully lining up the edges and holes.
Now you should have two leather earrings.
If you want to add any additional detailing like heat transfer vinyl on the leather, do it now.
Finishing Faux Leather Earrings
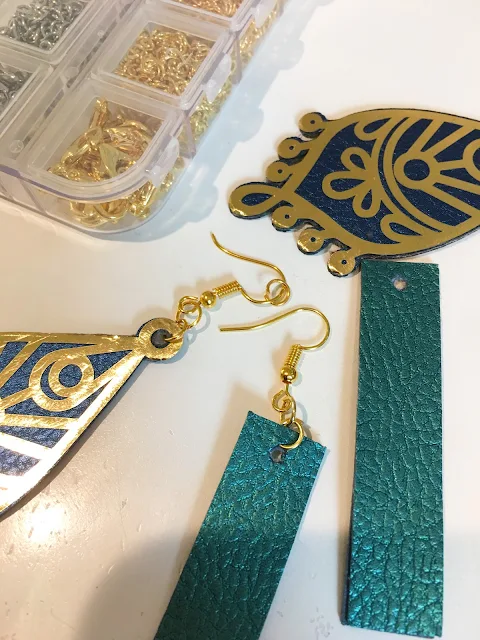
To add the jewelry hardware you'll need a couple of supplies. I use two jump rings and an earring hook for each earring. I recommend purchasing a jewelry hardware kit so you have multiple sizes and finishes of each piece of hardware.Use the tweezers to carefully loop one jump ring through the hole in the earring. With the pliers, squeeze it to close the ring.
Add another jump ring to the first ring. Don't close this one yet. First add an earring hook to the jump ring - then close it.
That's it..you're all done!
Now that you know how to make DIY leather earrings with Silhouette from start to finish the possibilities are almost endless!!
Note: This post may contain affiliate links. By clicking on them and purchasing products through my links, I receive a small commission. That's what helps fund Silhouette School so I can keep buying new Silhouette-related products to show you how to get the most out of your machine!
Get Silhouette School lessons delivered to your email inbox! Select Once Daily or Weekly.


.png)


Excelent video...loved it.
ReplyDeleteWhat to do if you do not own a xerox?
ReplyDeleteHi there! I HIGHLY recommend investing in a Xyron! You won't regret it. They are so versatile!
DeleteHi. thank you for this. What if the edges of the earrings aren't smooth? What to do?
ReplyDeleteHello there! If you're meaning that the edges have some fray from cutting you can use a very fine sand paper or nail file and lightly rub the edges until the fray is gone.
DeleteI have seen you use a hole punch too for earring holes. What size hole and kind please? Thanks jeri leonard
ReplyDeleteHi there! Check out the punch I have here: https://amzn.to/2PHIhhr
DeleteIf you have a cameo 4 do you still need a different blade than the blade that comes standard with the machine?
ReplyDeleteNo, you can use the autoblade too. I suggest a new blade whether it's auto or ratchet!
ReplyDelete