 |
| This is a sponsored posts but all opinions are my own. |
Glossy sticker sheets can create a challenge in both the printer and with the Silhouette CAMEO or Portrait. But with these tips you'll never avoid glossy sticker sheets again given the amazing and beautiful results.
I always get my sticker sheets from Online Labels. They have the biggest selection for both inkjet and laser printers and they literally have a sticker sheet for every possible need. My favorites are the printable waterproof/weatherproof sticker sheets, the glossy white printable sticker sheets, and the clear glossy printable sheets.
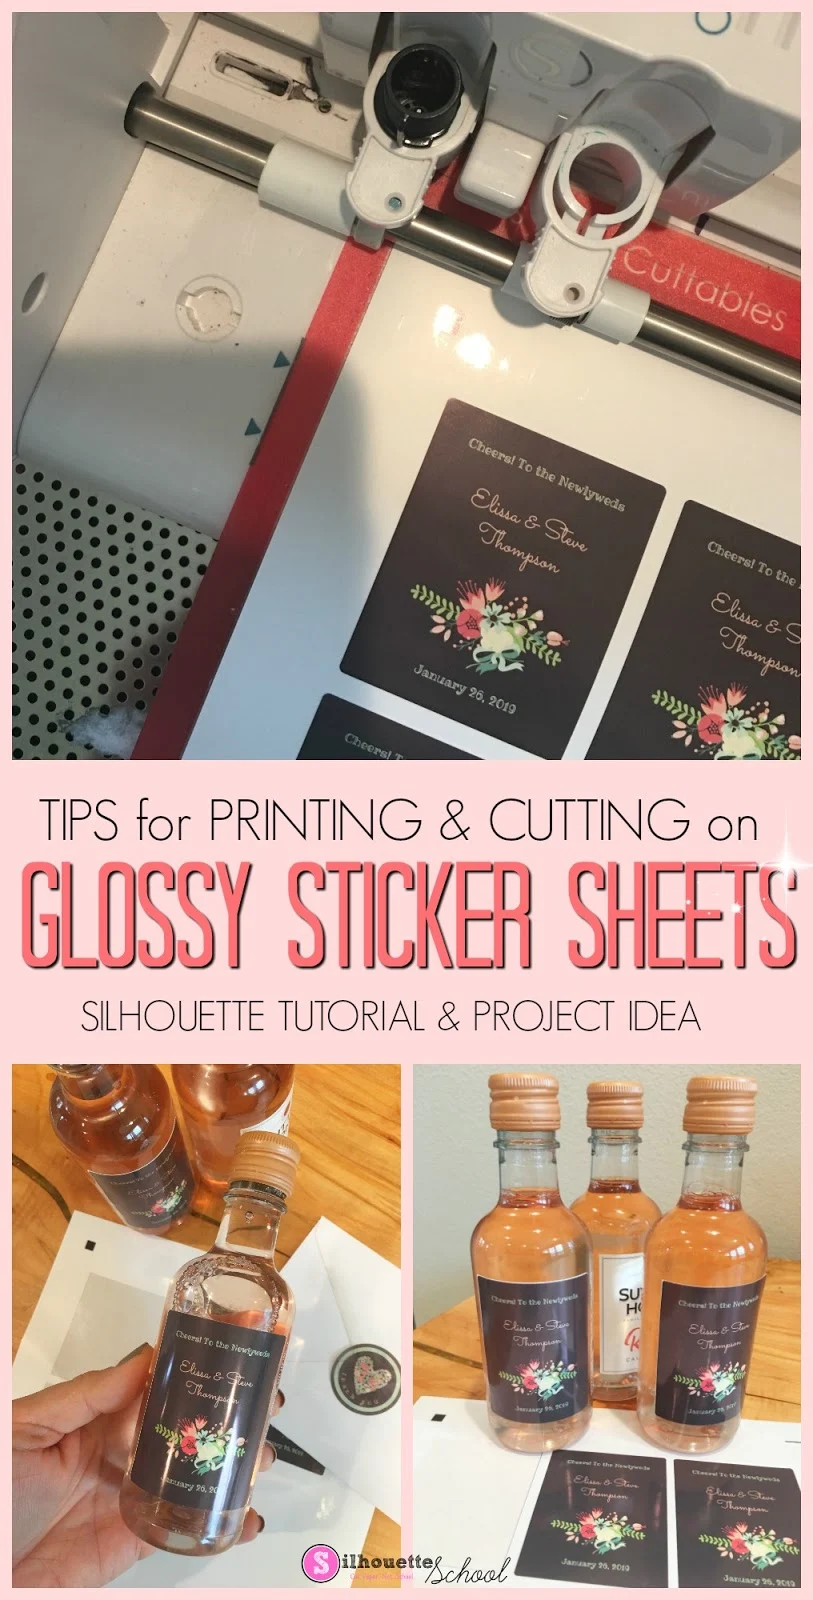
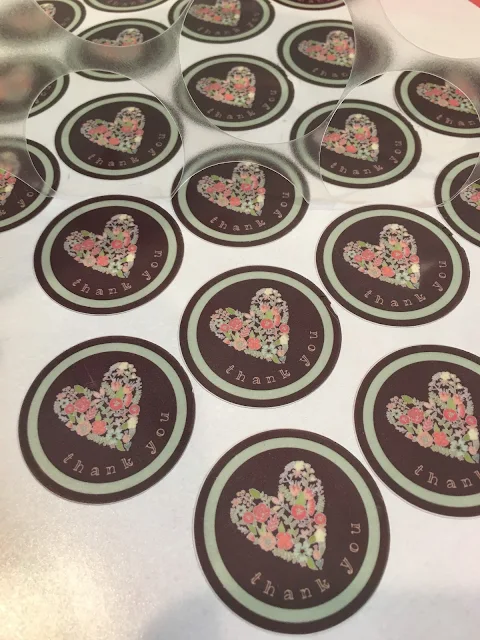
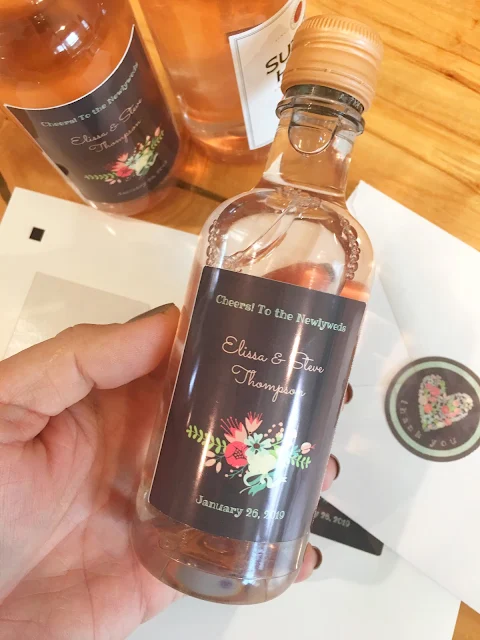
With wedding season around the corner I thought I'd print some DIY wine bottle labels for wedding favors along with some matching thank you envelope sticker seals.
I grabbed some of Online Labels' clear glossy sheets for the envelope labels and weatherproof sheets for the wine bottle. I also downloaded a couple of their free (and matching) customizable design templates.
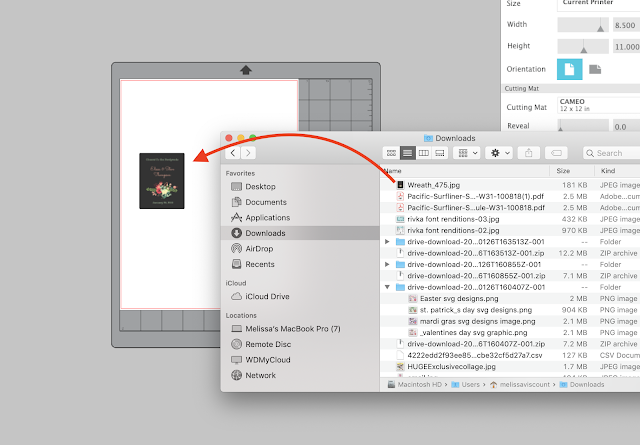
You can customize these and then save them to your computer as a JPEG or PDF and drag and drop them right into Silhouette Studio. It doesn't get much easier than that!
Measure the size of the label on your wine bottle and then adjust the size of the design to match. For my mini favor-size bottles the label was about 2" x 2.5".
Printing and Cutting on Glossy Sticker Sheets
After setting up my work space for print and cut by turning on the registration marks and the print border, I replicated the designs to each fill a sheet.From the Send panel be sure to change the Cut lines to "Cut Edge" for stickers.
I have found the best Silhouette cut settings for Online Labels Clear Glossy Sticker sheets to be:
Blade 3, Speed 4, Force 20, 1 Pass
For the Online Labels Weatherproof Sticker sheets I like cut with these settings:
Before printing I also change the printer settings to Glossy Photo Paper. (If you don't have that option, look for any glossy-type option.) This tells the inkjet printer to print more slowly giving the ink time to dry and not smear on the glossy sheet.
Sometimes the glossy finish can make it difficult for the print rollers to grab the sheet. For this reason, it's best to take everything else out of the print tray so the rollers aren't slipping and grabbing a sheet under the sticker sheet.
That will give you the best chance of successfully printing on glossy sticker paper while also making sure the paper is pulled at the right time ensuring the registration marks aren't printed too high.
Once you successfully print, it's time to cut on the Silhouette CAMEO.
The machine first needs to find the registration marks so it knows exactly where to cut. However, the glare off the shiny surface can present a problem.
If the registration is failing, it could be because of the glare from the lights. To cut the glare, put down the lid of the Silhouette cutting machine and try to (automatically) find the registration marks again before cutting.
These little tricks should help you get a perfect print and cut which will allow you to easily weed away the negative part of the sticker sheet leaving the stickers on the backing!
And now it's as easy as slapping those stickers on your wine bottle favors!
Note: This post may contain affiliate links. By clicking on them and purchasing products through my links, I receive a small commission. That's what helps fund Silhouette School so I can keep buying new Silhouette-related products to show you how to get the most out of your machine!
Get Silhouette School lessons delivered to your email inbox! Select Once Daily or Weekly.


.png)


Hi
ReplyDeleteCan you tell me what printer you used?
Thanks so much
Kia
HI, here are the printers I use > https://www.silhouetteschoolblog.com/2016/08/best-printer-for-silhouette-cameo-portrait.html
ReplyDeletehi, is there a way to cut through the sticker sheet itself too? i just got my cameo and im trying to cut some stickers out - but i need them cut completely out of the paper - not just the sticky part cut ;-;
ReplyDeleteYep! Just increase the force.
ReplyDeleteI have the cameo 3 I been using for a few years I do have business editing but no glossy cut settings except glossy vinyl so what cut setting should I use
ReplyDeleteThank you for the helpful tips!
ReplyDelete