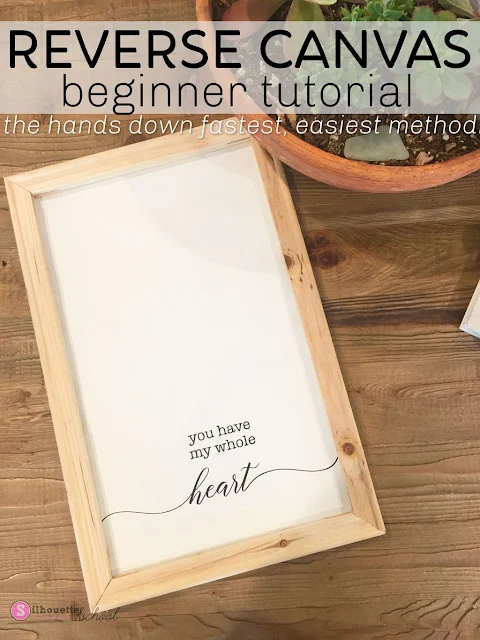
Reverse canvas is a sign making technique and everyone seems to have their own little twist. I like shortcuts (and coupons) so in this beginners reverse canvas tutorial I'm going to show you what I've found to be the fastest and easiest way to make reverse canvases..and where to find the best designs for them!
The first thing that you'll want to do is grab a stretched canvas....or a pack of them!
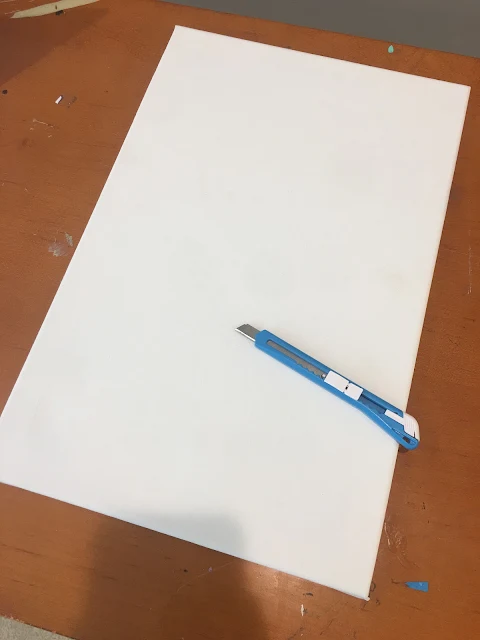
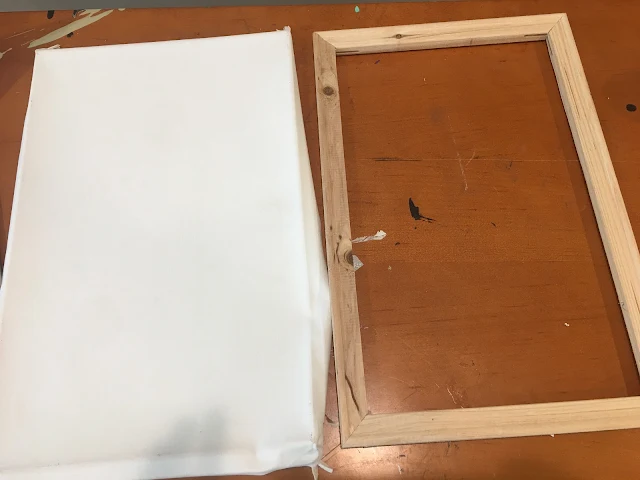
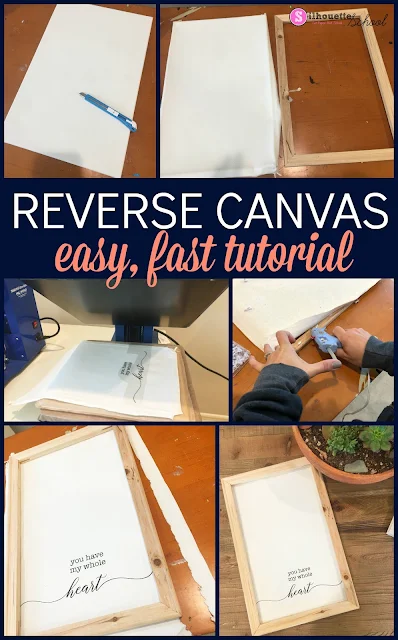
Use an exacto or craft knife to cut the canvas along the back. You want to cut outside the staples to remove the canvas from the wood frame.
Don't worry about the edges of the canvas folding up - they will end up being cut off anyway.
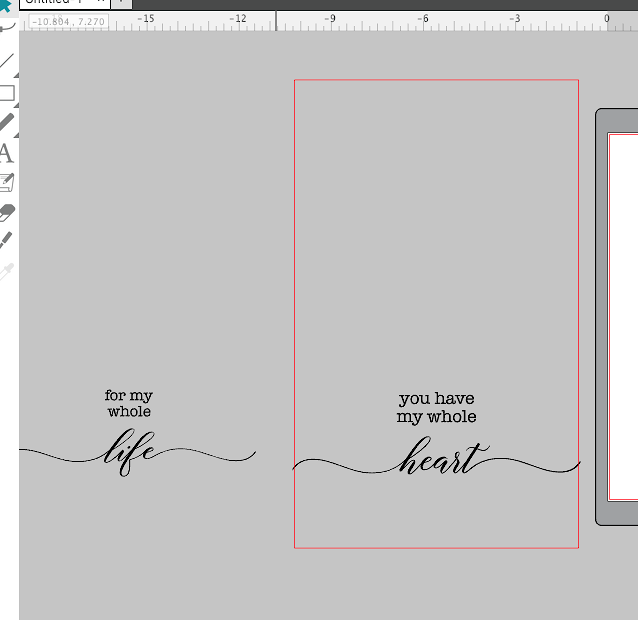
OPTIONAL but Recommended Step: Measure the inside of the frame and take those dimensions into Silhouette Studio to create a box so you can get an idea of how large your design should be to fit.
I'm using a design from the Sign Makers Bundle on So Fontsy. This step to scale or size the design will work though with whatever design you're using.
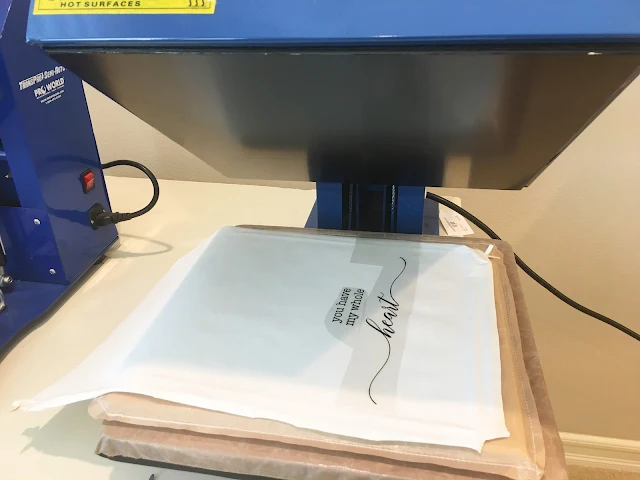
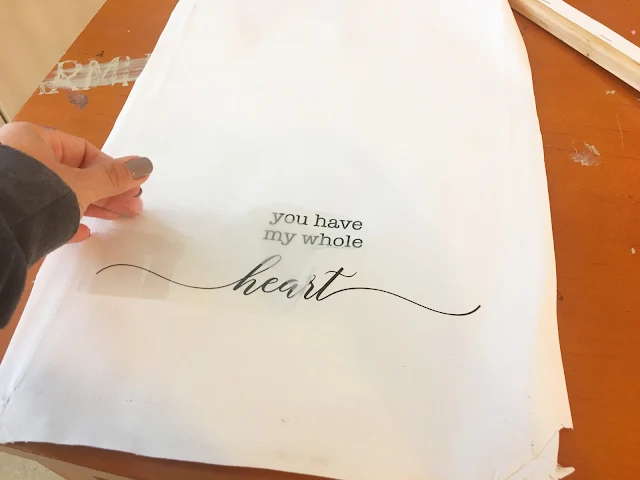
Since this is canvas you're working on, you want to cut your design on heat transfer vinyl. You can use an iron, but a heat press is a lot easier to use to apply the HTV to the canvas. Make sure you apply the HTV to the front of the canvas.
Now you can decide if you want to paint or stain the frame or leave it unfinished. I like the look of it unfinished so I literally did nothing to the frame.
Once your frame is ready (dried if you painted or stained it), position it over the canvas. Kind of hold it into place while you flip it all over. The back of the canvas should now be face up.
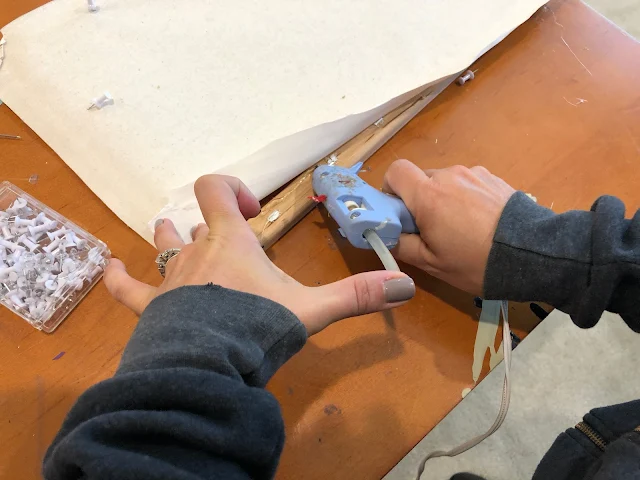
Warm up your glue gun and grab some pins, clips or a friend to help you keep the canvas taunt and in place while you begin gluing.
Work in about 6 inch sections by putting a line of hot glue on the frame and then pressing the canvas onto it. Work all the way around pulling the canvas tight as you glue it onto the frame.
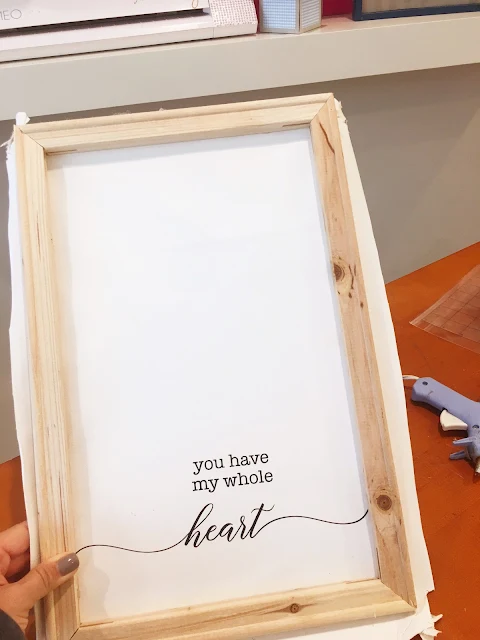
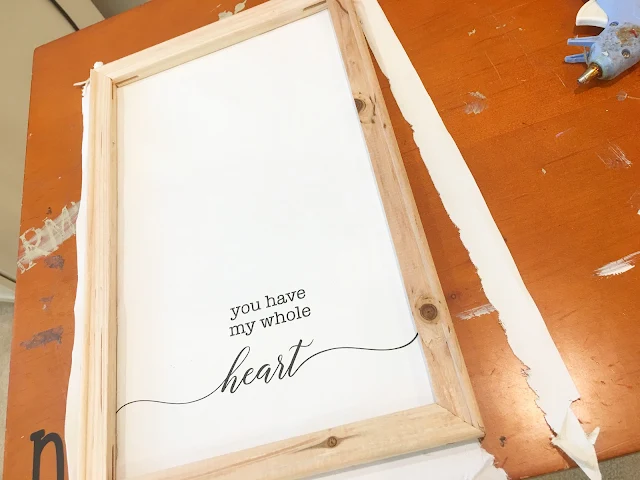
Once it's glued on all sides flip the whole thing back over.
The final step to make a reverse canvas is time use your exact-o knife to trim off the canvas that's extending beyond the frame.
If you hold your knife in at an angle you can sort of get under the frame to cut off the excess canvas.
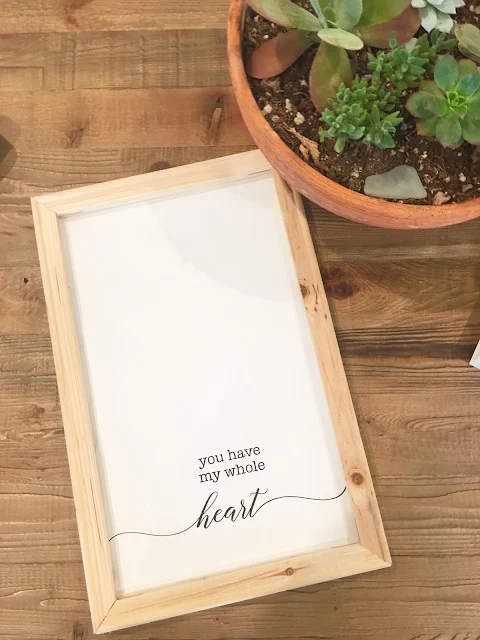
And that's it! You're all done. Isn't it easy to make reverse canvases!
If you prefer to watch than read you check out this video I did recently on Silhouette School's Facebook Page so you can really see how fast these are!!
Note: This post may contain affiliate links. By clicking on them and purchasing products through my links, I receive a small commission. That's what helps fund Silhouette School so I can keep buying new Silhouette-related products to show you how to get the most out of your machine!
Get Silhouette School lessons delivered to your email inbox! Select Once Daily or Weekly.








.png)


No comments
Thanks for leaving a comment! We get several hundred comments a day. While we appreciate every single one of them it's nearly impossible to respond back to all of them, all the time. So... if you could help me by treating these comments like a forum where readers help readers.
In addition, don't forget to look for specific answers by using the Search Box on the blog. If you're still not having any luck, feel free to email me with your question.