The Selection Lasso is available in Silhouette Studio Designer Edition and higher and gives you the ability to select very specific areas in the work area by basically drawing around the areas you want to select.
The Selection Lasso is found on the left sidebar and is helpful when the traditional selection bounding box selects too much but selecting individual elements one by one is labor intensive and select by color will over-select.
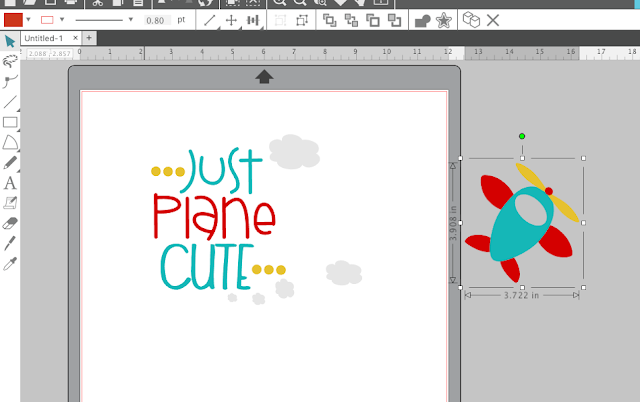
Let’s say you have a design like this Just Plane Cute design and you only want to select the plane. The pieces of the plane are not grouped so using the traditional selection box you would have a hard time not selecting the clouds and possibly even part of the text while trying to select the airplane.
Before you start make sure your design is ungrouped completely.
But by using the Selection Lasso, you can use your mouse to draw right around the plane itself and only select those elements of the design.
The start and end of the lasso will snap together and, when they do, only those elements inside will be selected.
You’ll want to immediately group your selection by right clicking > Group or by clicking the Group tool along the Quick Access Tool Bar.
 Then you can pull your shape away from the rest of the design.
Note: This post may contain affiliate links. By clicking on them and purchasing products through my links, I receive a small commission. That's what helps fund Silhouette School so I can keep buying new Silhouette-related products to show you how to get the most out of your machine!
Get Silhouette School lessons delivered to your email inbox! Select Once Daily or Weekly.


.png)


This is GREAT to learn! thank you!!!
ReplyDelete