 |
| This is a sponsored posts, but all opinions are my own. |
I've shared Silhouette print and cut tutorials in the past about how to make your own bleed area for print and cuts and those methods work well in certain instances. However, for small designs like stickers, there's often not enough room to do an internal offset without it really distorting the shape of the design.
You guys know I love my Online Labels sticker paper - it's what I use almost exclusively for printing stickers! I definitely don't want to waste any - especially my favorite printable glossy sticker paper - because of a print and cut gone wrong. So...that's where this little hack comes in.
Instead of using an internal offset to create a bleed area, I use the external offset and intentionally create a white border around the design. This way if the print and the cut are just smidge off it's not noticeable because there's already an intentional white border between the cut and the print.
So how do you make a border around stickers in Silhouette?
First grab all the designs you plan to use as your stickers. Size them and position them in Silhouette Studio. Select all of the designs and group them.
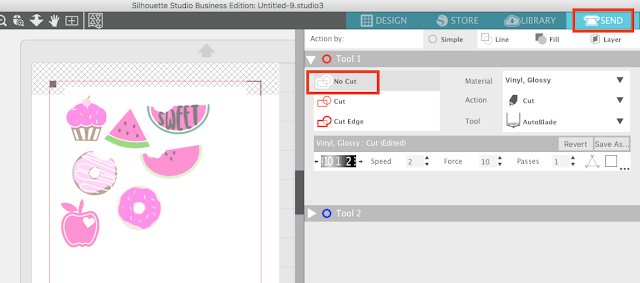
Then from the Send panel, with the designs selected, turn the cut lines to "No Cut."
Go back to the Design page and make a duplicate of the sticker set. Pick your favorite way to duplicate - there are at at least 9 different ways to replicate in Silhouette Studio.
With the duplicate set selected, change the fill to Transparent from the Quick Access Toolbar.
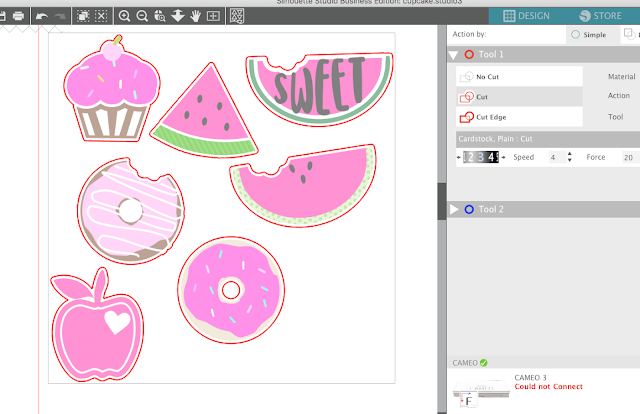
Open the Offset tool and add a small offset around the duplicate set. The default offset distance is .125 so depending on the size of your stickers you may need to adjust it. When you're happy with the offset distance click Apply. (I changed the offset line color to red to make it easier for you to see.
If the offset cut lines are not grouped, group them by right clicking > Group. Grab the group and move over to the full color designs. Don't worry about exact placement.
Select both the full color and the offset groups and from the Quick Access Tool bar click the Align Center option. This will perfectly center the offset lines around the full color designs. Now Group both sets together.
Return to Send panel and if the offsets are not the ONLY cut lines turned on click "Cut Edge" to turn on the offset lines only.
Now add your registration marks, if you haven't already, and move forward with printing and cutting. As long as your offset cut line does not have a line weight it will not print.
Like I said I always use Online Labels sticker sheets. They print beautifully and cut like butter on Silhouette. My favorite is the glossy printable sticker sheets, but this hack will work on all of their different types of sticker paper.
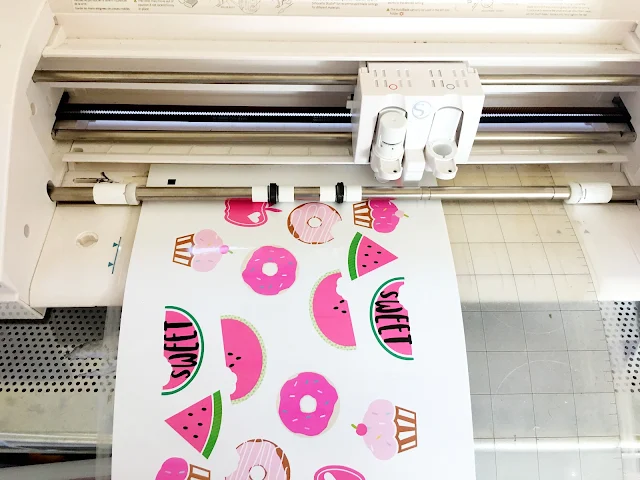
After you print, place the printed sheet on your Silhouette cutting mat and load into your Silhouette cutting machine.
From Silhouette Studio click "Send". The cutting machine will look for the registration marks, then re-set before cutting.
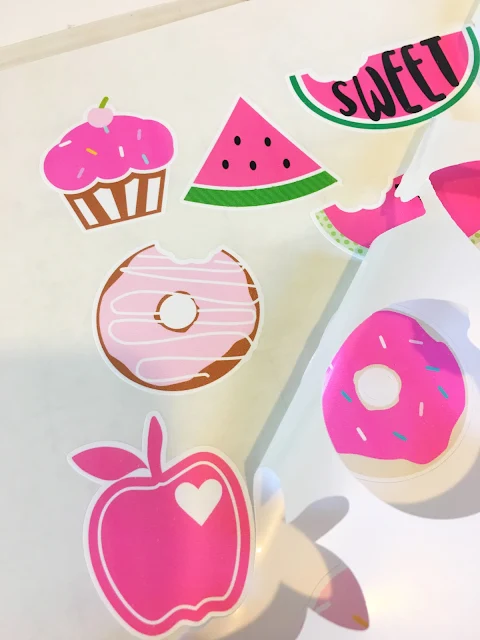
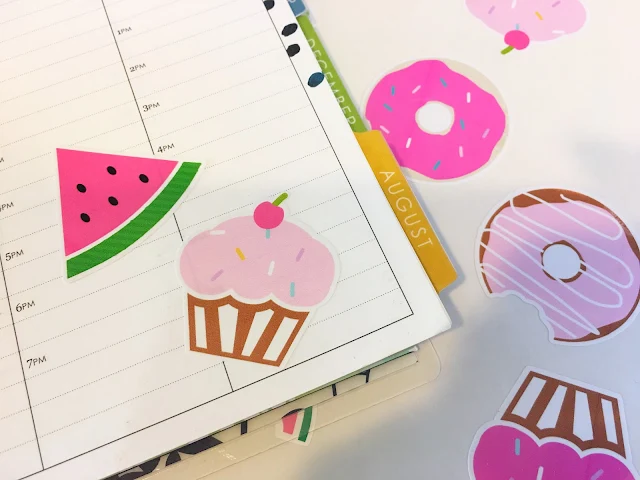
And that's all there is too it! Look how perfect the stickers come out - and every time!!
Note: This post may contain affiliate links. By clicking on them and purchasing products through my links, I receive a small commission. That's what helps fund Silhouette School so I can keep buying new Silhouette-related products to show you how to get the most out of your machine!
Get Silhouette School lessons delivered to your email inbox! Select Once Daily or Weekly.








.png)


I refer to this post ALL THE TIME!! Thank you so much for it. Lifesaver!
ReplyDelete