Dingbat fonts are fonts that use an image or doodle with each keystroke instead of a character when typed.
Designers who create dingbat fonts really give you a lot of bang for your buck when it comes to cut files since you can get 26 characters for each letter case! That's potentially 52 designs in one font...and some designers add extras on other characters as well.
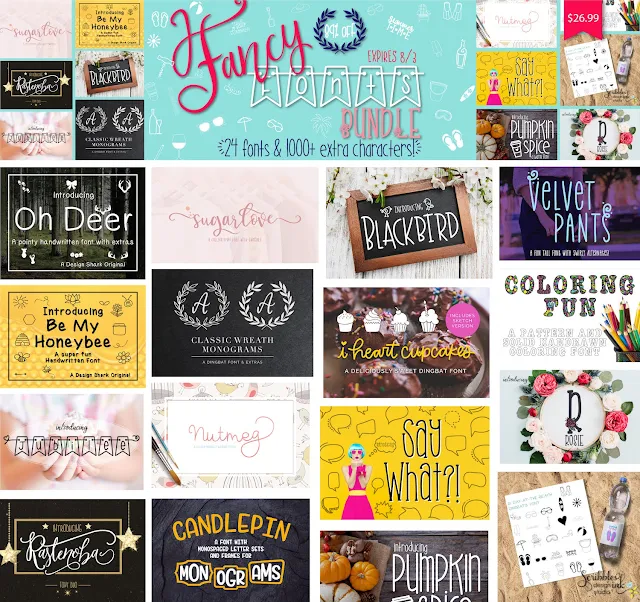
It's no wonder the So Fontsy Fancy Fonts Bundle - which is out of retirement on So Fontsy for one DAY (5/16/19) - has more than 1000 extra characters when you consider that each of the 24 fonts in the limited time bundle includes dingbats or some other kind of extras!
But how do you use all of those dingbats and font extras as cut files in in Silhouette Studio? The first thing you want to do is download and install the font on your computer.
Then re-start Silhouette Studio so the font shows up in your Text Style list.
Now open the text tool from the left sidebar and start a new text box. Open the Text Style panel from the right sidebar and find the font in your list and select it. Use the default characters and type out the text you want. I was designing a three letter stacked monogram so I used three different text boxes.
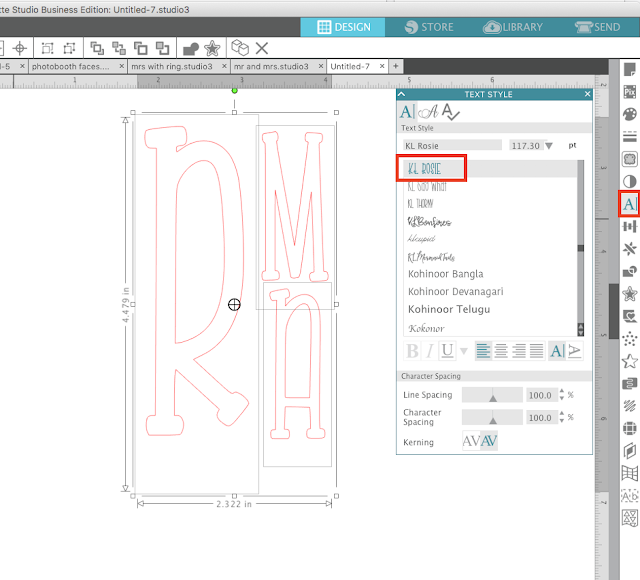
This Rosie font from the Fancy Fonts bundle has some really pretty alternatives. Each letter includes an alternative with a rose on it. This is where having Silhouette Studio Designer Edition is hugely helpful.
Double click in the text box where you want the dingbat or alternative characters to be. Then on the Text Style panel click the Glyph tab. This is where you'll find all the dingbat, glyphs and extras that a font has to offer. Find the dingbat you want to use and click it. It will be added to the text box you're currently in.
Here's another example using Blackbird font (top) and Blast font (bottom) - also in the Fancy Fonts bundle. Instead of alternative characters both fonts includes a set of bird and space dingbats.
To use these or any other fonts that include dingbats as a layered vinyl decal, you'll need to get access to each layer so you can cut it on a separate piece of vinyl.
To do that you want to select the dingbat > right click > Release Compound Path.
If each layer doesn't have a selection box around it, you'll also need to Ungroup.
Now you can select each piece (or multiple pieces by holding down Shift) and fill with a color using the Fill Color tool on the Quick Access tool bar. This step is necessary so you can not only better visualize your finished cut design, but also so you can cut by color. For this reason I would suggest you pick a fill color for each part that closely matches the color vinyl you plan to cut on.
Once all layers have been filled with a color, use the Draw a Rectangle tool to draw out two squares to use as layering registration marks. Fill the boxes with the same color - but pick a color that you haven't already used in another part of the design.
The registration marks will be cut with every layer.
Open the Send panel and click on the Action by "Fill."
You'll see color swatches for all of the colors in the design. Because the registration marks are going to be cut with every layer keep that box checked with EVERY cut.
Pick one other color box to check - in this case black. Unchecking the pink and green boxes means any shapes with those color fills will NOT cut.
Select the correct material and tool and with the vinyl loaded in the Silhouette CAMEO or Portrait click "Send" to begin cutting.
Once the black layer has been cut, remove it and return to Silhouette Studio.
This time uncheck the box next to the black color swatch and pick another color. Here we're picking green to cut the leaves. Remember to keep the teal box checked so the registration marks cut too when you cut the green layer.
Repeat with the pink layer.
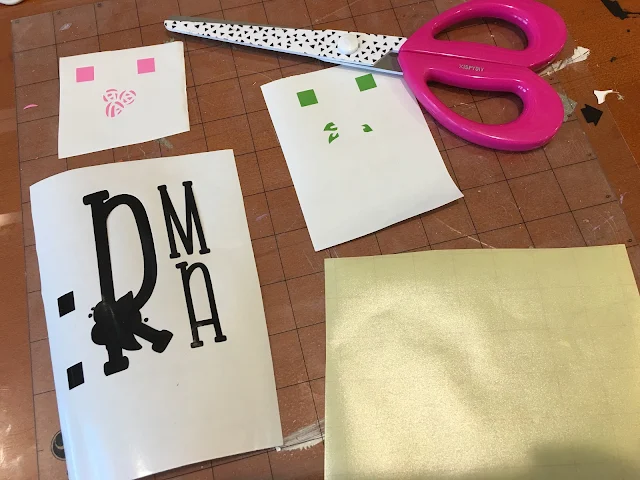
Once all of the layers are cut, weed the vinyl and then proceed with layering using the registration mark method. You can read a step by step Silhouette tutorial on layering vinyl here or get a quick refresher below.
Cut a piece of transfer tape larger than the largest layer.
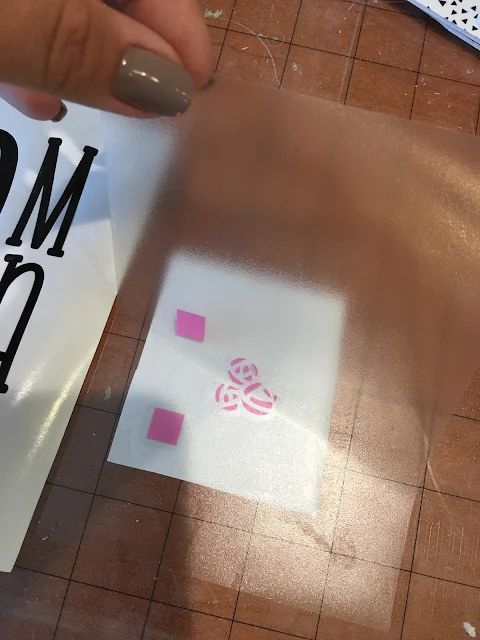
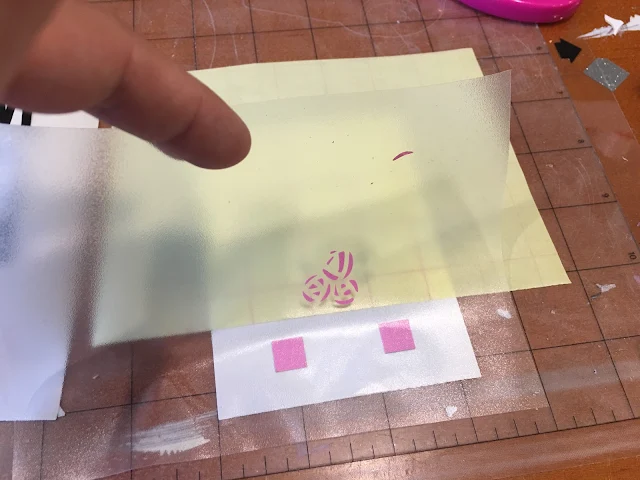
Cover the top most layer - pink with the transfer tape being sure to pick up the registration marks too.
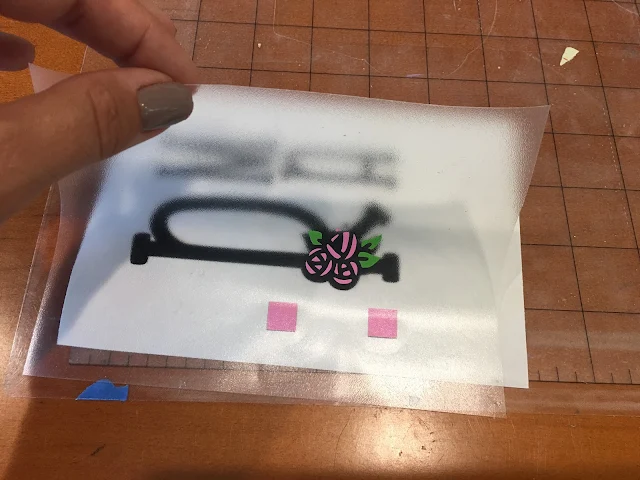
Grab the next layer and use the same piece of transfer tape to pick up the next layer lining up the registration marks to ensure the positioning is 100% accurate.
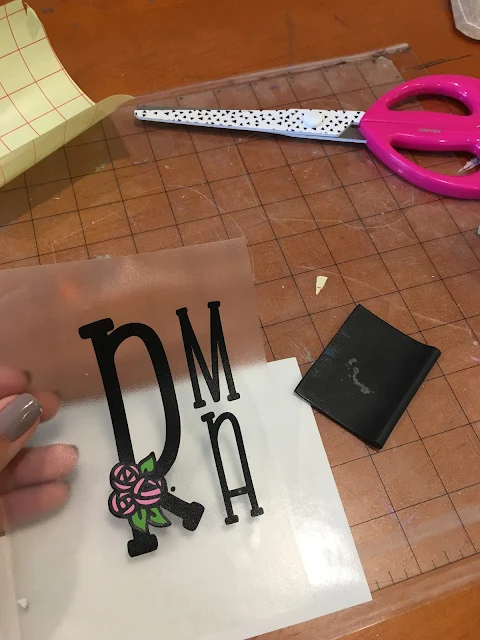
Finally use the same piece of transfer tape to cover the bottom most layer - black here - again using the registration marks to line everything up.
And that's how you turn a dingbat font into a layered vinyl decal!
Note: This post may contain affiliate links. By clicking on them and purchasing products through my links, I receive a small commission. That's what helps fund Silhouette School so I can keep buying new Silhouette-related products to show you how to get the most out of your machine!
Get Silhouette School lessons delivered to your email inbox! Select Once Daily or Weekly.







.png)


No comments
Thanks for leaving a comment! We get several hundred comments a day. While we appreciate every single one of them it's nearly impossible to respond back to all of them, all the time. So... if you could help me by treating these comments like a forum where readers help readers.
In addition, don't forget to look for specific answers by using the Search Box on the blog. If you're still not having any luck, feel free to email me with your question.