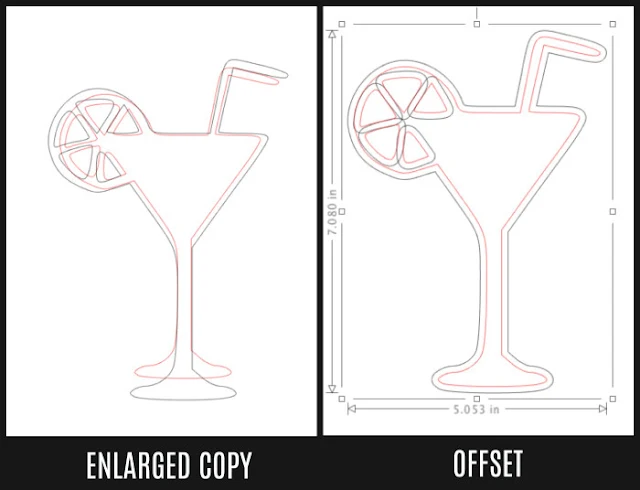
That won't actually make you a border around your shape - but the Offset tool will.
Using the Offset tool will create a border all the way around the original shape that's exactly the same distance from the edge at all points. This is where it differs from duplicating the shape and enlarging.
A few things to know about offsets.
- An offset can be applied to shapes and text
- The distance of an offset can be adjusted but the default offset distance is always .125
- An internal offset (black) is an offset on the inside of original line (red)
- Any overlapping lines in an offset will automatically weld
- An offset made around a line of text will be treated as a shape, not text like the original
With it selected, open the Offset panel from the right sidebar.
Click "Offset". That new line that's created around your design is .125" away from the original. Before clicking "Apply" you can change this by 1) manually typing in a new distance or 2) using the up and down arrows next to the Offset distance box.
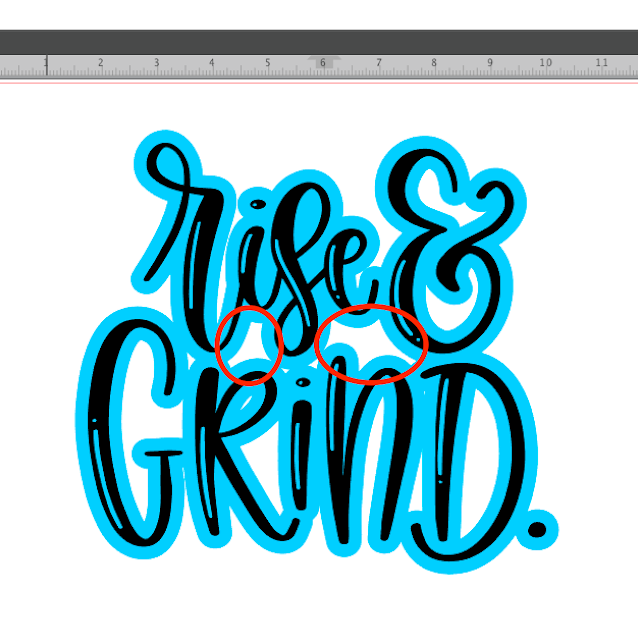
Depending on the design and the size of the offset there may be some overlapping areas...if this is the case - don't worry. They'll automatically be welded after you click "Apply".
OPTIONAL: Once you've created the offset, it's easiest to visualize how it will look when cut on paper/vinyl/other material by using the fill color tool to fill the offset and the original with different colors. Fill the original first and then fill the offset.
When you're ready, pull the offset shape away from the original to prepare to cut.
OPTIONAL: If there are any 'islands' in the offset that you want to get rid of to make your offset solid, you can delete them before cutting.
Select the offset > right click > released compound path.
Select the "islands" and click Delete on your keyboard to remove them....or select the big offset and the original design and move them to the side to easily delete the islands.
Now you're ready to cut your offset and the original, you can cut them on contrasting materials and the offset will act as a bold outline around your original design giving it a nice 'pop' or layered look.
Note: This post may contain affiliate links. By clicking on them and purchasing products through my links, I receive a small commission. That's what helps fund Silhouette School so I can keep buying new Silhouette-related products to show you how to get the most out of your machine!
Get Silhouette School lessons delivered to your email inbox! Select Once Daily or Weekly.


.png)


HELP! the offset is putting a rectangular box around the whole image instead of around the actual objects. What am I doing wrong?
ReplyDeleteI think you are trying to offset a non-svg file (like jpg or a non-transparent png).
ReplyDelete