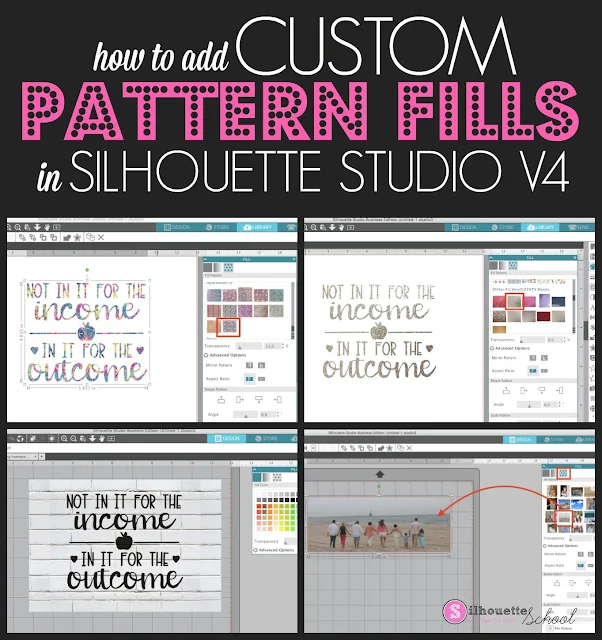
If you have Silhouette Studio Designer Edition you're able to import custom digital patterns directly into Silhouette Studio. Custom patterns can be anything from a photo to a digital background or seamless pattern.
These can be used to fill shapes for print and cut, mock ups, or even custom printed patterned paper and vinyl.
It's really easy to add custom pattern fills in Silhouette Studio V4.
Start by opening your Silhouette Studio library.
From the Local User area, open the Patterns folder.
Now open a finder window on your computer and select the digital pattern or patterns you want to import. You can add multiple custom patterns at the same time by selecting all of them.
Simply drag and drop them into the Patterns folder in the Local User Library...or a sub folder under the Patterns folder (if you have created them).
The new patterns should now show up in the preview window on the right side of the library.
The custom patterns will also appear in the Fill panel > Patterns tab below the default patterns.
To fill a shape or text, just select the shape, open the Fill panel > click on the Patterns tab > select the pattern.
I use custom patterns all different ways including for design backgrounds, glitter mock up designs, filling designs with photos, and getting an idea of how designs will look when cut on patterned vinyl or HTV.
Note: This post may contain affiliate links. By clicking on them and purchasing products through my links, I receive a small commission. That's what helps fund Silhouette School so I can keep buying new Silhouette-related products to show you how to get the most out of your machine!
Get Silhouette School lessons delivered to your email inbox! Select Once Daily or Weekly.


.png)


Thank you for this! So simple but for the life of me I couldn't figure it out and I really appreciate you taking your time to make this blog post.
ReplyDelete