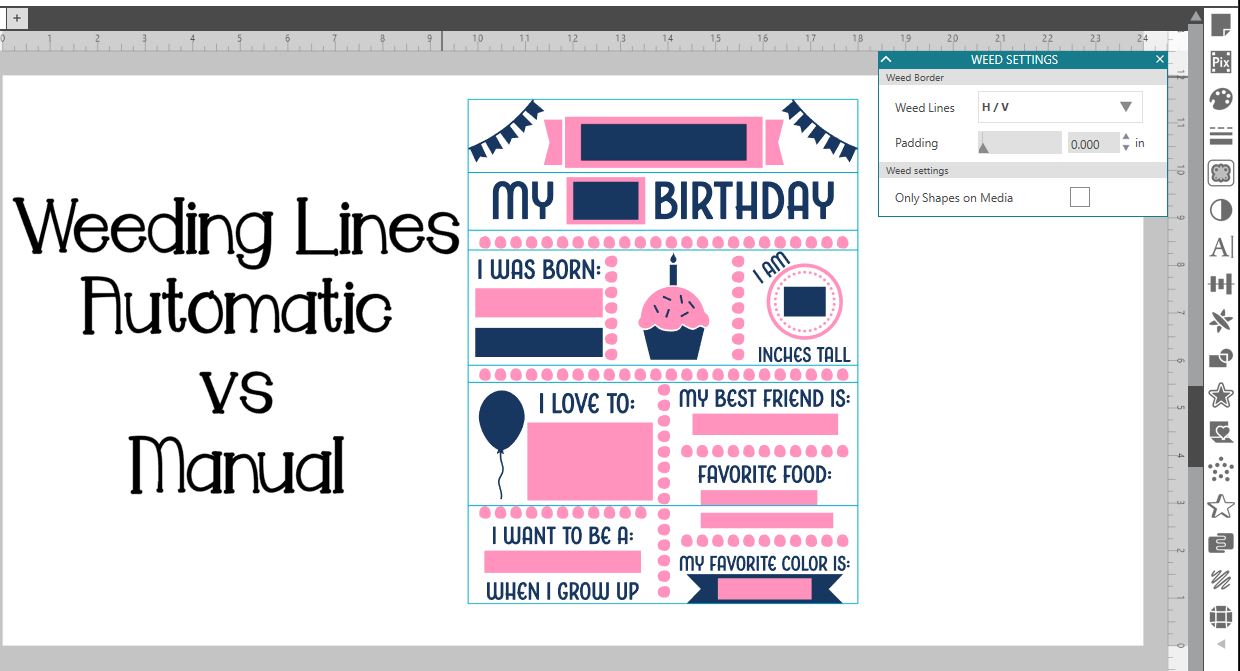
Silhouette School contributor, EllyMae from Silhouette Secrets+, is here to share the low down on when you can and should use the Silhouette Studio Business Edition Automatic weeding lines feature vs. manually adding your own.
First, what is weeding? It is simply the process of taking away the part of the material that you do not want on the design. Think of it like weeding a garden, you are taking out the stuff you don't want.
Now, what are weeding lines in Silhouette Studio? These are lines that you can either turn on (requires the Silhouette Studio Business Edition upgrade) or create yourself to make the weeding process easier. Weeding lines cut down the excess material or negative space into smaller sections making it easier to weed.
Automatic Weeding Lines
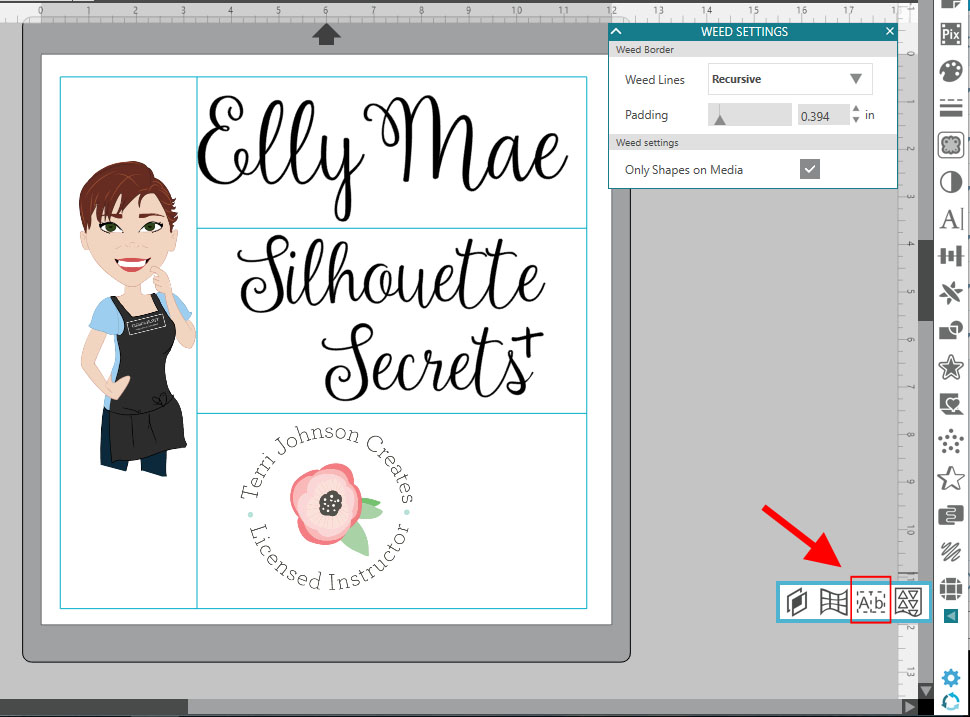
If you have the Business Edition upgrade, it is one of the many features that is unlocked in the Silhouette Studio software upgrade. You will find it on the bottom right side of the Silhouette Studio V4 software either along the icon menu or on a smaller computer screen it is under the arrow pop out as you see in my photo below.In the photo above, you can see that I have turned on the Horizontal weeding lines and I now have blue lines around the design and horizontally through the design. These are the weeding lines.
Automatic weeding lines can only generate on the design mat if there are clear paths going left to right (horizontally) or up and down (vertically). There are 4 options when you turn the weeding lines on: Horizontal, Vertical, H/V and Recursive.
If I change the weeding lines to Vertical, the blue lines generate on the only clear vertical paths on my design and that is around the outer edge. There are no clear paths running from top to bottom in the design, so the software cannot place a weeding line there.

If I choose the H/V (horizontal and vertical) option, it looks the same as my original Horizontal option since it cannot place weeding lines vertically.
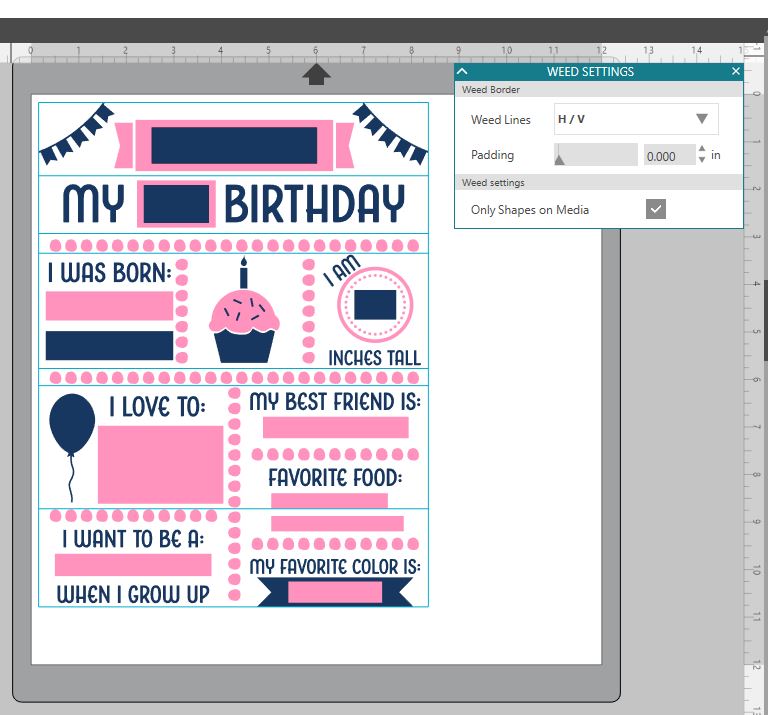
The final option is the Recursive option. This will add weeding lines around any open path in your design. As you can see, that is a bit much but it definitely adds more than the horizontal option.

The Automatic weeding lines feature in the Silhouette Studio Business Edition upgrade is a great tool, if you understand how it works. If you are used to creating your own weeding lines, then you may scratch your head when you first use this feature.
So what if you do not have the Business Edition upgrade or the Automatic weeding lines is not working well for the design? You can create your own weeding lines and once you get in the habit of doing so, it can make weeding large designs so much easier.
Manual Weeding Lines in Silhouette Studio
First, open the design, resize and center it on your mat. Next, draw a rectangle or square around the design. This is the weeding box we are going to work with.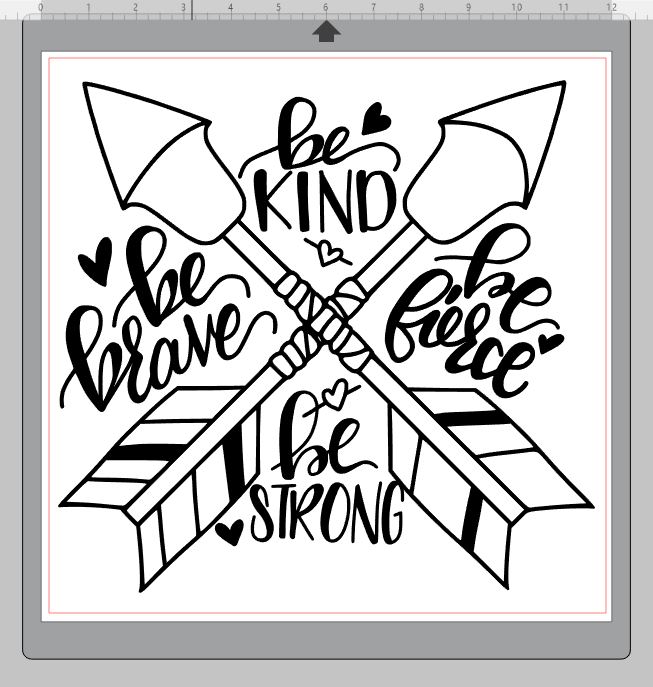
If you were to cut this now, you would have to be very careful when weeding the vinyl around the design so that it did not stick back to itself.
Let's make it a little easier to weed.
Use the Draw a Line tool from the left sidebar to draw a line from the left side of your mat to the right side of you mat, holding down the Shift key to get a straight line.
Open the Replicate panel, then click on the 2nd tab at the top of the Panel (Replicate number of copies) & enter Number = 5.
Next on the "Position each Copy" - choose the far right icon = X & Y and it will pop up with further options. In the Y Offset type 1.5. Then click on Replicate and the line will replicate 5 times down your design mat with a spacing of 1.5". Keep in mind, 1.5" is just a starting point.

As you can see, the lines created intersect some areas of the design that would create small pieces to weed. You may not be able to eliminate all those small areas but you can move those lines up and down on the mat to get the best placement for weeding.
Next, we need to bring our design to the front of all the layers. Select the design itself (not the lines), right click and choose Bring to Front.
Select all of the weeding lines including the outer square and every horizontal line we have created, but do not select your design. (Here's a trick when selecting - choose Select All (Ctrl+A), then hold the Shift key down and click on the main design. This will deselect the main design only and keep the rest of your lines selected.)
Right click & choose "Make Compound Path".

By choosing Compound Path, you are making all those lines one object.
Next, click on the Modify Panel, select both the weeding lines and the design and choose Subtract All. Since I was using an svg file, I can now move the original svg away and I will be left with my image and the weeding lines.
Next, click on the Modify Panel, select both the weeding lines and the design and choose Subtract All. Since I was using an svg file, I can now move the original svg away and I will be left with my image and the weeding lines.

Here is a closer look

You can see there are a few areas that have small pieces, like the loop of the b on the left side or the n on the bottom. But, this definitely breaks up the weeding into smaller pieces that are easier to handle, especially if you are using Oracal 651 as it loves to stick to itself.
This large decal was so much easier to weed with the weeding lines cut out than if I had not placed them and was removing the larger section of Oracal 651.
This large decal was so much easier to weed with the weeding lines cut out than if I had not placed them and was removing the larger section of Oracal 651.
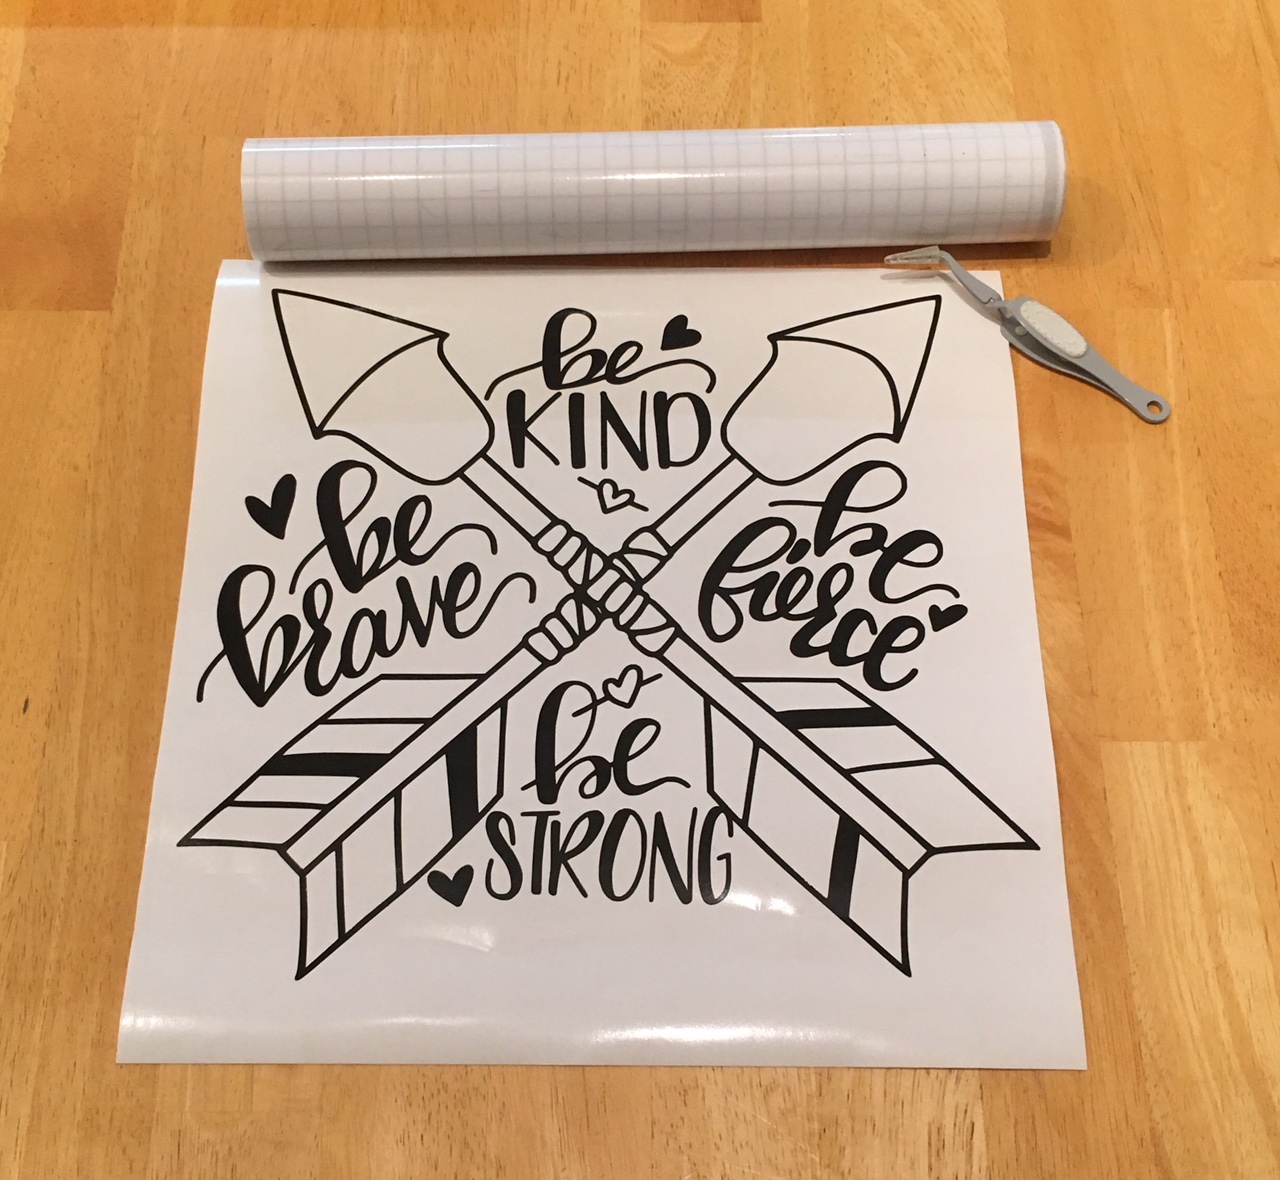
I only used horizontal weeding lines and that worked great for this image, but you can create as few or as many weeding lines as you want and each design will vary on what works the best.
The best way to figure out what works is to grab a design and play with it.
If you want to use the same designs, you can find Birthday Stats and Be Strong, Brave, Fierce in the February bundle at So Fontsy.
I hope you have fun playing with the weeding lines, whether you are using the Automatic feature in the Silhouette Studio Business Edition or creating your own, they can definitely make weeding large designs a lot easier.
Note: This post may contain affiliate links. By clicking on them and purchasing products through my links, I receive a small commission. That's what helps fund Silhouette School so I can keep buying new Silhouette-related products to show you how to get the most out of your machine!
Get Silhouette School lessons delivered to your email inbox! Select Once Daily or Weekly.
Savee






.png)


No comments
Thanks for leaving a comment! We get several hundred comments a day. While we appreciate every single one of them it's nearly impossible to respond back to all of them, all the time. So... if you could help me by treating these comments like a forum where readers help readers.
In addition, don't forget to look for specific answers by using the Search Box on the blog. If you're still not having any luck, feel free to email me with your question.