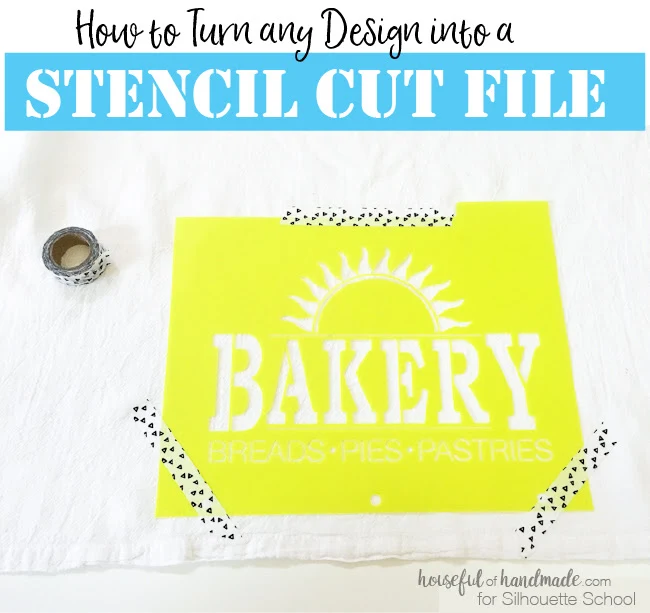
 Today Silhouette School monthly contributor Kati Farrer is here to explain how to turn any Silhouette design or cut file into a stencil friendly design.
I love using my Silhouette to create stencils. Vinyl stencils are great for a single projects, but when I want to make multiples of something, making a reusable stencils that can be used over and over is even better. Like when I wanted to create a stencil design to make a bunch of vintage inspired tea towels for the kitchen.
Creating a reusable stencil can be tricky though. You have to make sure all the pieces of the design are connected. But what if you want to make a stencil out of a design you already have in your library? One that isn't made to be a stencil? You can easily do that with just a couple steps.
There are two different kinds of designs you might want to turn into stencils. One is a solid design that has small cut outs to create the design. The other is a design made up of multiple pieces that is meant to be cut out of different colors and then assembled once cut. These two different types of files can both be turned into stencils, just a bit differently. We will talk about both of them for you!
Turning a Solid Design into a Stencil
Open your design in Silhouette Studio. Decide where you want to connect the insides of the design to create a fully connected design. For my butterfly I decided to connect the wing decorations to the outside of the stencil.Create a small rectangle to connect the center piece to the outside edge of your design. It is okay if it overlaps these two areas because this will be taken out of the solid outside design. Angle it any way you want to make your design flow.
Select both the design and the rectangle and then select Subtract from the Modify menu. This will cut the rectangle out of the design and the floating center piece will now be attached.
Repeat this step to connect all the floating center pieces to the outside of the design. You can place the rectangles wherever you want, in any size you want. Just make sure they are big enough to not break when using the stencil.
To double check that all your center pieces are now attached for your reusable stencil, I like to create a box around the finished design. Then select the box and the design and select Make Compound Path. This will make both designs act as one. Change the fill color and you can easily see where the stencil connects.
Turning a Multiple Piece Design into a Stencil:
Open your design in Silhouette Design Studio. Line up all the pieces how you they should be assembled.Now you are ready to use your new reusable stencil designs. Cut them out with a material that can withstand repeated use. I used plastic index dividers to create the stencil for my bakery tea towels and I used thin plastic sheets to create a reusable wall stencil for my closet desk area.
But don't limit yourself on ways to use stencil designs. They are great for creating multiple of the same shirt, face-painting, cookies stencils, and much, much more! And make sure to visit me at Houseful of Handmade for more DIY Crafts tutorials!
Note: This post may contain affiliate links. By clicking on them and purchasing products through my links, I receive a small commission. That's what helps fund Silhouette School so I can keep buying new Silhouette-related products to show you how to get the most out of your machine!
Get Silhouette School lessons delivered to your email inbox! Select Once Daily or Weekly.


.png)


I've used vinyl or HTV onto silkscreening mesh. All the individual parts can be kept separate, no need to use the "rectangle method". Really good if you need to make a large number of identical items quickly.
ReplyDeleteI took photos of the process last time
Thank You
ReplyDeleteI have been trying different connecting methods with
poor results I am going to try your advice