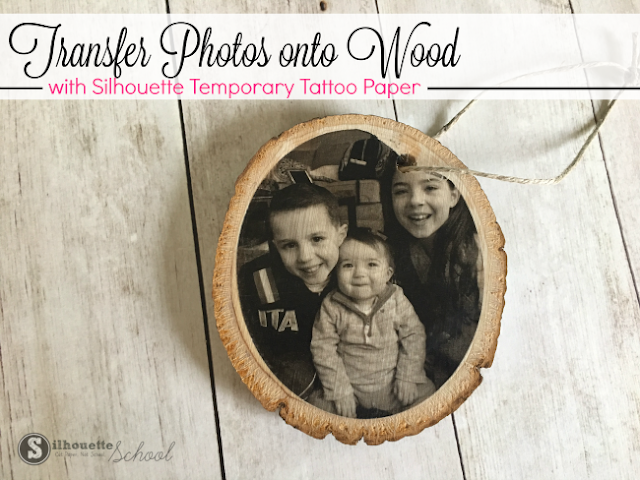
Grab yourself some Silhouette temporary tattoo paper and let's make DIY photo coasters on tile.
Temporary tattoo paper is is amazingly versatile and can be used on wood and stone tiles! I have always loved photo coasters and the Silhouette temporary tattoo paper is perfect for this application.
How to Set Up Coaster Designs in Silhouette Studio
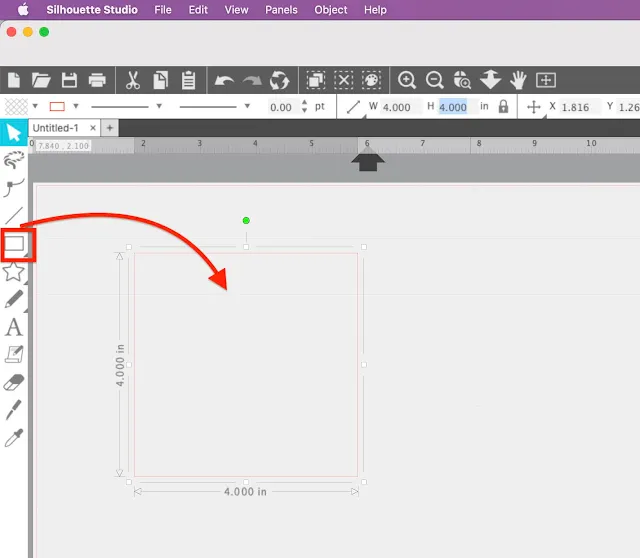
Start by measuring the tile coaster - mine are 4x4. In Silhouette Studio use the Draw a Rectangle or Draw a Rounded Rectangle tool to draw out a square in the same size.
How to Fill a Shape with a Photo in Silhouette Studio
Now you want to fill the shape with a photo. You will need Silhouette Studio Designer Edition to import your own photos as patterns.If you're not sure how to do that you can follow this blog post to import your own custom patterns including photos. If you really don't want to get Designer Edition this blog post explains how to add a photo as a fill pattern without Silhouette Studio Designer Edition..but you will be more limited.
How to Set Up Print and Cut Page in Silhouette Studio
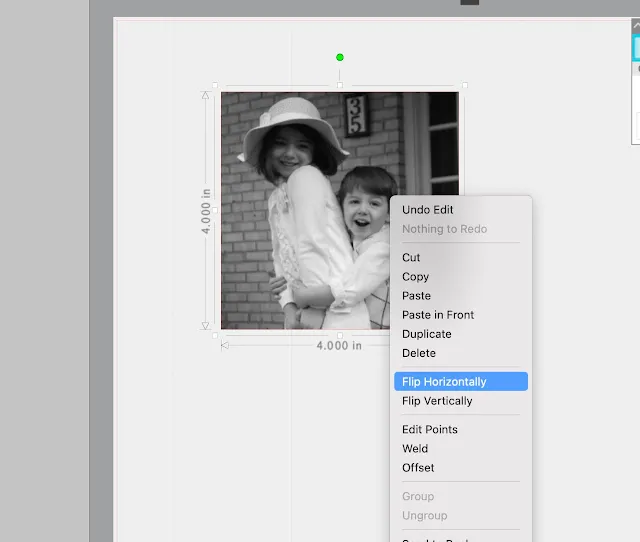
Because we are printing and cutting these on the tattoo paper, we need to mirror the images. Select the designs > right click > Flip Horizontally.
Now it's time to set up the page. From the Page Setup panel select "Printer." Make sure your photo coaster designs are inside the safe printing and safe cutting borders. Click "M" on your keyboard to turn on the registration marks.
How to Print on Temporary Tattoo Paper
Place a sheet of the white temporary tattoo paper in your printer.
The more dull side is the back. Make sure you orient the paper so the other side will be printed on.
Once it's finished printing, wait a few minutes to ensure the ink is dry.
Grab the green sheet that's included with the tattoo sheets and remove the clear side from the green backing.
The more dull side is the back. Make sure you orient the paper so the other side will be printed on.
Once it's finished printing, wait a few minutes to ensure the ink is dry.
Grab the green sheet that's included with the tattoo sheets and remove the clear side from the green backing.
Place the clear sheet over the printed tattoo sheet.
Place the two layered temporary tattoo sheet onto your Silhouette cutting mat and load into your Silhouette CAMEO or Portrait.
Place the two layered temporary tattoo sheet onto your Silhouette cutting mat and load into your Silhouette CAMEO or Portrait.
How to Print and Cut Temporary Tattoos with Silhouette CAMEO
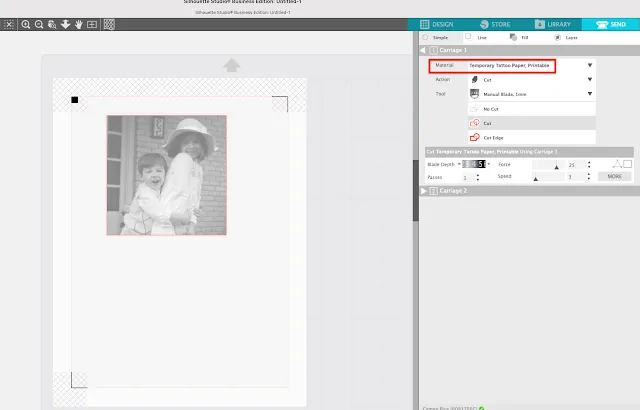
In Silhouette Studio's Send panel, make sure you have selected Silhouette Temporary Tattoo sheets as the material type and adjust the cut settings and the blade.How to Make Photo Coasters with Temporary Tattoo Sheets
Carefully peel away the clear sheet from the photo which should now be sticky.
Place the photo face down onto the tile coaster.
Place a wet washcloth on top of the entire coaster and printed tattoo and apply even and firm pressure for about 30 seconds.
Place the photo face down onto the tile coaster.
Place a wet washcloth on top of the entire coaster and printed tattoo and apply even and firm pressure for about 30 seconds.
Peel away the paper backing leaving the temporary
tattoo transfer behind.
Be careful as the temporary tattoo material is slightly sticky and stretchy until it completely dries.
Be careful as the temporary tattoo material is slightly sticky and stretchy until it completely dries.
How to Seal DIY Tile Photo Coasters
Let the photo dry for about 24 hours. Then seal the coasters with Mod Podge to protect the temporary tattoo photo from water and use.Use a paint brush or a sponge brush to event apply the Mod Podge. Let it dry and then apply a second coat.
Once the Mod Podge has dried, it will be clear. This should protect the photo transfer from any dampness or condensation from a glass that's placed on it.
Note: You might want to add some foam, cork or rubber bumpers to the back side of the coasters to keep them from scratching the surface where they are placed.
Note: This post may contain affiliate links. By clicking on them and purchasing products through my links, I receive a small commission. That's what helps fund Silhouette School so I can keep buying new Silhouette-related products to show you how to get the most out of your machine!
Get Silhouette School lessons delivered to your email inbox! Select Once Daily or Weekly.


.png)


Hello-
ReplyDeleteJust found silhouette school! Wow! May I ask, where did you get the stone tiles?
-mari
HI, I just got them at the hardware store :)
DeleteWhat kind of printer should be used?
ReplyDeleteHey there! You will want an inkjet printer.
DeleteWould this system work on subway tiles?
ReplyDelete