 |
| This is a sponsored post but all opinions are my own |
You guys - it's soooo easy! Want you to think of it like adhesive vinyl rather than HTV...all the way until you get to the point of applying heat. And make sure you read to the end because I have a free cut file for you!
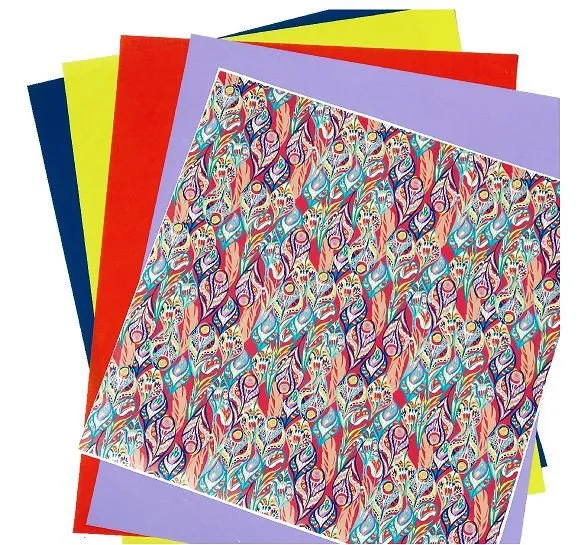
Let's walk through this together. I'm using the Mermaid Scale Curated bundle which includes the amazing Mermaid scale HTV along with four coordinating solid pieces of 12x12 Siser Easyweed! (BTW I'm super excited to say I curated this limited-time bundle myself along with the Featherly Bundle ...and you can grab them both this month over at Sparkle Berry Ink.)
I am not usually an indecisive person, but I had a hard time deciding which solid color I wanted to use with the Mermaid Scale HTV because they all look so cute with the patterned heat transfer vinyl.
To help me decide I filled my design with the pattern and then changed the color of 'mermaid' with blue, hot pink, and soft pink.
I ultimately decided to go with the blue (but the good news is there's plenty of the patterned HTV left so on another project I will definitely go with one of the pinks).
Once you're settled on the design and colors, you want to select the part of the design that will be cut on the solid Easyweed HTV and mirror it. DO NOT mirror the piece that is going to be cut on the patterned HTV.
The difference here - as we'll soon see - is the solid blue Easyweed Heat Transfer Vinyl has a clear carrier sheet while the Sparkle Berry Ink vinyl does not.
When you're ready, send the solid part of the design to cut. The default cut settings for Heat Transfer Vinyl - Smooth in Silhouette Studio should work just fine for you. Weed the design and set it aside for now.
Now we're going to focus on cutting the patterned heat transfer vinyl. As I mentioned you want to treat this like regular adhesive vinyl - so don't mirror the image.
Pick HTV Smooth from the Material list in the Cut Settings.
Place the Sparkle Berry patterned heat transfer vinyl on the mat with pattern side up to cut. Before you cut, note where your design is in Studio and how it where it will cut on the patterned HTV. You can move the placement of the design in Studio if you want to cut a specific area.
Send the design to cut. When it's finished cutting, weed away the excess vinyl. This stuff is a breeze to weed! Probably easier than Easyweed actually!
The HTV design will be on a clear backing. BUT the adhesive is on the BACK of the patterened HTV so you need to use a transfer material to pick it up off the backing before applying to your shirt.
Cut a piece of HTV transfer tape - provided with all Sparkle Berry Ink heat transfer vinyl orders.
Remove the clear transfer sheet from its backing...
...and place it directly on top of the patterned HTV. Use your scraper to burnish it.
Peel away the clear transfer tape so the patterned heat transfer vinyl comes with it...now exposing the heat-activated adhesive backing.
Place the design on the surface and apply with heat and pressure. Since I am pressing two layers of HTV I only pressed this first layer for half the time to help avoid any shrinking.
After 10 seconds of heat at 305 - remove the carrier sheet.
Lay down the Easyweed HTV design...cover with the teflon sheet and apply more heat for 20 seconds.
Remove the clear carrier sheet from the Easyweed design and flip the shirt inside out. Press again for about 20 seconds. This pulls the adhesive further into the shirt.
You'll know you have a great seal on your patterned heat transfer vinyl (and Easyweed) when you can see the grains of the fabric through the vinyl.
Look how cute!!! By the way I have already washed and dried this shirt with no bleeding, fading or peeling issues!
And because I know going to want to get right to cutting this adorable design, I'm offering the Silhouette Studio file to you as a free download.
And while I don't normally make things for myself...I could not resist the Featherly HTV Bundle!! I made myself a workout tank ...
....and I put it on one of my Silhouette CAMEO dust covers.
If you want to get your hands on some of this fabulous patterned Sparkle Berry heat transfer vinyl head on over and grab these awesome curated bundles with make it super easy to coordinate your patterned HTV with solids! You can get the Mermaid Scale Curated Bundle here and the Featherly HTV Bundle here for a limited time only.
Note: This post may contain affiliate links. By clicking on them and purchasing products through my links, I receive a small commission. That's what helps fund Silhouette School so I can keep buying new Silhouette-related products to show you how to get the most out of your machine!
Get Silhouette School lessons delivered to your email inbox! Select Once Daily or Weekly.


.png)


Thank you! I just received my first order from Sparkle Berry and was unsure how to do this. Only problem is I only received one transfer sheet for the 6 printed sheets I received. Guess I will have plan really well! :)
ReplyDeleteThank you for the file
ReplyDeleteThis looks great, but I don't own a heat press. Can this be applied using an iron?
ReplyDeleteThanks for your help.
David
I was just going to ask the same thing! Every youtube video I see uses a heat press.
Delete