My favorite part of the Silhouette crafting process has always been designing in Silhouette Studio. The more you do it the more comfortable you get and the more custom designs you can make because you start to realize how the tools work together to make pretty much any shape you want!
So I was fooling around with creating some Silhouette-inspired designs a few weeks back. These were never intended to hit the blog - I was just doing it for me. (Such a rebel taking a break...).
Like I do, I shared a picture on Instagram and Facebook and you all went wild and begged for the file. (Okay, okay you twisted my arm...I'll share! ) Some even suggested the design would be perfect for a clock face.
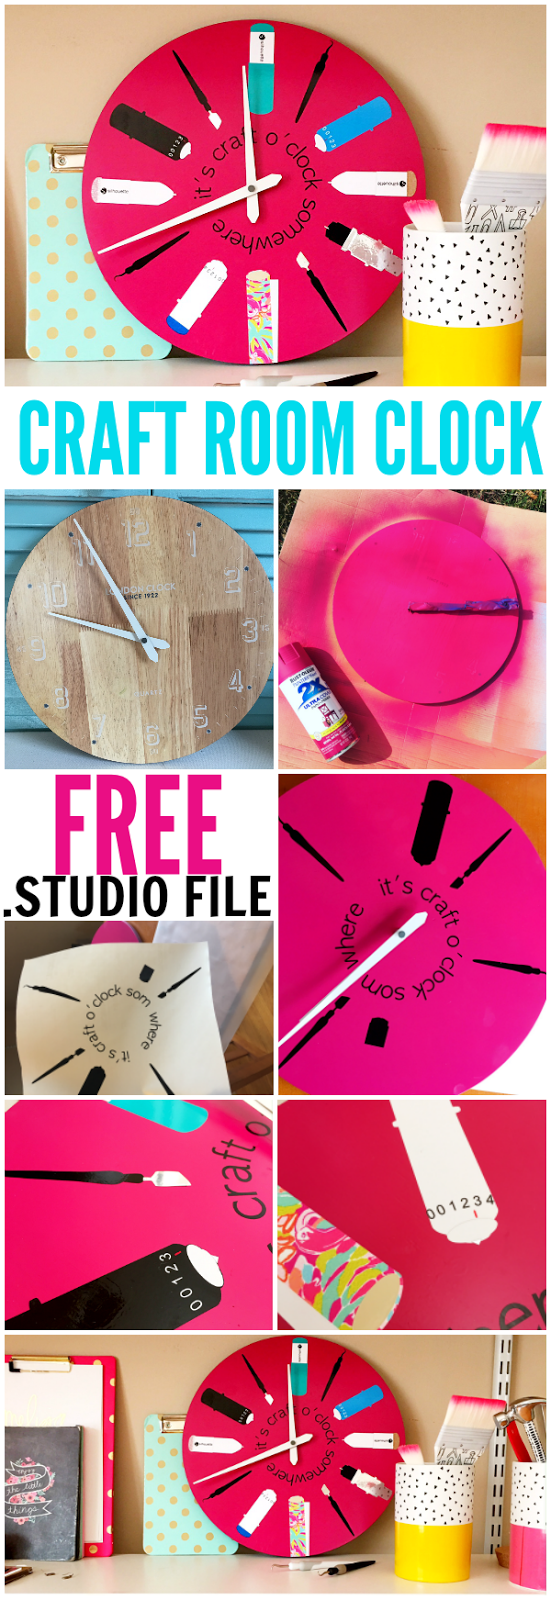
I made a few adjustments and then with the help of the rotation tool in Silhouette Studio had 12 designs perfectly placed for a clock. With the place holders there, I just swapped out the design.
I made a true to size mock up in Silhouette Studio to give me a good idea of what it would look like and to help decide on colors.
Now I could have just print and cut this whole thing here, slapped it on the clock face and called it a day. But I like a challenge...
And so...I turned this....
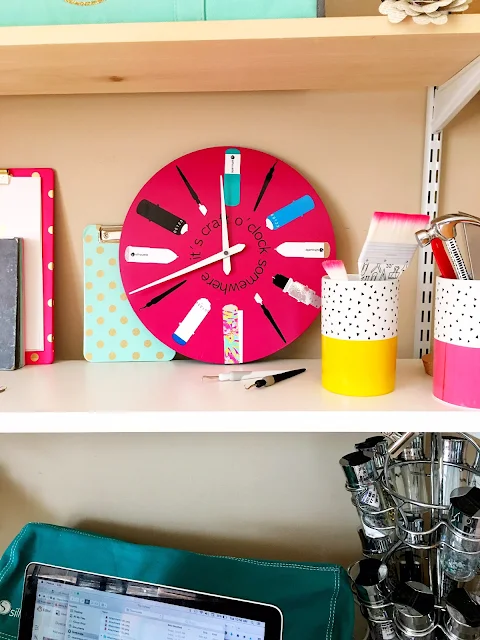
....into this in an hour or two and well....I'm a little smitten with it!
In a nutshell I found an inexpensive clock at Homegoods, taped off the clock hands and gave it three coats of pink spray paint.
When the paint was dry it was time for vinyl and more vinyl and more vinyl...and sticker paper.
I cut the black vinyl first and put it into position using the hinge method.
Because of how much vinyl waste I would have had using vinyl layering registration marks I did a lot of eyeballing it. It's not a technique I usually recommend...but a girl's gotta do what a girl's gotta do and I didn't want to waste all vinyl. In total it's more than 10 layers and colors of vinyl.
Because of the size of the sketch pens and the lettering on them, I decided to actually print and cut them on glossy sticker paper to get the look of vinyl) without the worry of trying to cut the lettering that small. Worked like a charm!
The ends and caps of the sketch pens and the premium blade were added later with various color vinyl.
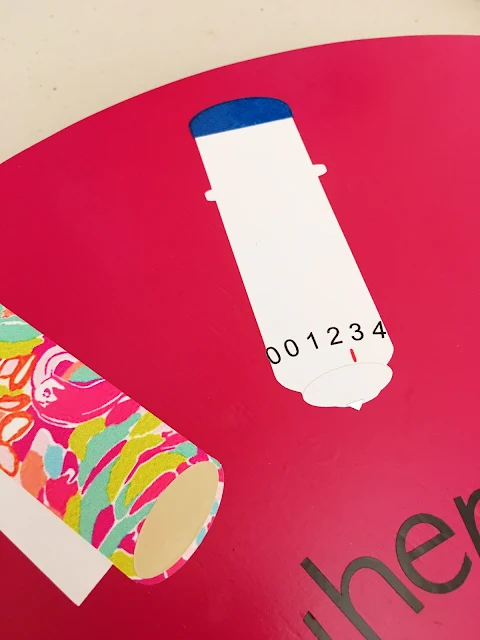
I did cut the numbers on the ratchet and fabric blades on adhesive vinyl and then layer them on top of the black. Using the reverse weeding trick was a life saver for those tiny pieces.
I pretty much think ever Silhouette crafter needs a Silhouette clock in their craft room!
So you want to make your own craft room clock? Or maybe you just want to have the adorable Silhouette design files handy in your library. Either way you can download the free Silhouette design file here.
Please remember, this if for personal use only. If you want to share - we'd love that - please just share a direct link back to this blog post and not the link to the Dropbox or the file itself.
Want to save this Silhouette project idea for later? Pin it!
Note: This post may contain affiliate links. By clicking on them and purchasing products through my links, I receive a small commission. That's what helps fund Silhouette School so I can keep buying new Silhouette-related products to show you how to get the most out of your machine!
Get Silhouette School lessons delivered to your email inbox! Select Once Daily or Weekly.


.png)


LOVE this...thank you so much for sharing! :-)
ReplyDeleteThis is so stinkin' cute. Melissa you're awesome. Thanks. Certainly a must make.
ReplyDeleteTHANK YOU!!! Can not wait to make this for myself.....wondering it P&C would work for all the tools.
ReplyDeleteMerci pour le partage
ReplyDeleteAmitiés de France
Omg I am in love with this!!!! Love the cut you and the clock. Very well done!!! Can't wait to get started=)
ReplyDeleteThank you so much for sharing!! I cannot wait to make this :D
ReplyDelete