Silhouette School monthly contributor Kati from Houseful of Handmade is here today to share her tricks on creating faux metal that can be cut with a Silhouette CAMEO or Portrait!
I really love using my Silhouette to make all kinds of decor for our home, but it cannot cut metal! If it could there would be no end to the possibilities. Instead of letting this little flaw keep me from creating beautiful metal art and decor I decided to figure out how to make paper look like metal and it is so easy.
Have you ever thought about spray painting paper? The paint cans say "works on any surface" but they never actually list paper as one of those surfaces. I decided I wanted to test it out and see how it would work on paper. I am happy to report that it works great with a few tips & tricks.
This is not really a tutorial, but more like some ideas to get you going. There are so many different types and colors of metal, today I will be sharing a handful of different metal looks I created with just paper and spray paint as well as my steps for a successful project!
Step 1: Pick your Paper Spray
Paint will not work on regular copy paper. It is not thick enough to hold up to the wetness of the paint and will curl. I have had success on regular cardstock when the items is not flat (like this Anthropolgie knock-off mirror I made out of paper). If you want your project to look like a flat sheet of metal (like this beautiful faux metal farmhouse sign), I would recommend using cover stock for the best results.
 Cover stock is 100-110 lb cardstock. So it is almost twice as thick and heavy as a regular cardstock. This makes a nice surface for the spray paint that doesn't curl up. It also makes your final project really sturdy.
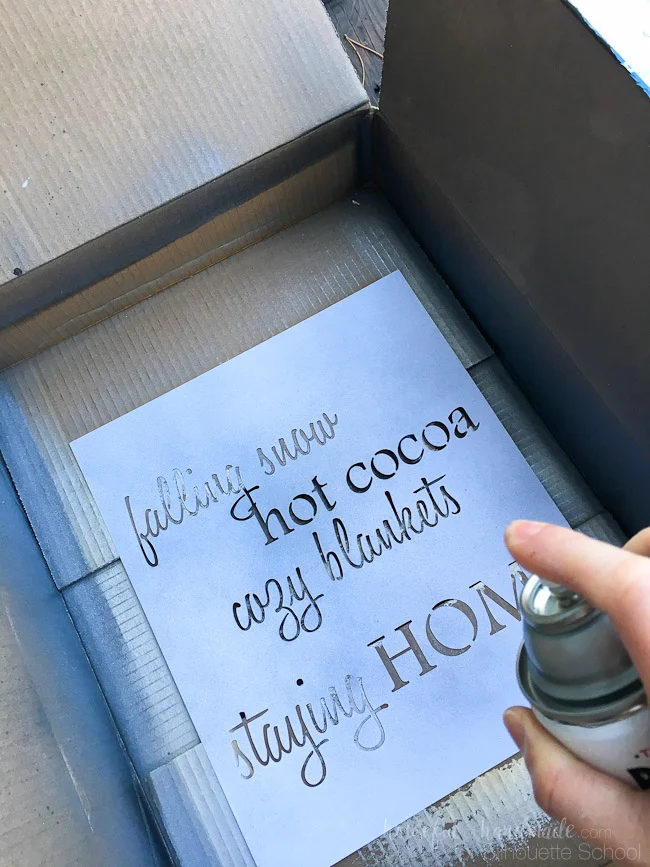
I used 100 lb cover stock to make this winter sign as well as these lanterns for my winter mantle decor. You can't even tell they were made out of paper!
Step 2: Pick your Paint
If you go to your local home improvement or craft store you will see many different options for spray paints. This is just a fraction of the options at my local Home Depot. It might seem overwhelming. There are metallics, glitters, hammered, etc. Depending on the look you want, pick what your heart desires. And remember, it is only paint so if you don't like the end result you can always paint over it.
Things to know when picking out your paint:
- Gloss will give a shiny surface to your paint and matte will be more dull.
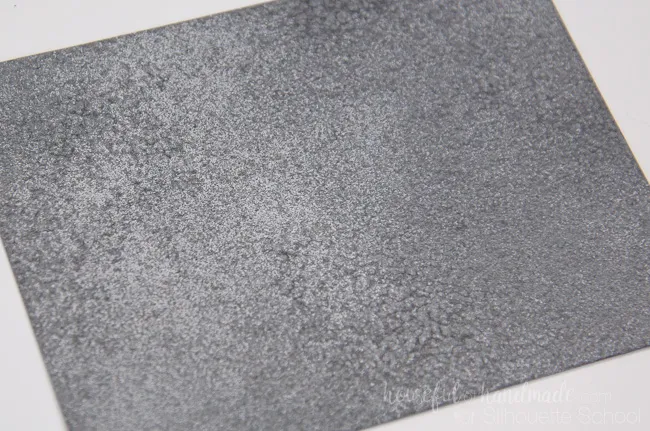
- Hammered paint will create a dotted and textured effect to your paint (this is my current favorite because of the rustic textured look it gives).
- Glitter paint leaves a glittery texture similar to glitter vinyl, but it doesn't cover the surface completely so you will want a base coat.
- Chalked paint is the flattest sheen (absolutely no shine to the paint).
- Top coats can be used on your project to help control the sheen you want (from matte to high-gloss) and can also add an extra layer of protection to the surface.
Cut out your project on your Silhouette and assemble it. For cover stock or heavier card stock, use the default card stock cut settings in Silhouette Studio to start, then adjust the thickness to about 25 and double cut.
Of course, whenever you're cutting paper use the segment overcut feature to get crisp, clean edges and perform a test cut to make sure your cut settings work for your paper!
Assemble all the parts that will be painted, but if you are adding something to it (like a mirror), you will add that after you paint. I love using hot glue to assemble my 3D paper decor because it dries fast and holds well on the porous paper (and it's cheap). Clean any large drops of glue off your project with an X-acto knife before painting.
Step 4: Time to Paint
Paper is very porous and will require 2 or more coats. I find the first coat sinks into the paper and the following coats sits on top of it more and really show you how the paint will look.
You will want to paint outside or in a garage with lots of airflow. I like putting my project in a cardboard box to help protect the surface from overspray. There are also awesome pop-up tents made for spray painting that you can use for even more protection.
When spraying your project, keep these tips in mind:
- Aim for more light coats instead of fewer heavy coats to eliminate puddles and drips in your paint.
- When painting, spray over the edge of your project so when you turn back for the next pass you don't have heavy spots where you turned.
- Spray paint dries quickly (especially when doing light coats), you will only need to wait 10-15 minutes (if the temperature is around 60-70 degrees) to apply another coat.
For the hammered paints, I learned they need a good solid first coat. The paint needs to not soak into the paper to create the textured look that makes it look like hammered metal. Also the hammered paint needs a heavier coat than the other paints in order to achieve this finish.
I hope I inspired you to make some faux metal projects with your Silhouette. If you want to see more fun ways I use this machine, make sure to check out my blog Houseful of Handmade. And thanks Melissa for letting me share with you guys again!
Note: This post may contain affiliate links. By clicking on them and purchasing products through my links, I receive a small commission. That's what helps fund Silhouette School so I can keep buying new Silhouette-related products to show you how to get the most out of your machine!
Get Silhouette School lessons delivered to your email inbox! Select Once Daily or Weekly.


.png)


I especially like your cutting tip. But, are you painting the letters with black paint or another metal color?
ReplyDeleteInspired and inspiring! I have save some cereal boxes and this might be just the idea to make something out of them.
ReplyDeleteIt looks fantastic, I would've lived there as a student for sure. It doesn't look like you used less expensive materials, rather it's very clean, fresh, and functional. Great job. 3D printed foundry molds
ReplyDelete