But did you know you can actually turn any design into a split design in just a few minutes in Silhouette Studio? This Silhouette tutorial will explain exactly how.
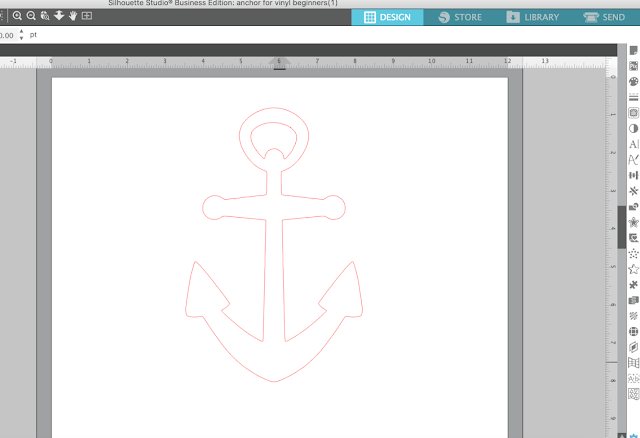
Start by opening up your design in Silhouette Studio. I'm using this anchor design I had in my library.
Click the Draw a Rectangle tool from the left sidebar and draw out a long narrow rectangle.
Duplicate the rectangle. To duplicate it exactly below so the rectangles stay centered I use the Command + Down Arrow key method. (Read more on this replication method in this post on my 7 favorite Keyboard Shortcuts for Silhouette Studio).
Group the rectangles and place them over the center of your design. If eyeballin' it isn't your style you can use the align tool to make sure the rectangles are centered over the design.
Select the rectangles and the design this time. Go to the Modify tool along the right tool bar.
Click 'Subtract All' and the space 'behind' the rectangles will be subtracted or deleted.
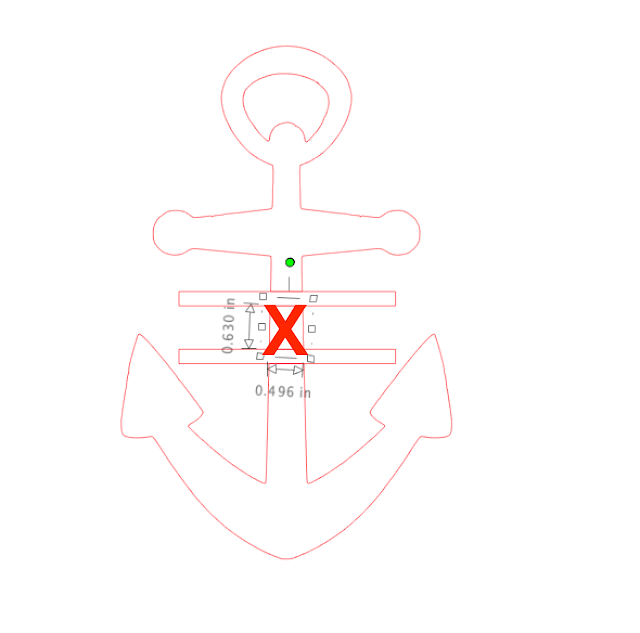
The little space between them is still there and needs to be deleted. If you can't click that little piece right click > ungroup (or click the Ungroup tool along the top tool bar) and then delete that area.
Now you have your two rectangles and your anchor design is split in half. However, nothing is overlapping so if you try to weld at this point nothing will happen because the rectangles are next to, but not overlapping the original design.
The easiest thing to do is select the top rectangle and, using the arrow keys on your computer, tap it up a few taps until it overlaps the top half of the anchor. Do the same with the bottom rectangle tapping it down.
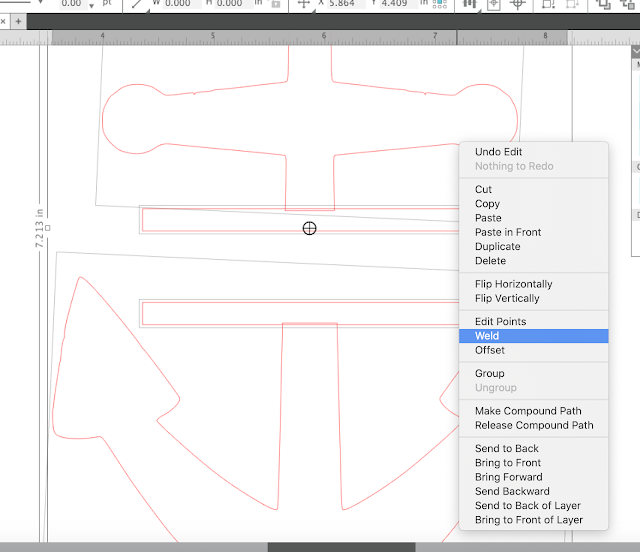
Once it's slightly overlapping, select all of the pieces > right click > Weld.

And there you go!
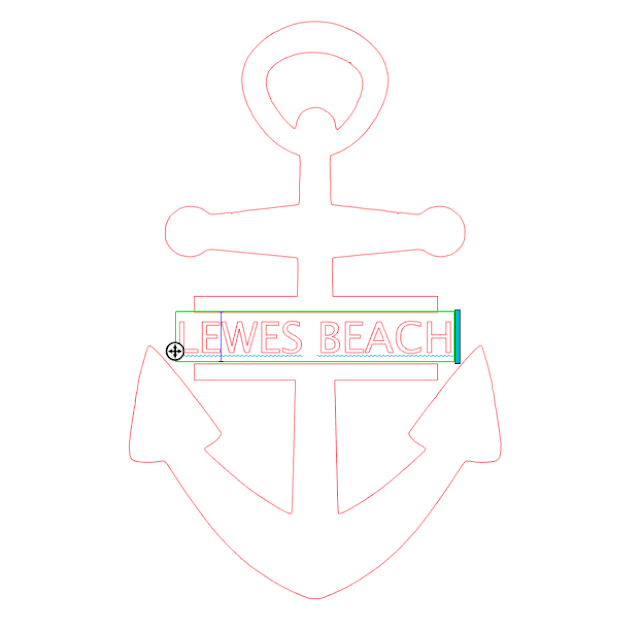
Now just add your text in whatever font you want!
TIP: If you need a little more space for the text, select the bottom half of the design and use the arrow keys to move it down a little bit. The reason you want to use the arrow keys and the not the mouse is so it stays aligned with the top half of the design.
Note: This post may contain affiliate links. By clicking on them and purchasing products through my links, I receive a small commission. That's what helps fund Silhouette School so I can keep buying new Silhouette-related products to show you how to get the most out of your machine!
Thanks for coming to class today at Silhouette School. If you like what you see, I'd love for you to pin it!

Get Silhouette School lessons delivered to your email inbox! Select Once Daily or Weekly.


.png)


After looking at your post, I sit here wondering if you live in Lewes Beach DE? I'm originally from DE...
ReplyDeleteAnyway, thanks for the tutorial. I love your blog because I learn so much!
I don't live in Lewes, but I do live in New Castle County. I've spent every summer of my entire life in Lewes.
DeleteGreat tutorial. So easy to follow and makes it so clear. Thanks for posting this, I'll surely use this often.
ReplyDeleteMerci pour cette astuce.
ReplyDeleteBises de France
Avec ce blog on est meilleur a chaque publication. Merci pour le partage.
ReplyDeleteSalutation du Quebec
Wonderful tutorial, I think I can do it now LOL.
ReplyDeleteFaith
x
i AM SOOOOOOOOOO LOST:( Have had this machine for a while, generally not stupid but I cannot get it to do ANYTHING. I cannot even get the white rollers to move, let alone insert vinyl with no mat. Can you help???? I feel really stupid, but generally, am not. THANKS.
ReplyDeleteThanks Melissa. Love it. What type of vinyl is good on the car?
ReplyDeleteHave a great weekend
I made Little Monster to put on my son's truck, I used regular vinyl and works great.
ReplyDeleteWhen I do my final weld, there are small black areas that appear at the corner of the rectangles. DO you know what may cause this or how to stop it?
ReplyDeleteI am unable to get the small square between the 2 bars I create to disappear like it's supposed to. Please assist. :)
ReplyDeleteI am unable to get the small square between the 2 bars I create to disappear like it's supposed to. Please assist. :)
ReplyDeleteCan you then fill with two separate patterns?
ReplyDelete