 |
First let's talk about saving materials... I save every little scrap of glitter htv because that stuff's not cheap and sometimes a little glitter goes a long way. A lot of the time though, those scrap pieces don't have the clear backing material and so they're tough to cut and even more challenging to transfer. Enter: High Heat Tape. (This stuff is awesome, by the way, and can be used in so many ways when heat pressing! You can use it with rhinestones and heat transfer vinyl on flat items or rounded such as heats or shoes to hold the HTV in place.)
To demo, I am using the .5" tape to show how you can use it when you are working with HTV that doesn't have a backing. Basically, to cut heat transfer vinyl that doesn't have a clear transfer sheet, you cut your HTV with the right side up and don't reverse the image in Silhouette Studio. That's the abbreviated version - if you need a step by step tutorial check out this one.
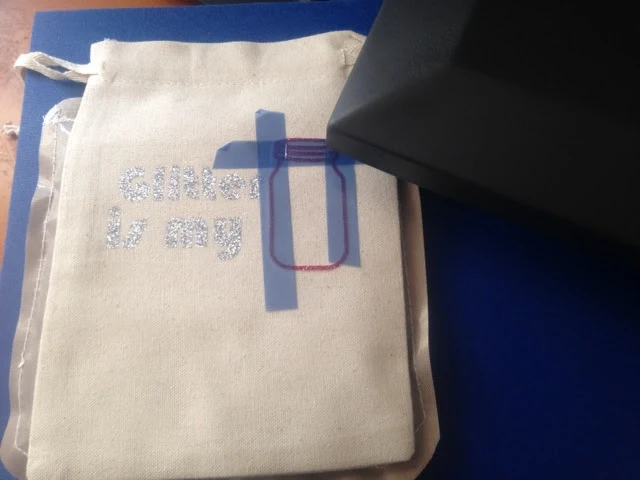
When your design is finished cutting and has been weeded, and is still on the mat, you take a piece of the blue heat safe tape and place it over the design. You can use several pieces, if necessary, to cover the full design depending on how big it is.
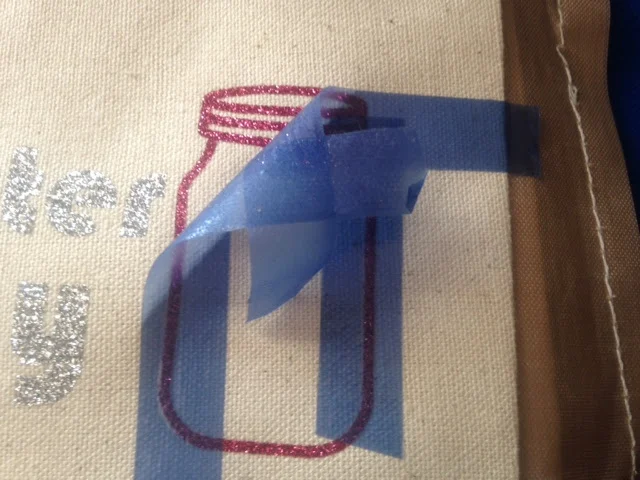
Peel up the tape bringing the design with it and then place it on the surface where it will be applied. The tape does a few things: 1) provide stability so your design stays in its intended shape 2) makes it easier to move 3) is heat safe.
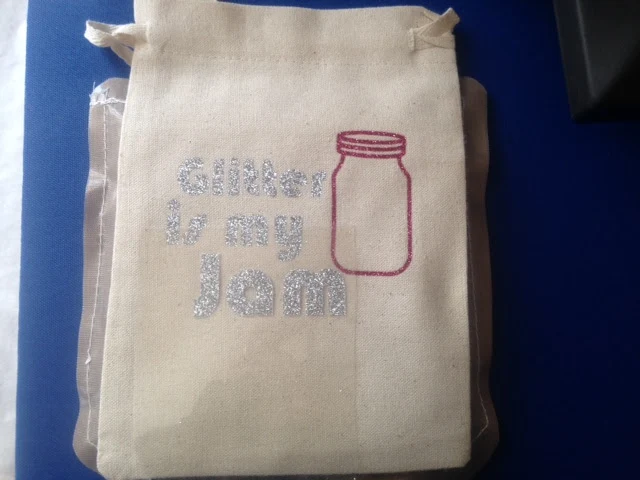
You still need to cover the htv and heat tape with a Teflon sheet, but after you press you can safely and easily remove the tape. The best part is - it doesn't leave any residue or coloring behind on the htv or the fabric.
Now you may have noticed I had a little something under my small canvas bag while pressing. Just so happens that's the second trick I have up my sleeve. That's a small pressing pillow - and it's super useful.
When you are pressing HTV onto an item that has any kind of seam, zipper, or in this case, drawstring, they create a gap when pressing. That gap prevents the top plate of the heat press (or iron) from getting a tight seal on the actual HTV which can cause it to peel.
By placing the pressing pillow under or inside the garment right where the HTV design is located, it bulks up that area so it's higher than the drawstring, seams, zipper, etc allowing the top plate to completely press the design. Basically you want the bulky area NOT on the pillow as in the photo below.
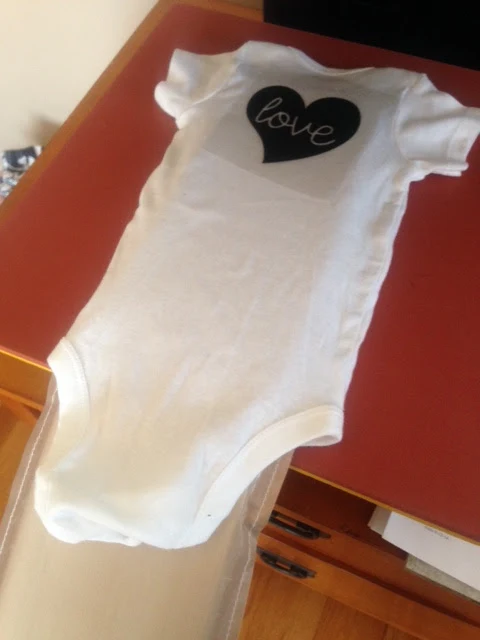
The pressing pillows typically come as a set with several sizes. I like the long skinny one (5.5" x 22") for things like onesies. It slides right in the bottom opening and I stop it right before the neck seam so the torso area is lifted. The largest size (12x24") works much the same for adult-size shirts.
And that, my Silhouette friends, is how you rock some heat press hacks!

Note: This post may contain affiliate links. By clicking on them and purchasing products through my links, I receive a small commission. That's what helps fund Silhouette School so I can keep buying new Silhouette-related products to show you how to get the most out of your machine!
Thanks for coming to class today at Silhouette School. If you like what you see, I'd love for you to pin it!

Get Silhouette School lessons delivered to your email inbox! Select Once Daily or Weekly.


.png)


Great post! Thanks so much for the info. I have my starter kit and am waiting on my heat press. Can't wait to sparkle up my world! :-)
ReplyDeleteWow!!! It is really interesting post. Great to read. Thank you for sharing :) Expecting more awesome posts from you and waiting for that. :)
ReplyDeleteWhat heat press do you recommend?
ReplyDeleteWhat heat press is recommended by you ?
ReplyDeleteHow do you end up with HTV with no backing? Are they from the HTV that you weed away? I never thought to save that (and sometimes there is a lot!). Thanks for the heat tape tip!
ReplyDelete