You know us crafters are always looking for more ways to reduce costs and save money. If there's one thing that eats up your profit, it's wasted material. Today, Silhouette School contributor Becky from My Paper Craze is here to share a Silhouette hack to fix HTV mistakes!
When I make a mistake, I just see dollar signs swirling down the drain. Fortunately today we're gonna teach you how to save a few of those dollars and learn how to do a quick fix when you're layering an HTV design.
So naturally, when making shirts for our family Disney trip, it was last minute and in the rush I missed an area that needed to be weeded.
Usually I'd be reaching for my trusty HTV remover, but I just hated to waste that vinyl. So I started thinking and inspiration struck!
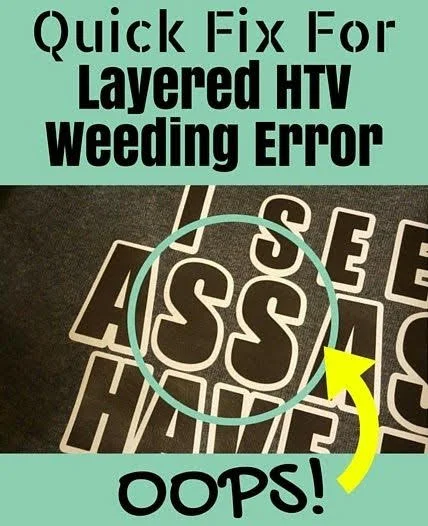
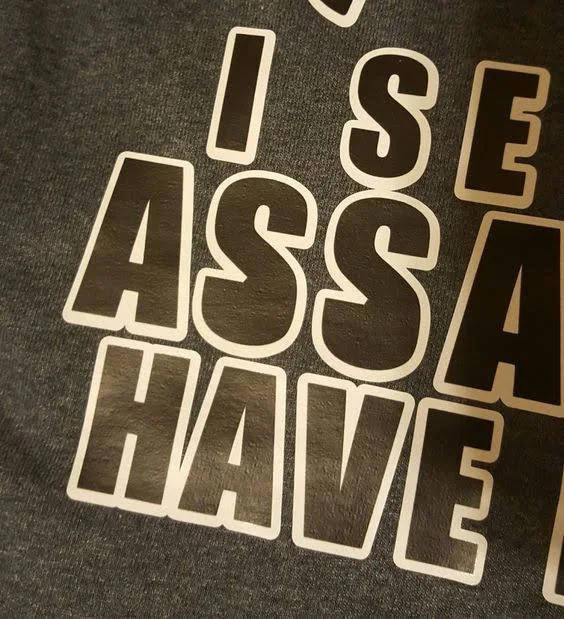
First let's look at what I was working with: I forgot to remove the inner pieces of the S's in Assassins (wait til you see the full design, it's worth the wait!).
Okay, so as you can see, I'm doing a simple white outline on the bottom, layered with black letters on top. So in this case, the middle curl of the S letters should have been white, but were instead black, blending in with the letters. One thing I really like about HTV is that it practically melts together, but in this case, it just means that my letters look funny. So without removing the HTV, how can I get the inside of the S letters white? Cut some scrap pieces, of course!
I started by recutting the two S letters exactly like I did for the black letters, same size and shape. However, instead of cutting them on black again, I cut them out of white. I cut on white because I actually wanted the negative (outside) area, not the actual letters themselves. This will start making sense in just one minute. So cut the SS portion of the letters on normal HTV settings and weed out the letters themselves.
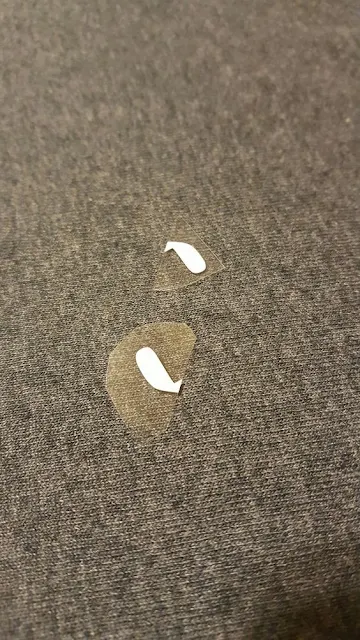
Now you may be asking why I need the full letter negative? Well, I don't. I just need the inside portion to cover up the black mistake. Grab your scissors and trim off only the piece you need. This doesn't have to be exact, remember that the HTV will melt together and be virtually seamless. Just make sure that the pieces that you cut do not extend over into the shirt design. Start by lining up your weeded design to get an idea of where to snip with your scissors.
In this case, I was able to snip off these little pieces that fit perfectly inside the S letters:
I know they don't look like much, but look how beautifully they fit inside the S letters.
After you get them lined up, simply throw back in the heat press (or grab your iron) for just a touch up. It's quick and easy, plus you didn't have to peel off all that vinyl and recut a major part of the design. And as promised, here is the shirt! Of course, it's available as a free file download today on My Paper Craze's post: Funny Assassins Man Shirt and Gift Idea with Free Cut File.
Note: This post may contain affiliate links. By clicking on them and purchasing products through my links, I receive a small commission. That's what helps fund Silhouette School so I can keep buying new Silhouette-related products to show you how to get the most out of your machine!
Thanks for coming to class today at Silhouette School. If you like what you see, I'd love for you to pin it!

Get Silhouette School lessons delivered to your email inbox! Select Once Daily or Weekly.


.png)


Perfect!
ReplyDeleteVery good! We still need a time machine to fix forgetting to flip before cutting.
ReplyDeleteAnd just as you showed, leave the clear carrier bigger than the vinyl when fixing mistakes.
And we learned last week, look out for clear carrier overlap when doing multi color pressing. (Oops!)
Genius.
ReplyDeleteGreat idea! I think I'd go one step further & cut the letter S's in half so I wouldn't waste as much of the white vinyl, since you only need the bottom half.
ReplyDelete