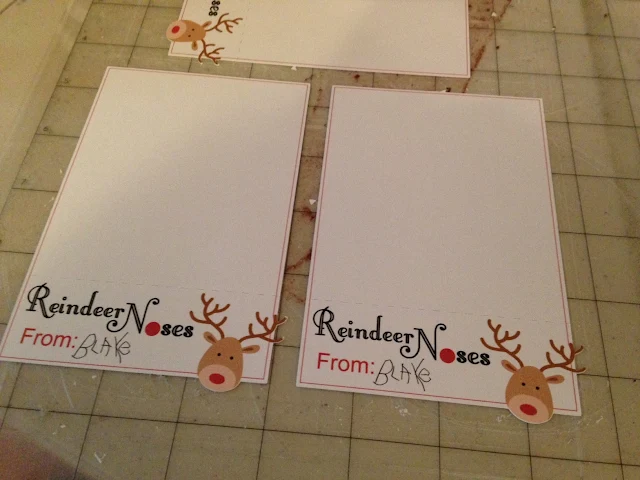
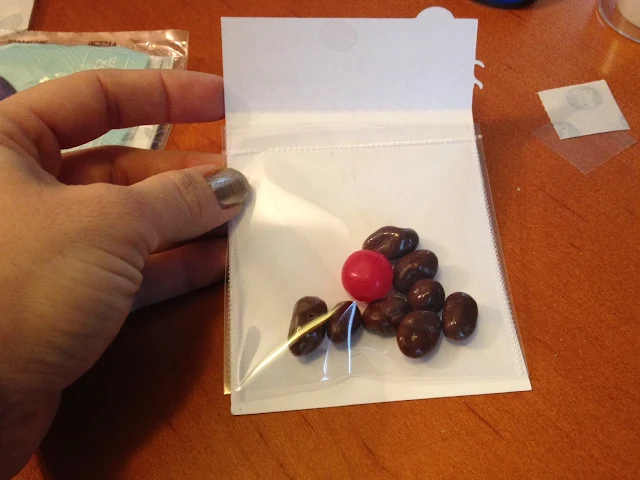
This is literally a 15 minute Silhouette print and cut project. I've designed the file for you and I have a shopping list all ready for you so your work here is minimal - something I know we can all appreciate this time of year.
Supplies:
3x4" Sealable treat bags
Cardstock for Print and Cut
Glue Dots or Double-Side Tape Roll
Brown and Red Candies: Suggestions: Chocolate Covered Raisins and Sour Red Cherry Candies or Red and Brown M&M's (I purchased my candies at Dollar Tree.)
Start by downloading the free Studio cut file and opening in Silhouette Studio.
Personal Use Only
OPTIONAL: If you want to add your child's name in their own handwriting, as I did, have them write their name on a piece of paper. Snap a picture and email it to yourself. Drag and drop the jpeg into Silhouette Studio and trace it. Then fill the trace and change the line color with black (or whatever color you want). Move it into position and set the name to 'no cut.' The only thing that should be cutting is the outline of the fold over tab. A full tutorial on tracing handwriting can be found here.
While the designs are cutting, fill each treat bag with 8 brown candies (reindeer noses) and one red candy (Rudolph's nose). Seal the bags and set aside.
When the Silhouette is finished cutting, remove the papers off the cutting mat and fold at the perforated line. Repeat the cutting process for as many treat bags as you need. Please excuse my mat...I was experimenting with cutting leather and it left my mat extremely dirty!
You will need two glue dots or two strips of double-sided tape for each bag. Place one glue dot or a line of tape on the under side of the folded tab. Place another glue dot or strip of tape on the larger section of the backing.
Fold the top tab over and press it down so the adhesive on the underside sticks to the top area of the bag.
Enjoy!
Note: This post may contain affiliate links. By clicking on them and purchasing products through my links, I receive a small commission. That's what helps fund Silhouette School so I can keep buying new Silhouette-related products to show you how to get the most out of your machine!
Thanks for coming to class today at Silhouette School. If you like what you see, I'd love for you to pin it!

Get Silhouette School lessons delivered to your email inbox! Select Once Daily or Weekly.


.png)


Melissa, thank you for these super cute treat bags. You did all of the work....and I still can't get it right :-( My bags are not printing correctly. The Noses prints inside the Reindeer word. Not enough space left to add From: Suggestions, please.
ReplyDeleteWow this is really cute. I really liked it. The most attractive thing is its simplicity. I need to try this. Thanks for sharing each steps.
ReplyDeleteessay writing
I am having the same problem as Shelly - new at this so need lots of HELP!
ReplyDelete