 If you don't have Pixscan, I would highly recommend it - but in the meantime, I shared another way to make shape templates a few weeks ago, which works great if
you don't have Pixscan or if you have a white or clear blank that
doesn't pick up well on Pixscan.
If you don't have Pixscan, I would highly recommend it - but in the meantime, I shared another way to make shape templates a few weeks ago, which works great if
you don't have Pixscan or if you have a white or clear blank that
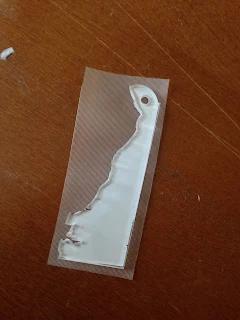
doesn't pick up well on Pixscan.Most acrylic blanks - especially clear ones are going to come with a brown protective cover sheet on them. Keep that one there while you create the die cut template - it's crucial! The contrast between the brown and the white PixScan mat makes it much easier to scan.
Knowing I'm a Delaware girl, My Vinyl Direct sent me a cute little 3" blank acrylic key chain to test out. But you should know they have all state shapes and lots of other shaped blanks including these adorable mason jars!
After you've taken the picture, email it to yourself and open the PixScan image. If you're new to PixScan read through the 101 tutorial so you can get the step by step on bringing the image into Silhouette Studio.

After the image opens up in Silhouette Studio you can do one of two things...
- You can use the Trace tool to trace the image
- You can use the Draw a Curved Shape tool to drop edit points along the edge of the shape to create the shape, similar to how I did it here
Once I've done that I get a nice red cut line around the design. Look closely and you can see it around the edge of my design and around the key ring hole.
Around the inlet area, I needed to adjust a few of the edit points so I just selected the cut line and then selected the Point Editing tool (in blue along the left sidebar below) and then I could pull the edit points in and out so they were exactly along the edge of the design.
Once it was perfect, I deleted the PixScan image and was left with just the cut line in the shape of my acrylic blank. Remember, the beauty of PixScan, in this situation, is that it keeps the virtual design in exact size proportions to the actual acrylic blank. As long as you don't resize the cut lines at all, when it's cut it will be exactly the same shape and size as the blank. (Remember, ONLY in this case did I have to mirror the image so it was correctly oriented. See above for why I put it on the PixScan backwards).
Now you can make the cut on vinyl.

To apply the vinyl to the acrylic I find it easiest to pick the vinyl up with transfer tape. Lay the vinyl down flat on the surface (if it won't stay flat lay it on the Silhouette cutting mat, the sticky surface will keep it flat) and line up the bottom edge of the vinyl with the bottom edge of the acrylic and then lay the acrylic down flat.
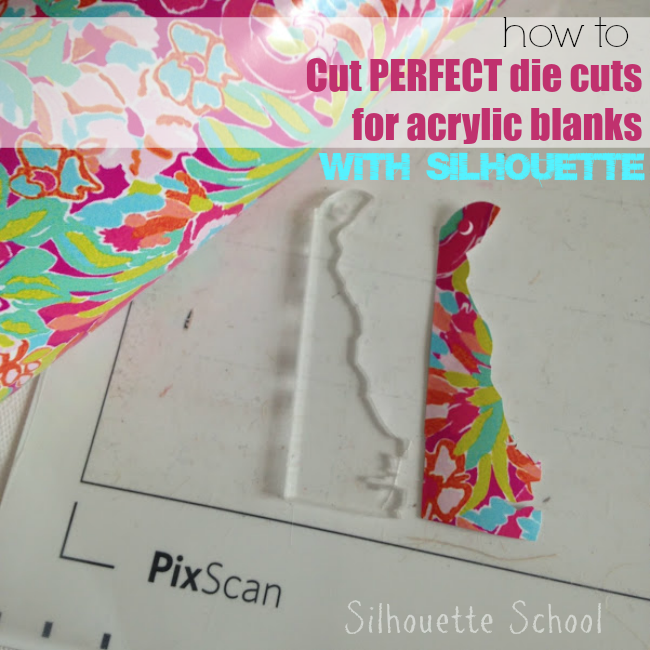
You can see that using the PixScan mat this way, the edges of the vinyl line up perfect, the sizing is spot on and the hole for the key ring is in exactly the correct spot.
Note: This post may contain affiliate links. By clicking on them and purchasing products through my links, I receive a small commission. That's what helps fund Silhouette School so I can keep buying new Silhouette-related products to show you how to get the most out of your machine!
Thanks for coming to class today at Silhouette School. If you like what you see, I'd love for you to pin it!

Get Silhouette School lessons delivered to your email inbox! Select Once Daily or Weekly.


.png)


Love this post! I've been wanting to order some of these acrylic state blanks! Can I ask where you got your pretty vinyl from?
ReplyDelete