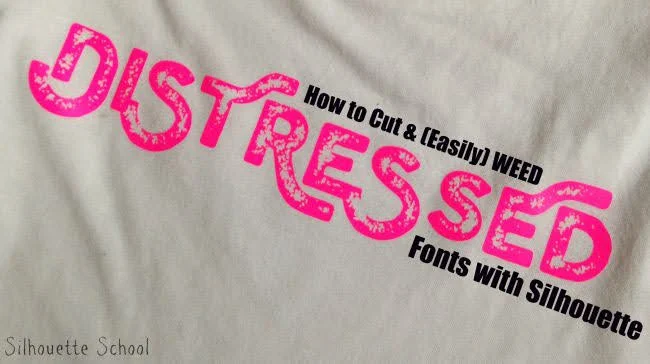
Three of my favorite distressed fonts - Brawls Rough, Furach, and Bronks Script - came with a recent deal from The Hungry JPEG. (That deal's now expired but a new one is up!) My favorite among the favorite is the Brawls Typeface Rough so I'm going to show you how to cut and weed distressed fonts using Brawls as an example.
I know the vintage or distressed look is one that many Silhouette users strive to get, but it can be a challenge. Some distress the actual heat transfer vinyl with various tools like say a cheese grater (ouch)...but I choose to use designs and fonts that are actually designed as distressed such as this awesome Brawls font. So here goes...
What you want to do is type out your text. You'll notice some of the same characters in Brawls are actually different -like the two E's - that's the difference between upper and lower case so keep that in mind. After typing out the text I selected it and welded. I filled it in so you can see what it looks like as distressed.
Now you want to size your design. Keep in mind, the key to using this font - and other distressed fonts and designs - is that you don't want the design to be too small for three reasons:
- It will take FOREVER to cut (like my two designs took more than half an hour!)
- The distressed area won't be obvious enough once pressed on the shirt (as in the example below)
- It will be impossible to weed out the distressed areas because they will be more like specs than distressed.

To get the bottom effect above: Select the text > Right click > Ungroup. Then right click again > release compound path.

Note: Your Silhouette Software is running slow right now because of all of those little cut lines. Each distressed area is a separate line and that's a lot of the computer to handle.
Go back and select ONLY the outline of each letter. Hold down shift while you select each letter in the design because you want the entire outline to stay intact. Move it below and immediately right click > group.
You should have something that looks like this.
Now select all of the distressed areas by doing a big swipe around them with the mouse > right click > group.
Open up the Offset window (in blue below along the top tool bar) and Offset > .015 > Apply.
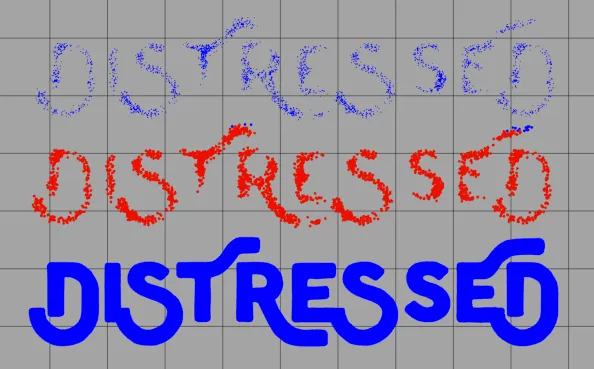
Immediately grab that selected area and move it away from the original distressed pieces (which you can now delete). I'm showing them to you here all together so you can see the difference - the blue is the original outline and distressed area while the red is the offset distressed.
Now you can put the offset distressing and the outline back together.
Once you do that be sure to select them both at the same time > right click > make compound path.
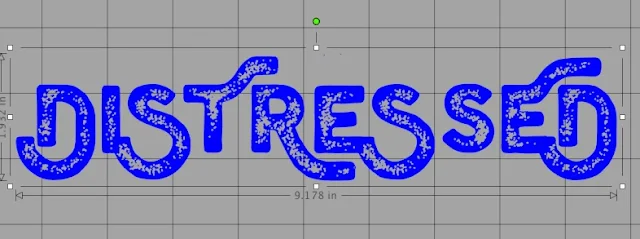
Ta da!
To prepare to cut, mirror the design like you normally would any other HTV design and go ahead and cut. Prepare to wait...it can take forever to cut all those little distressed areas.
But once it's done get ready for the fun part - weeding all that distressed area! Sounds like it would be a huge pain-in-the-you-know-where, but I've come up with a little craft hack to make your life so.much.easier. Ready to have your mind blown?
Weed away the large piece around the design. If you're lucky the machine kind of weeded some of it for you while it was cutting. That can happen with these little pieces so check your blade.
Now you're going to go dumpster diving in your craft room trash can. You're looking for the sticky HTV sheet that you peeled off a previous project after you pressed the HTV on.
Lay the sticky side down onto the BACK side of the distressed design and use your finger to press it.
You're going to use it like transfer tape, but you only want to pick up the distressed areas! You can keep doing this blotting the sticky sheet all over until you have removed all of the little distressed cuts. Here's a quick :17 second video to show you how it should work...
This video has no audio
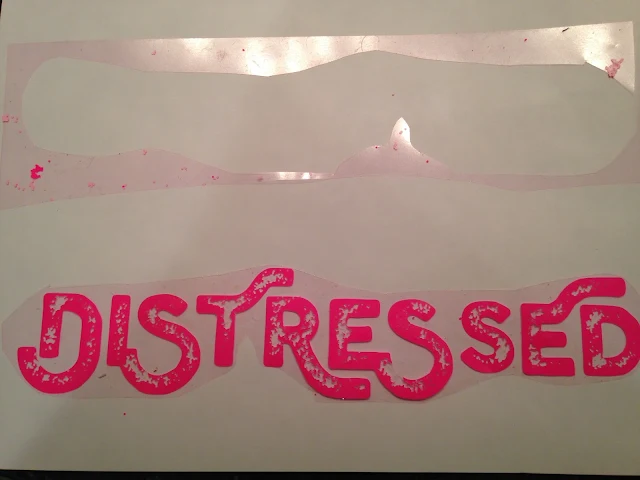
And now you're finally ready to flip them that into a shirt and press it on!
Note: This post may contain affiliate links. By clicking on them and purchasing products through my links, I receive a small commission. That's what helps fund Silhouette School so I can keep buying new Silhouette-related products to show you how to get the most out of your machine!
Thanks for coming to class today at Silhouette School. If you like what you see, I'd love for you to pin it!

Get Silhouette School lessons delivered to your email inbox! Select Once Daily or Weekly.



.png)


I love the bundle. How do I use the otf fonts with silhouette?
ReplyDeleteJulie
I absolutely love this bundle. I really would like to make this my first font purchase but, I have the same question about using it in my Sil Studio DE, since I do not have PhotoShop, Illustrator, InDesign and CorelDraw. If I were to invest in one, does anyone have a recommendation?
ReplyDeleteYou're simply amazing! What a great tutorial!
ReplyDeleteI totally have a project in mind for this. You are a genius!
ReplyDeleteThis is great info! I have wanted to do the distressed look but couldn't bring myself to weed all the little specks from the fonts. Thanks so much.
ReplyDeleteAny idea if this would work for Oracle 651 instead of HTV? My mom wants a wood sign but wants the distressed lettering.
ReplyDelete