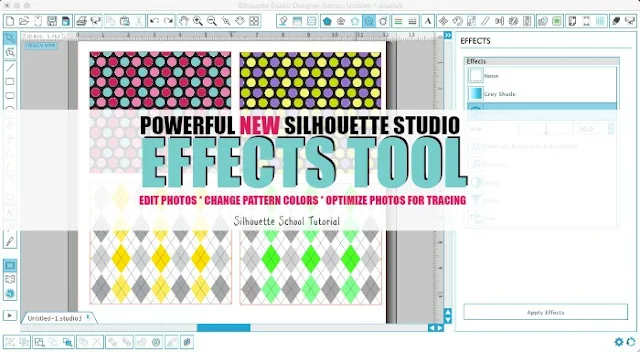
If you haven't discovered the beauty of the Fill Pattern tool - you're gonna need to check that out. It's amazing for mock ups and print and cuts. The only problem is you are kind of stuck with the pre-set colors of the pattern - until now. If you have updated to Silhouette Studio V3 (and there's no reason you shouldn't) you can use the Shader Effects tool to change the entire design's colors. However, if you are still on V2 or you want to change specific pieces of a pattern - you're unable to do that...until now.
Silhouette Studio comes with more than two dozen patterns. You can add more by dragging and dropping into your My Patterns folder if you have Designer Edition. But if you don't you can stretch the ones you have by changing the colors.
There are a few steps here so just bare with me....
The first thing you want to do is open a shape that you want to fill with a pattern. Let's say that shape is a heart.
Then open up the Fill Patterns tool (highlighted in blue along the top tool bar above).
Select the shape and pick a pattern by double clicking the thumbnail of the pattern in the right window. (All patterns can be changed with the work around I'm about to show you - but some are FAR easier than others. I'll show you an easy one so you can see how it's done - then when you understand the basics you can play around with changing the colors of other patterns.)
Remove the original shape and on the traced image release the compound path (right click > release compound path). This is what is going to give you the freedom to change the colors of the individual pieces.
You can delete the original patterned heart.
And now you can select the individual pieces (or several pieces at once by holding down shift and clicking the pieces) and use the Fill Color tool (in blue along top tool bar below) to fill them with whatever colors you like!
When you're finished changing the colors, group the design all back together. You won't be able to make it a compound path or all the colors will change to the same color.
Remember, if you're using this for a print and cut you want to make sure you only set the design as "cut edge" in the Cut Settings Window.
Again, some patterns will be easier to have their colors changed than others - but all would be done the same way in Silhouette Studio.
And here's how to make further changes to patterns using the Shader Effects tool...
And here's a quick Silhouette Video Tutorial on using the Shader Effects tool!
Note: This post may contain affiliate links. By clicking on them and purchasing products through my links, I receive a small commission. That's what helps fund Silhouette School so I can keep buying new Silhouette-related products to show you how to get the most out of your machine!
Thanks for coming to class today at Silhouette School. If you like what you see, I'd love for you to pin it!


.png)


Thanks for the tutorial. Didn't even think to try this. You're awesome.
ReplyDeleteJust wish the shader effects tool would work for me.