I started playing around and here are a few fun ways I turned some acrylic alta discs and clips into fun accessories, for boys, girls, and babies!
The basic tutorial for the clips is this:
- Open up Silhouette Studio.
- Use the Draw a Circle tool to draw a 1.25" circle. You can use the Scale tool to get it exactly right.
- This will serve as your guide.
- Now add the design, lettering, text whatever you want on your clip.
- If necessary, delete the circle guide.
- Cut and weed the vinyl
- Place the transfer paper or tape onto the vinyl design to remove it from the backing
- Place the vinyl onto the smooth side of the disc (not the side with the ridge)
- TIP: If your design is circle and it needs to fit exactly onto the circle clip, it's actually easiest to flip the design upside down and lay the clip directly onto it (rather than trying to place the vinyl onto the clip), then peel off the transfer paper.
- Turn the disc over and put a large dot of E6000 glue in the center of the disc
- Open the clip and place one half of the clip into the glue *
- Allow to dry for 24 hours before using.
Croc Clips
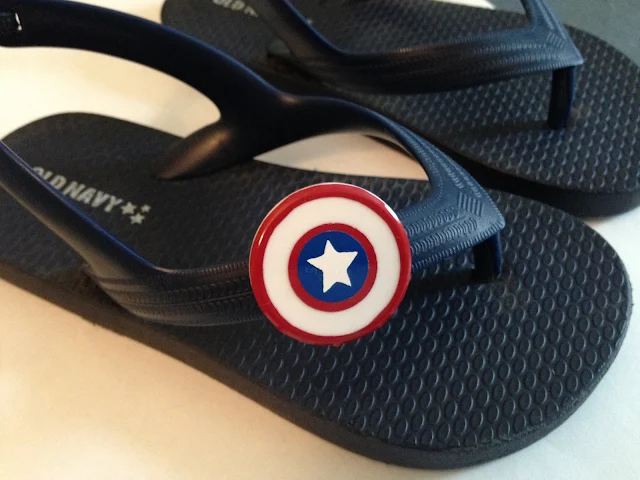
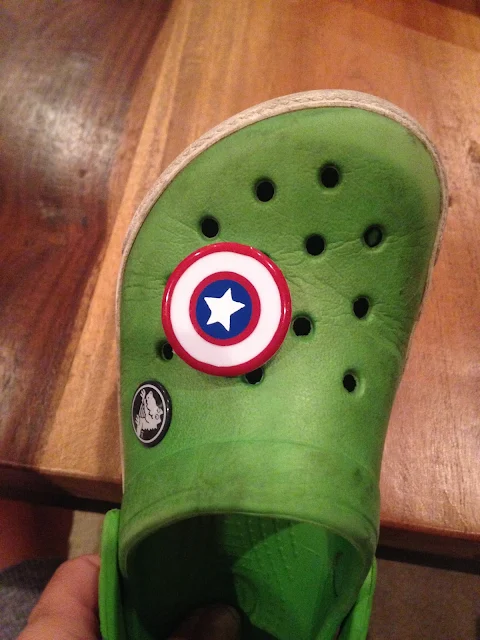
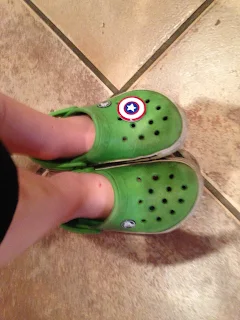
I made a super-hero inspired Croc clip for my 4 year old and he just about fell in love at first sight. I have a confession to make though...I'm embarrassed to say how many times I had to cut this silly design!!! Too big, too small, not enough red rings, weeded the wrong area. Finally, I got it!
To attach the clip to the croc simply open up the clip slip the open half into one of the croc holes and close the clip.
You can easily remove the clip from the shoe and put it on any type of shoe!
Headband Fabric Flower Clip
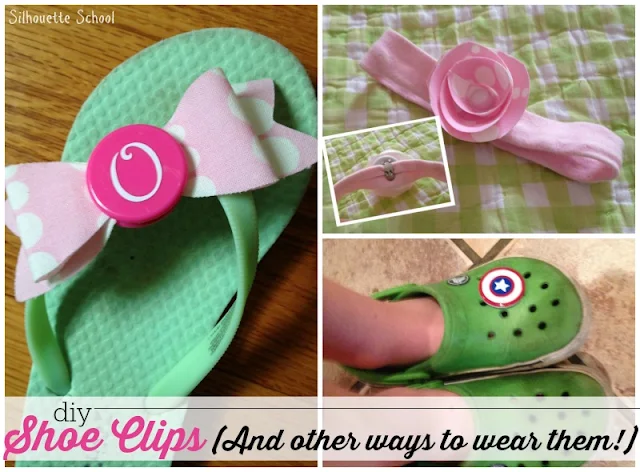
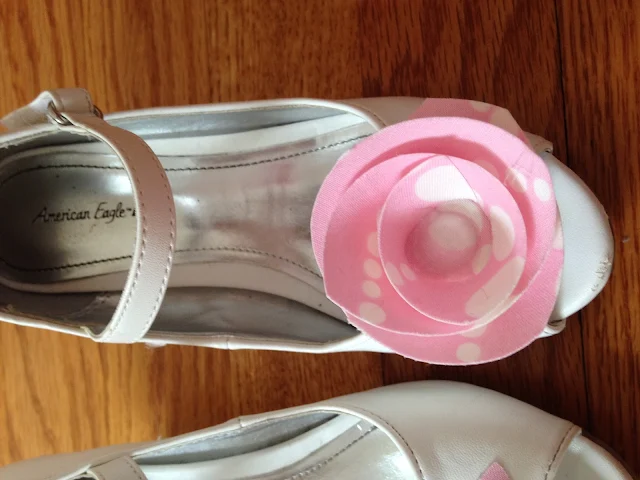
I used my Silhouette to cut out a rolled flower design from the Silhouette Design Store. A few dots of glue held the fabric together and then I glued the fabric flower onto one of the alta caps. On the other side of the cap I used E6000 to glue on a clip. Now my daughter can add this clip to any headband...or shoe!
And again, you can use the flower clip in many different ways...
Flip Flop Clips
I also cut out a fabric bow to make a flip flop clip. The bow design is the same one I used for this leather bow bracelet. Since the fabric was cut with heat and bond on it - for support - I was able to just iron the pieces together and the heat and bond held it. Once I had the bow together I glued it onto an alta clip. Then I put another alta cap on top to sandwich the bow. Finally I added my daughter's monogram in vinyl.
A clip went on the back of the cap and it easily attaches to a flip flop....or any other shoe. Or a headband. I love how many different ways you can used these!
And look how cut it is on the side of my daughter's fancier shoes.
Baby Pacifier Clip
Finally for the baby pacifier clip I *cut a long piece of ribbon and glued it to the back of the alta cap first. Once that's dry add another dot of E6000 glue and attach the clip on top of the ribbon.

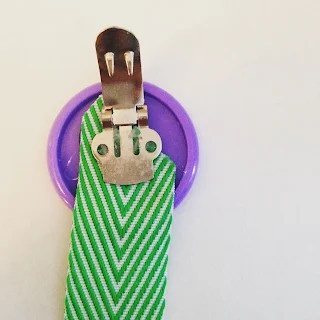


At the loose end of the ribbon, put two pieces of velcro. Slip the binky through and keep it secure with the velcro. Be careful if attaching the DIY pacifier clip to the baby's shirt.
Note: This post may contain affiliate links. By clicking on them and purchasing products through my links, I receive a small commission.
That's what helps fund Silhouette School so I can keep buying new Silhouette-related products to show you how to get the most out of your machine! Thanks for coming to class today at Silhouette School. If you like what you see, I'd love for you to pin it!
Get Silhouette School lessons delivered to your email inbox! Select Once Daily or Weekly.







.png)


Oh it's a fun project to refresh old shoes :) Thank you for sharing. I guess I will do something with my old shoes
ReplyDeletegmail email login
Hi , I been watching you all the time. You have a very impressive article. You should continue this way. I like your post. I want to share my own blog. Can I share? my blog: gmail sign in
ReplyDeleteoh this is good one thanks for sharing this information its great one thanks
ReplyDeleteaolmail login sign nice information