The last time I was here, I taught you to etch regular ceramic tiles using a silhouette to make fun tile coasters.
This time of year, I'm still thinking of etching techniques--etched glass makes a classic gift for teachers for teachers appreciation, and it makes a great gift at Mother's Day and Father's Day, too.
One of my favorite projects I made with etching is my modern hexagon monogram vase. But sometimes, I wish that etched glass was a little less subtle. That's why I came up with this technique that I call gilded etched glass...and with your Silhouette, it's a pretty easy technique and it gives the looked of metal.
Here's what you need:
Silhouette Cameo or Portrait and Computer
Indoor Vinyl
Transfer paper (optional)
Glass item to etch
Paper towels
First, select a pattern or design and open in Silhouette Studio. I selected one that was a freebie one week from the Silhouette Design Store.
Delete any portions of the design you don't want to etch by right clicking > ungroup > delete. I've found that simpler seems to be better when etching--it's easier to make sure all parts of your design are pressed down on the item you are etching.
Cut your design out using indoor vinyl (aka 631/matte). You can also use stencil vinyl.
Weed using the hook and spatula tools. Make sure you weed out the area that you want to be gilded. It's also a good idea to leave yourself a decent size border so the vinyl protects the glass you don't want etched.
Then clean your glass item (my item is this square vase) using rubbing alcohol. Allow to dry.
Apply your vinyl (use transfer paper as needed) and make sure there are no bubbles with your scraper. Any bubbles may allow the etching cream to seep under the vinyl and ruin your design.
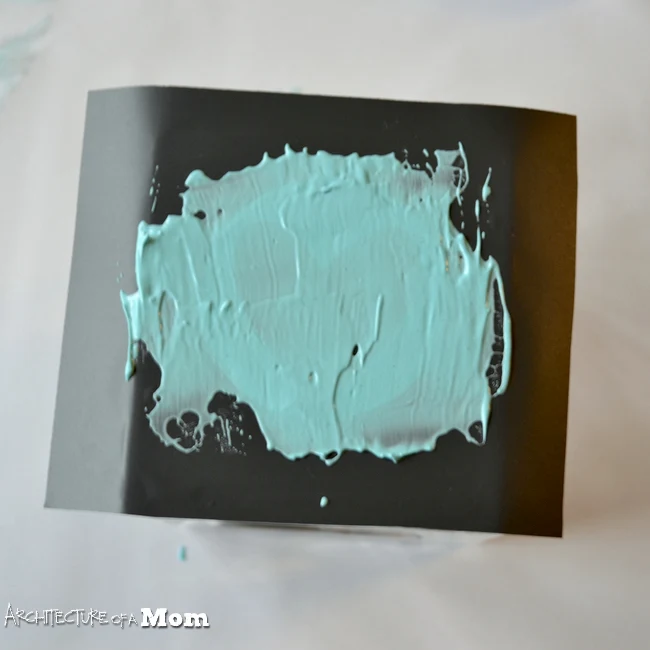
Before you put on the liquid gilding, you are going to apply etching cream with the scraper tool. You want it thick enough that you can't see the design.
Allow the etching cream to sit on the glass according to the etching cream directions, and then remove the cream first by scraping off the cream with scraper and then wiping all remnants off with a wet paper towel. Be careful because you want to keep the vinyl on your glass for the next step.
With the vinyl still on the glass, apply liquid gilding to the etched glass. Allow to dry and then apply a second coat if needed for even coverage.
Remove the vinyl once the gilding is dry and enjoy the elegance of gilding with the permanence of etching. I also love how the design stands out more on the glass than regular etching.
You may wonder why I didn't just apply the gilding onto the glass with a vinyl stencil and call it done. The reason is that like most paints, it will not stay on glass if just applied straight to glass. I was able to remove liquid gilding from regular glass with very little effort. But if you etch glass and then apply gilding, it becomes permanent...not even glass cleaner has removed it from this vase.
Just a note--I wouldn't place the gliding at the top of a glass or on a surface that will be in contact with food, and I'd only wash a gilded item by hand, just in case.
If you like this project, I'd love for you to come check me out at Architecture of a Mom. You can find many of my projects using my Silhouette Portrait on my Silhouette Projects page, but my favorites are my etched glass tile coasters and a Boba Fett custom t-shirt I made for my husband.
I hope you come visit me at Architecture of a Mom! Thanks so much to Melissa for letting me sub here at Silhouette School!

Note: This post may contain affiliate links. By clicking on them and purchasing products through my links, I receive a small commission. That's what helps fund Silhouette School so I can keep buying new Silhouette-related products to show you how to get the most out of your machine!
Thanks for coming to class today at Silhouette School. If you like what you see, I'd love for you to pin it!


%2Bcopy.jpg)


.png)


thank you for sharing!!!! What are some good examples of liquid gilding to use?
ReplyDeleteIs liquid gilding ok to use on glass dishes that you put in the oven? is it dishwasher safe too?
ReplyDeleteMelissa & Rachel,
ReplyDeleteA wonderful project that is so creative. Great minds think alike because tonight I was thinking about how to bring out the Etching on a gift I am making. Thank you for teaching what to do Rachel.
Happy Creating,
Karen Marie