I was recently asked by a reader how to make a scalloped circle in Silhouette Studio. It's actually very simple to do by using the replicate tool.
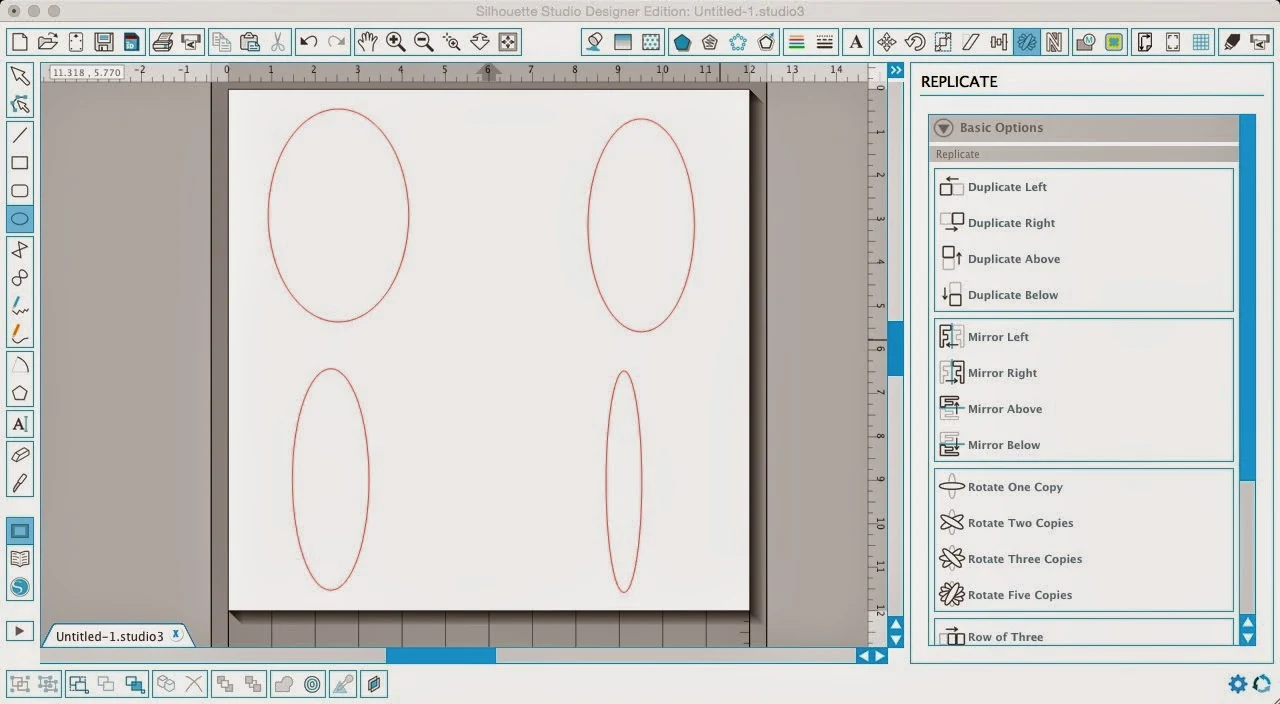
The first step is to use the Draw an Ellipse tool (in blue along left sidebar below) to draw out an oval. You can make the oval any shape you want...keeping in mind the width and height will impact the shape of the scalloped circle. I'm going to demonstrate this using four different shaped ovals just so you can see the differences.
After you've draw out the oval, select it and click on the replicate tool. Then choose the option to "Rotate Five Copies".
Now select the entire design > right click > weld.

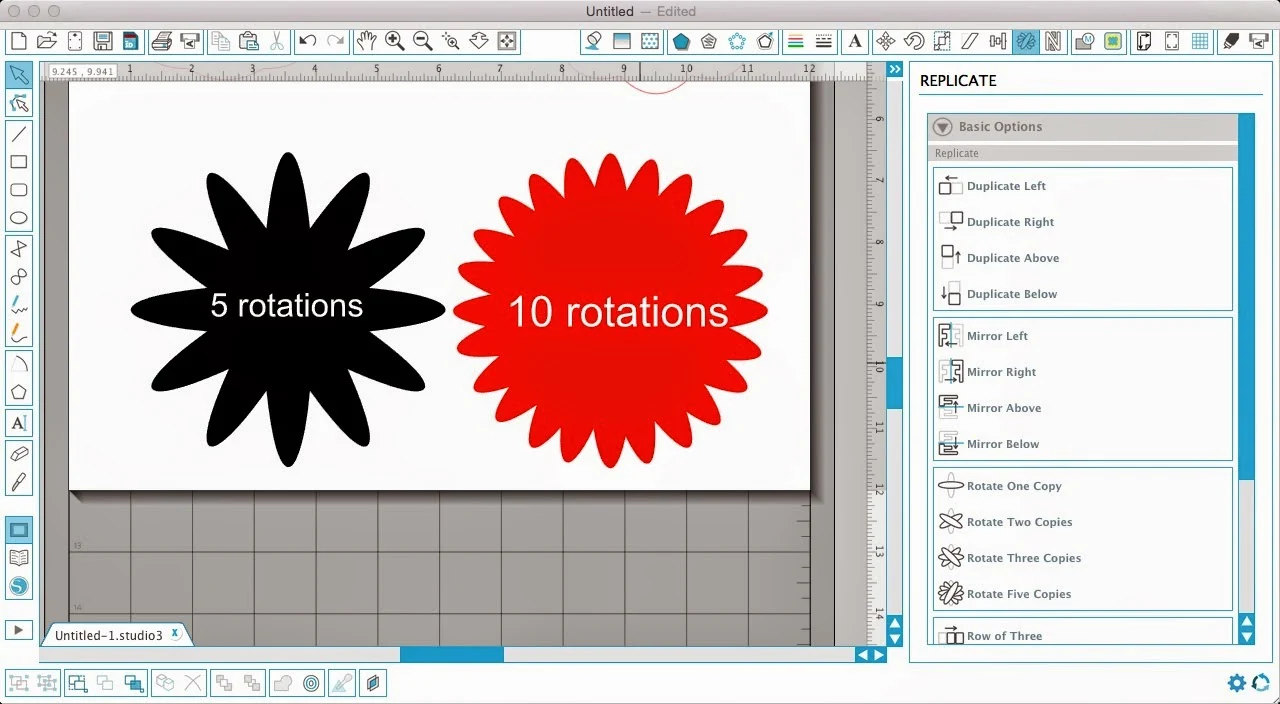
After welding, I filled in the designs with color to show you what the scalloped circles look like.

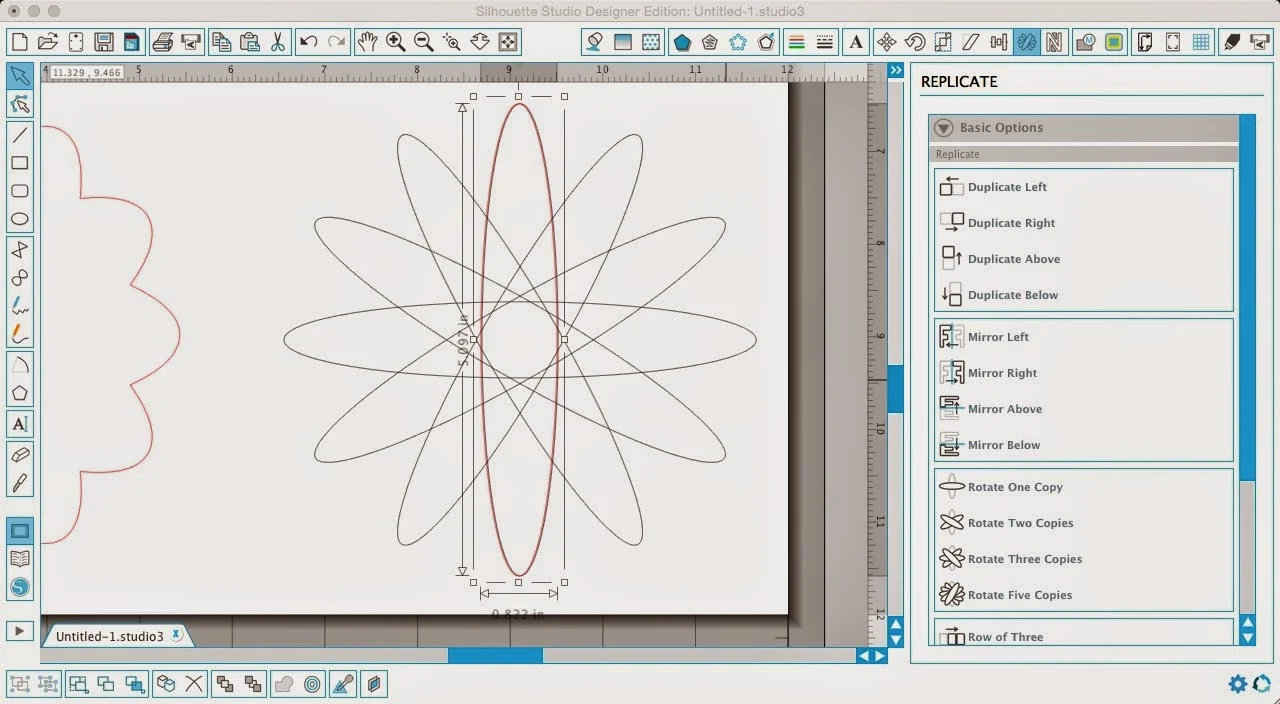
Let's say you like the bottom right design, but you want more scallops or petals, if you're using this as a flower. After you do the first five copy rotations, select one of the ovals and copy it. I have changed the line color of the original rotations to black below. The copy is the red line. Paste the copy right over the vertical oval.

Then select the copied oval (red) and use the green ball at the top of the selection box (or the rotate tool - I find this more steps than necessary in this case) to rotate the copied oval slightly so it is positioned between the original ovals.*

With the new oval still selected, from the Replicate window click "Rotate Five Copies" again.

Now you have ten rotating ovals. And when you weld them together you get the red shape below...
*You could even go one step further and before replicating copies #6-10, make the copy either slightly larger or smaller than the originals. This technique is great for making flower designs because it makes the scallops different sizes.
For more tips on creating your own designs in Silhouette Studio check out this tutorial.
Note: This post may contain affiliate links. By clicking on them and purchasing products through my links, I receive a small commission. That's what helps fund Silhouette School so I can keep buying new Silhouette-related products to show you how to get the most out of your machine!
Thanks for coming to class today at Silhouette School. If you like what you see, I'd love for you to pin it!


.png)


Thank you.
ReplyDeleteThat's pretty cool!
ReplyDeleteMerci Mélissa pour ces instructions.
ReplyDeleteRavie de votre retour à l'école Silhouette
Alors Paris, ville magique ??
Bises de la France
wow what a lovely post You may make the oval any form you need.maintaining in thoughts the width and peak will impact the form of the scalloped circle. i'm going to illustrate this the use of four special formed ovals just so that you can see the variations.I'm working at Outdoor Advertising Services in VadodaraI am so excited to see your blog and come full circle in my hops. Thank you to all you fabulous bloggers for doing this. I loved getting the chance to meet and learn from you at
ReplyDelete