In case you haven't noticed I'm not a big paper crafter. Actually my creative juices struggle when it comes to paper, but when a few of my blogging friends suggested we all team up for a holiday song-inspired project I felt the time was right to try my hand at cards...again. So just be gentle, all you expert card makers out there. :) Be sure you read all the way to the end so you can check out the other 9 awesome holiday song-inspired crafts, as well!
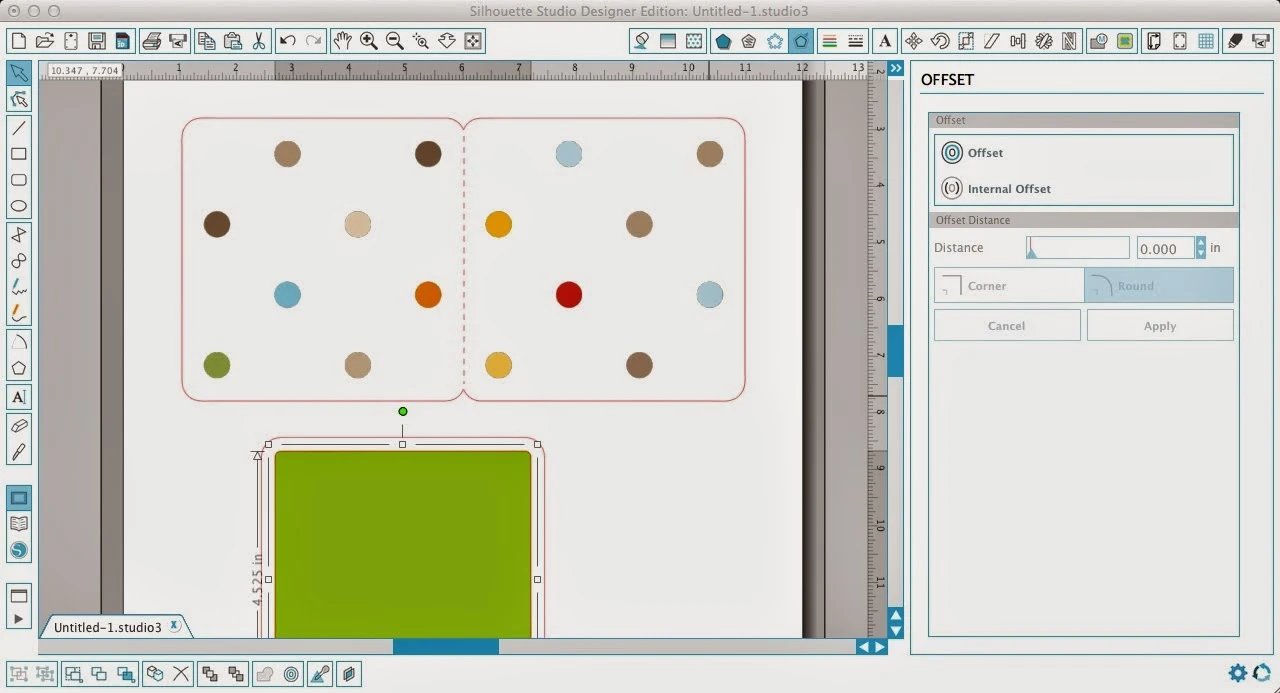
For you beginners out there - amen - we're learning this craft together! Okay so I started by finding a basic card shape that I already had in my library. This one was a free shape of the week from the Silhouette Online Store a few months back. It had some kind of random floral design in the middle which I removed (select > right click > release compound path > ungroup > delete) so that I was just left with the basic shape.
If you don't have the shape in your library no worries. You can easily design it yourself.
Use the draw a rounded rectangle tool to draw a 5x5" square.
Now from the little divot point in the middle, use the draw a line tool to draw a line down close to the other divot point. If you hold down 'shift' while you draw the line it will be perfectly straight.
Select the line and from the cut style window make it a perforated line. This is where you will fold your card.
Next I went back to that third copy of my rounded corner square and I made an internal offset (in blue along the top bar) at a distance of .239. This is the square that was then cut on green. TIP: You can see I've filled it in with green in Studio just so I can get a better visual and can keep all my layers straight in my head :)..same thing with the card. I picked a close pattern to my paper to fill in.
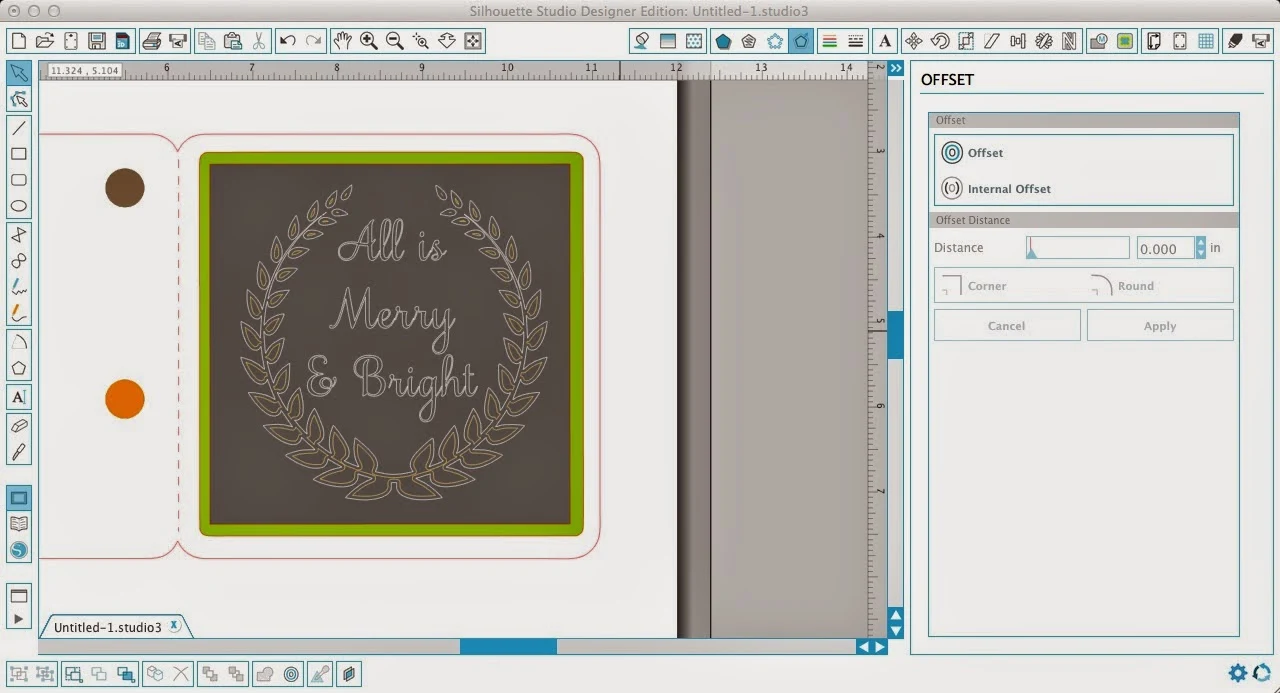
I repeated again making another internal offset (slightly less) for the chalkboard piece. This is where the bulk of the work and play started on my "chalkboard".
Before I cut I added my sketch design. The wreath is a PicMonkey design that I imported into Silhouette Studio and traced. Click here for a step by step tutorial on using PicMonkey designs in Silhouette Studio.
Then I added my sentiment - a nod (albeit slightly modified) to one of my favorite Christmas songs. The font is Samantha (no fancy glyphs).
I like to fill in everything in a similar type color as it will cut or sketch. I didn't fill in the wreath or sentiment because the sketch pens will only sketch the outline so I just changed the line color to white since I'll be using a white sketch pen. This gives me the best idea of what my design will look like (and also helps ensure the sizing is perfect)! And that's when I realized maybe a little gold would be nice!
So I decided to make an internal offset on the wreath that would be sketched in the metallic gold.
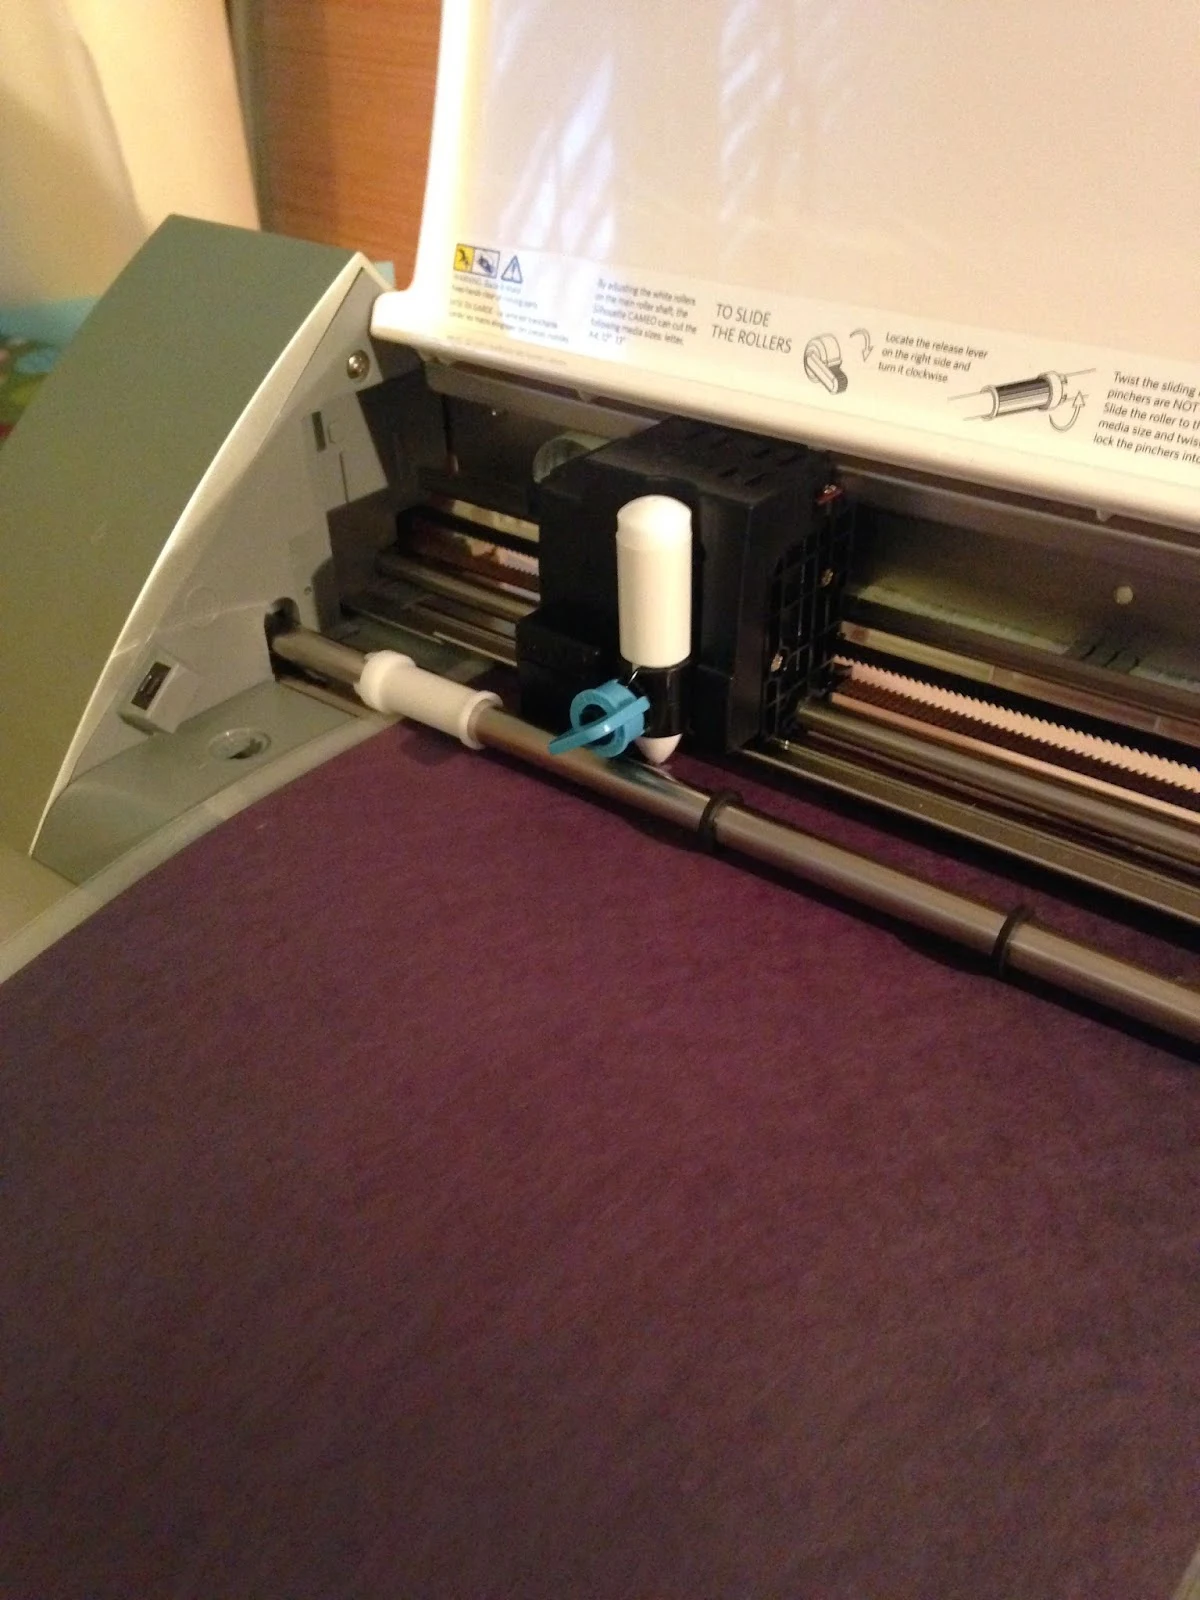
To get the chalkboard look I was hoping for I used a white Silhouette Sketch Pen and black construction paper. My full review on the White and Metallic pens in a few days...and a full tutorial on how to successfully cut on construction paper later this week.
I like to sketch before I cut so I loaded my black construction paper and my white sketch pen. From the cut settings window (icon in blue along the top tool bar in V3 or a little scissors with a line through it in V2) I turned OFF cut lines on everything EXCEPT outer wreath design and the sentiment. I also selected Silhouette Sketch Pen from the material list.
Once that finished sketching, without removing the mat from the machine, I swapped out the white pen for the bronze metallic pen. In the software, I turned off the cut lines on the outer design and very carefully selected only the inner offset to "cut"...actually sketch. Look carefully at the difference between the above and below pictures and you'll notice I'm sketching two different designs.
Then my last step with the chalkboard layer, again without removing the mat or paper, was to put my blade back in and take out the sketch pen.
The only cut lines I had selected on this go round was the outer edge of the "chalkboard layer."
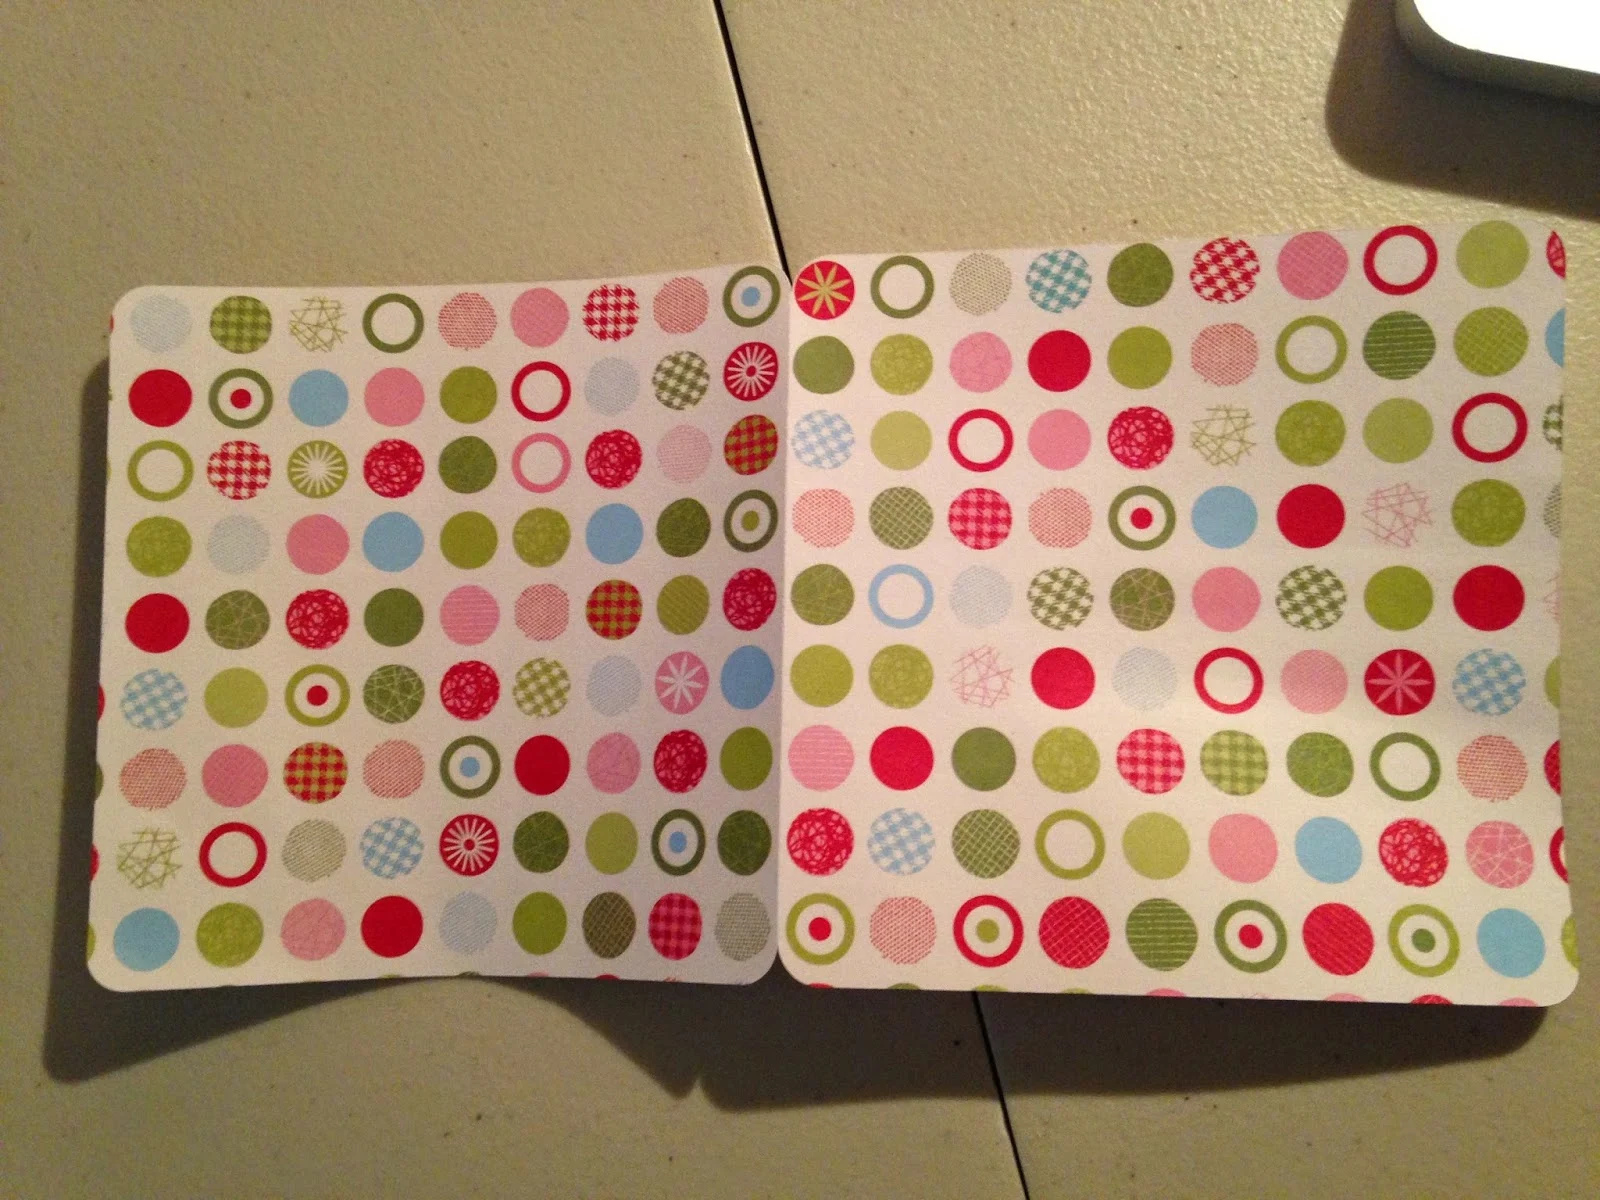
Finally, I cut the green piece and two copies of the card piece...one on the patterned paper and another identical design on cardstock.
Now with all my pieces cuts and sketched I was ready to put them together. I put the chalkboard on top of the green offset boarder. I could have put this piece right onto the card, but I wanted to give it a little depth so I used foam adhesive circles to adhere the front piece to the card.
I finished her up with a little piece of red bakers twin in the fold.
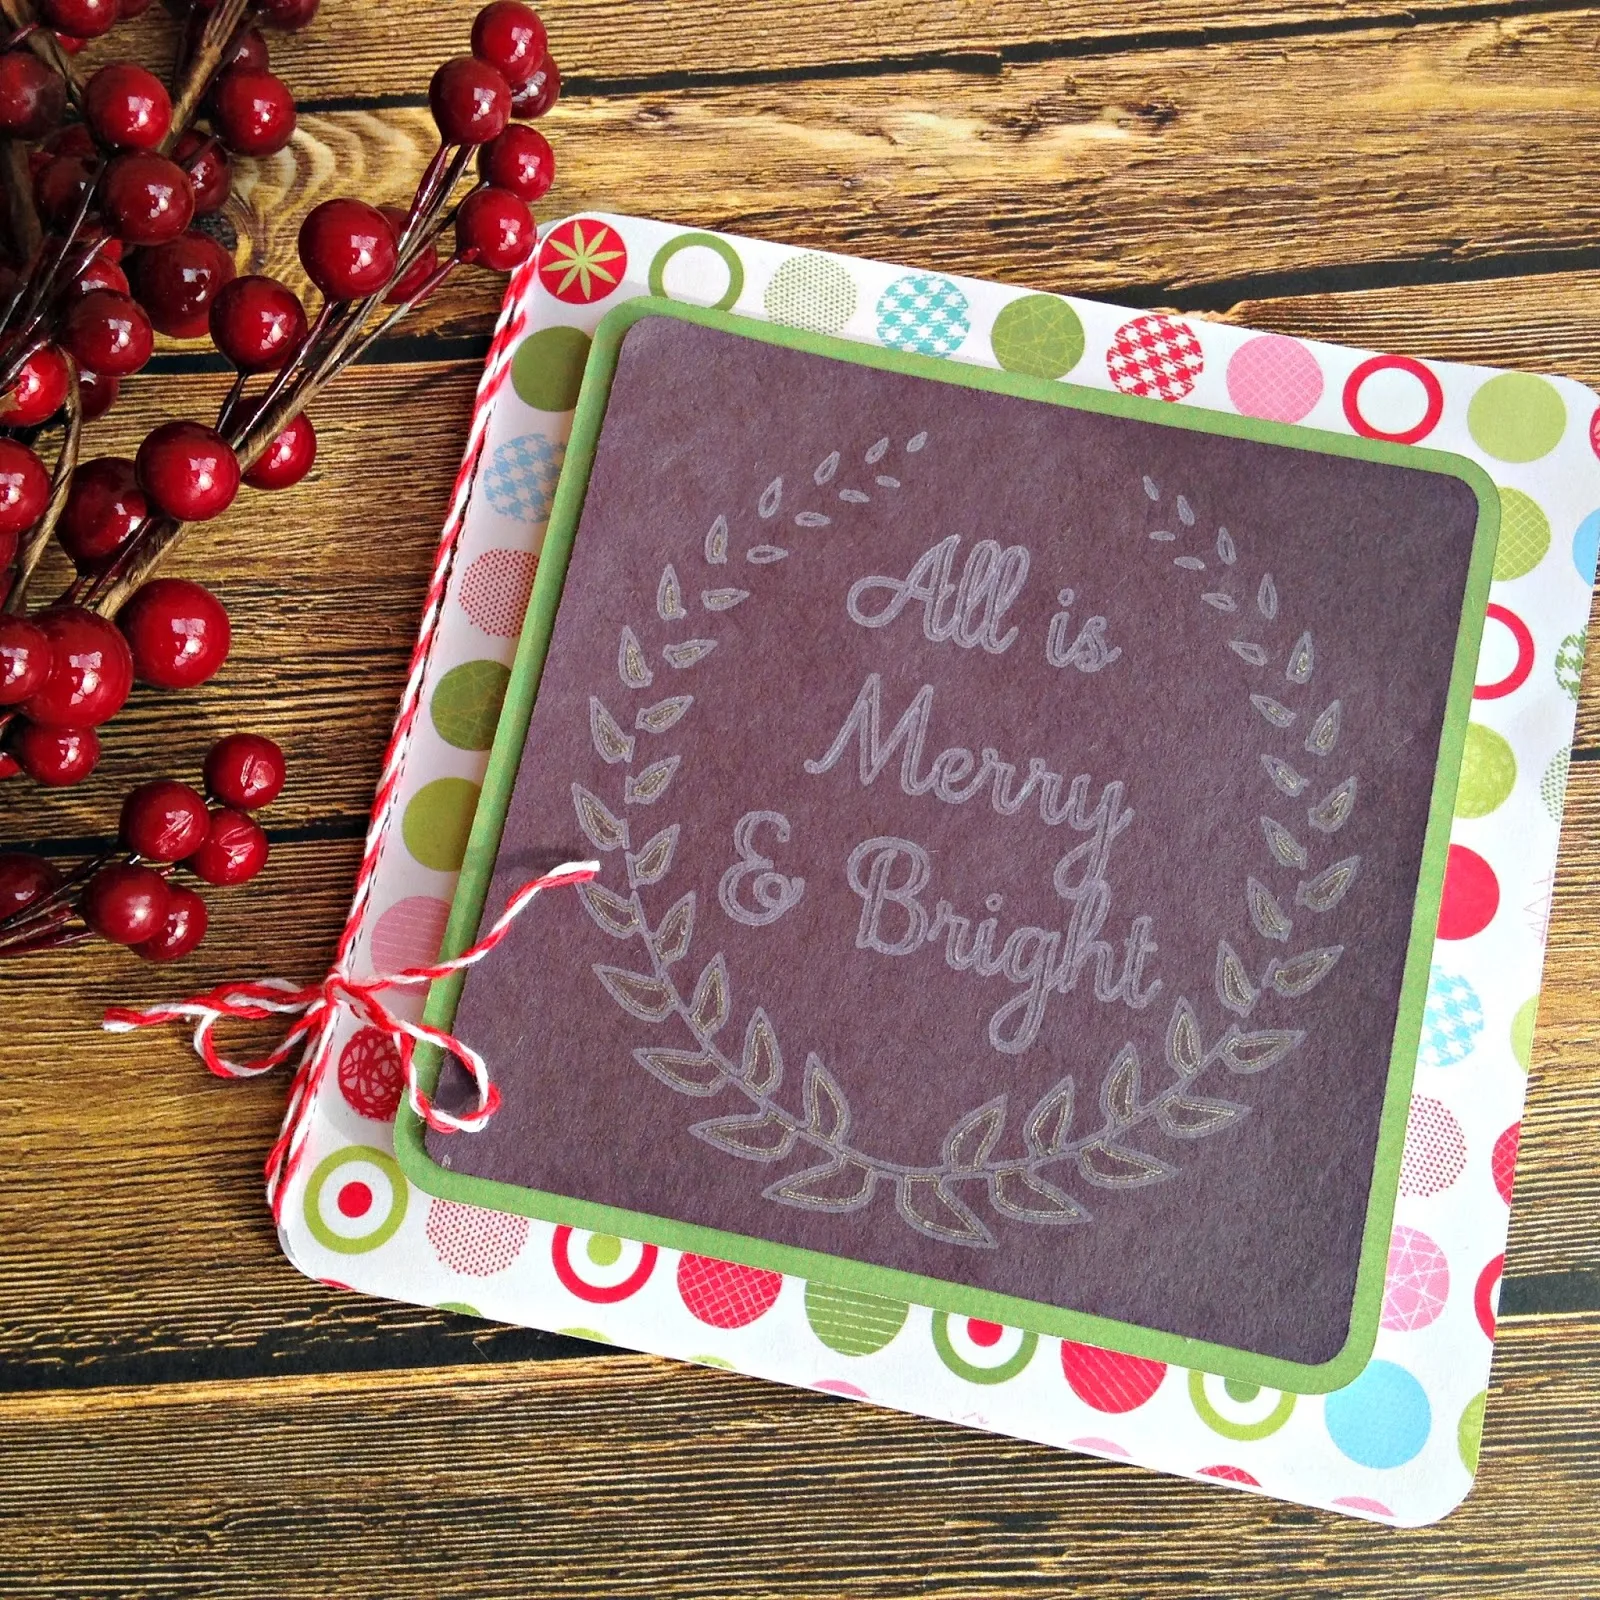
I'm pretty pleased with how the chalkboard inspired, holiday song Christmas card came together. I'll have a full review on the Silhouette Metallic Sketch Pens coming upon the blog in a few days and a tutorial with some tips on easily cutting construction paper without making a mess of your mat or the edges.
And now, since I have you humming "...may your days be merry and briiiiiiight", it's time to check out these awesome holiday song-inspired crafts from my crafty friends!
Joy to the World Painted Burlap Plaque by View from the Fridge
The Most Wonderful Time of the Year Stocking Hanger by Elizabeth Joan Designs
All Is Merry and Bright Chalkboard card by Silhouette School
Home for the Holidays Painted Sign by One Krieger Chick
Sleep in Heavenly Peace Card Display by 3 Little Greenwoods
NOEL Christmas Pillow Set by Dolen Diaries
Deck the Halls DIY Art by A Prudent Life
Let It Snow Sign by The Blue Eyed Dove
Holiday Printable by Crafts by Courtney
Joy To The World by My Creative Days
Note: This post may contain affiliate links. By clicking on them and purchasing products through my links, I receive a small commission. That's what helps fund Silhouette School so I can keep buying new Silhouette-related products to show you how to get the most out of your machine!
Thanks for coming to class today at Silhouette School. If you like what you see, I'd love for you to pin it!


.jpg)
.jpg)
.jpg)







.png)


No comments
Thanks for leaving a comment! We get several hundred comments a day. While we appreciate every single one of them it's nearly impossible to respond back to all of them, all the time. So... if you could help me by treating these comments like a forum where readers help readers.
In addition, don't forget to look for specific answers by using the Search Box on the blog. If you're still not having any luck, feel free to email me with your question.