Cut and then weed the ‘Naughty or Nice’ design (download it free here).
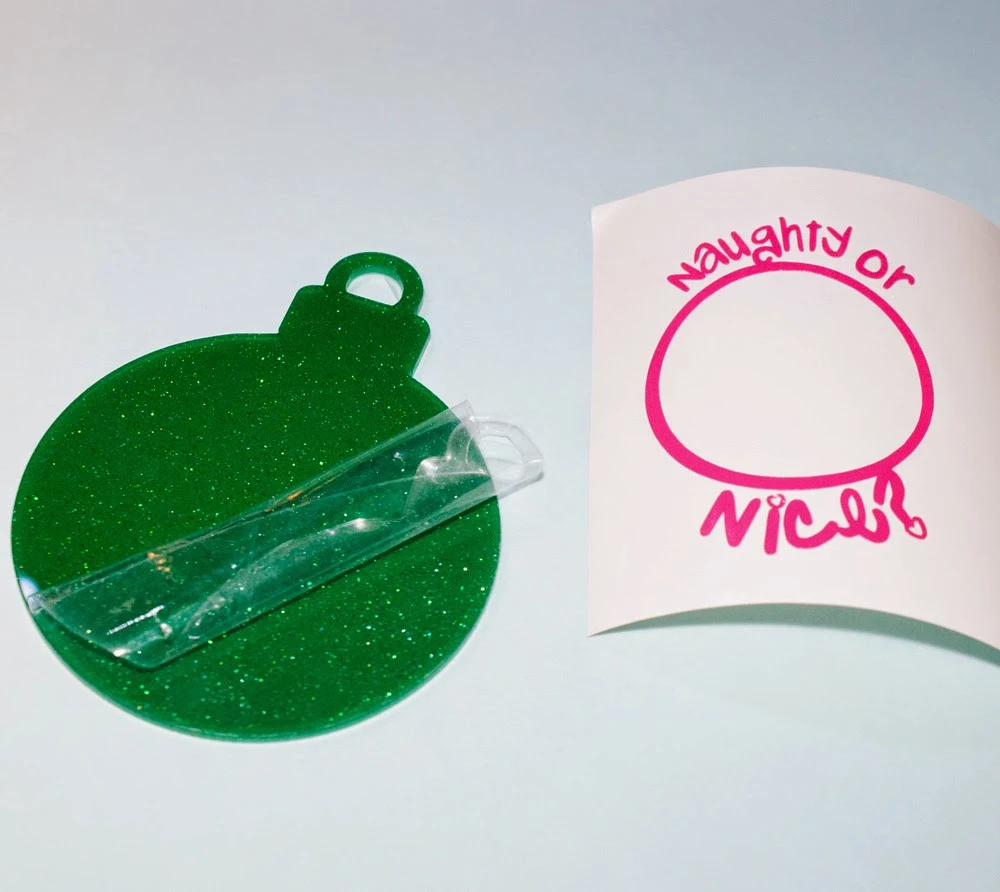
Peel back off the protective covering on the acrylic Christmas ornament.
Set both pieces aside while you work on cutting the photo.
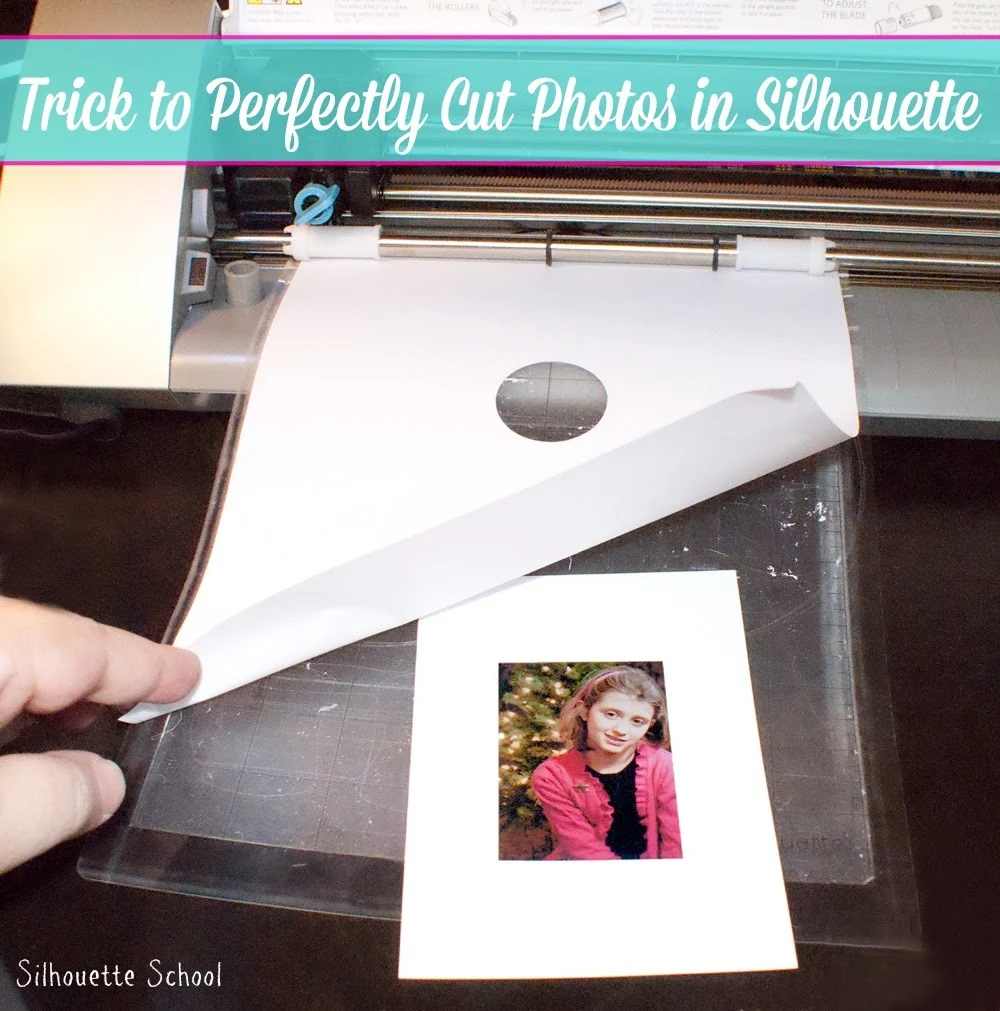
Load a piece a piece of paper on a Silhouette mat. Check to mat to ensure the paper will not stick causing a mess. Using older, less sticky mats is a good idea when working with copy or construction papers. Using the single circle design provided on the Naughty or Nice file cut it out in the center of the paper 1/3 of the way down.
Do not remove the mat or paper from the Silhouette. Remove the circle.
Choose the photos to use and cut double sided adhesive for the back of the photo. Peel n stick.

Without removing the mat or paper, lift up paper and place the photo underneath.
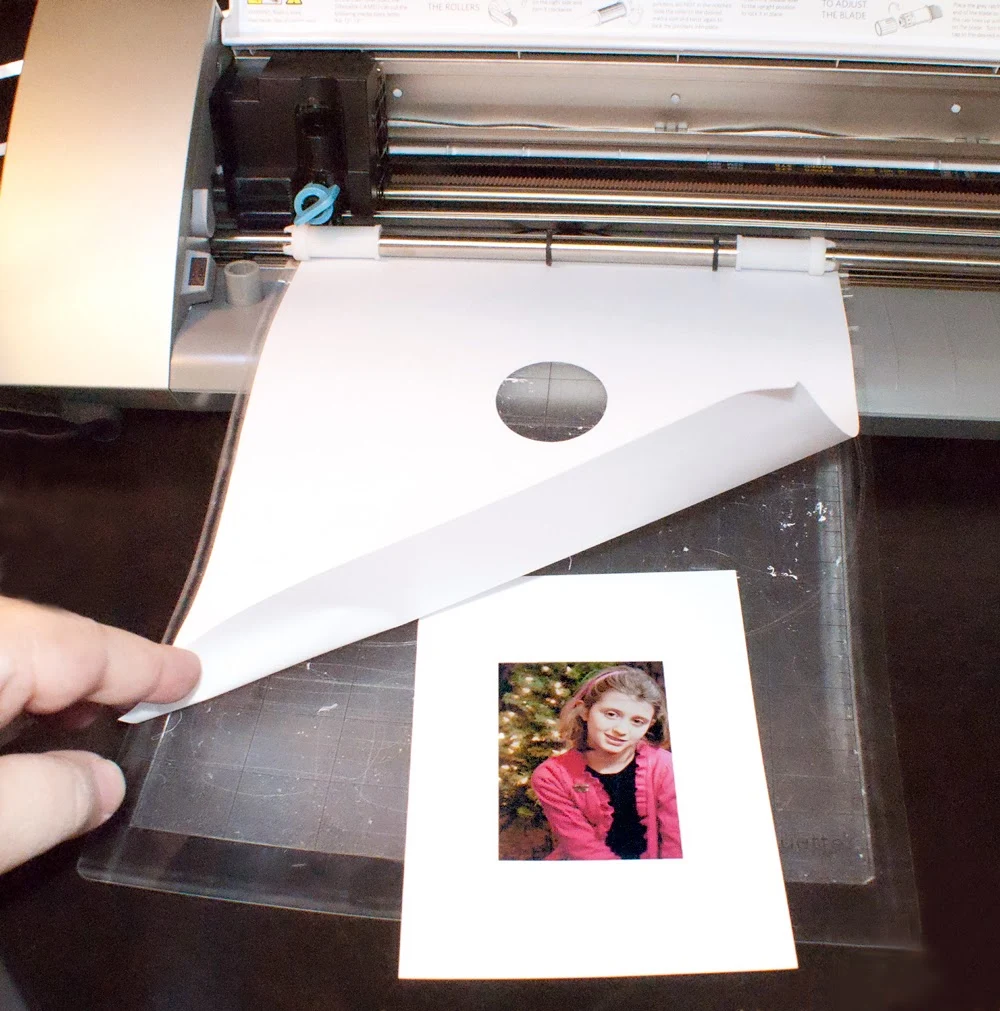
Get the photo in place. Press down onto the mat. Select the cut again button. Setting used for photo paper with double-sided adhesive sheet: 5 speed, 33 thickness, double cut, blade set at 5.
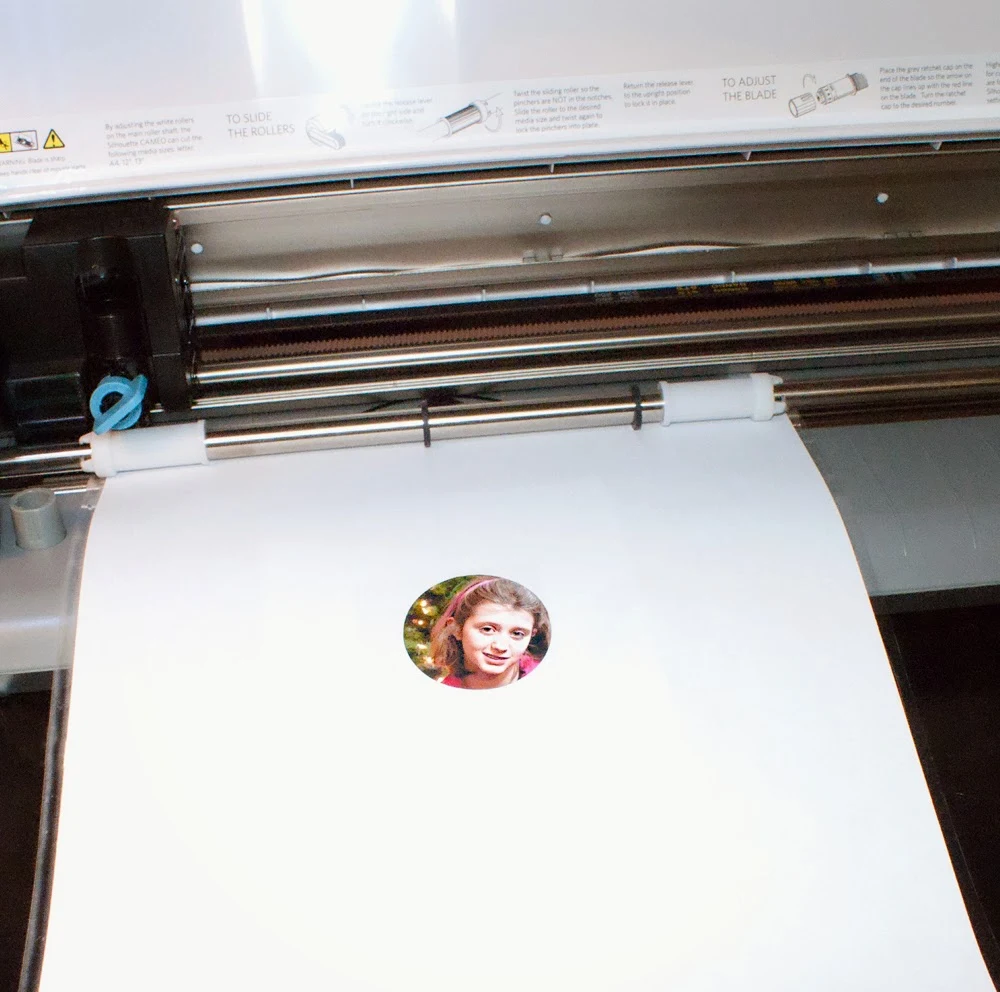
This setting should cut through the photo paper and adhesive, enabling the image to be peeled and stuck.
Adhere the Naughty & Nice design to the ornament and burnish.
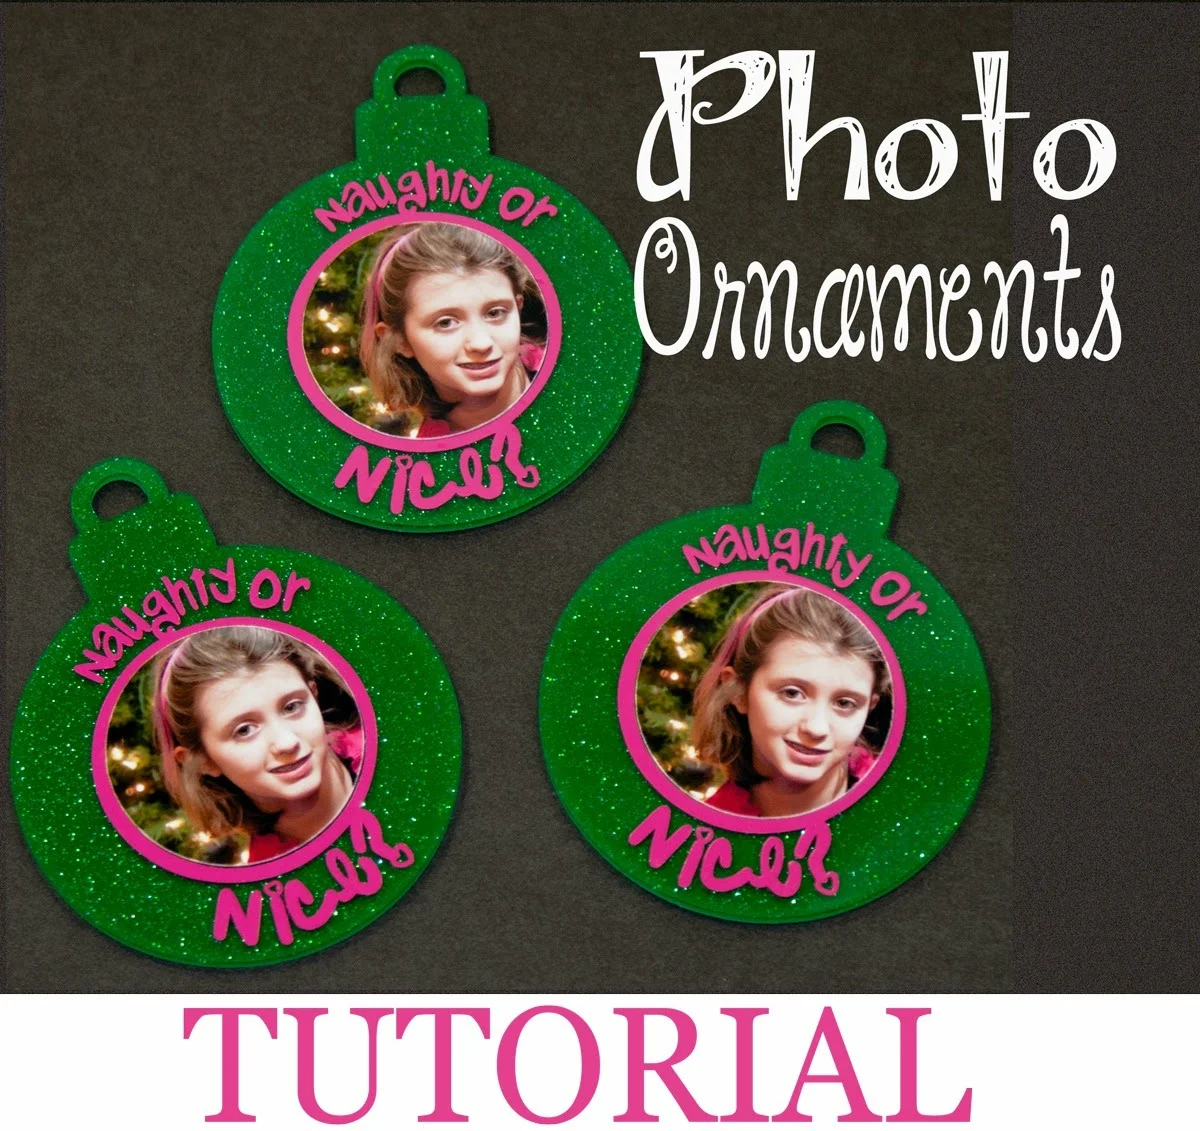
Next peel the circle portion from the photo and place inside the design circle on the ornament. Your ornament is complete.
Thanks for coming to class today at Silhouette School. If you like what you see, I'd love for you to pin it!




.png)


What happened to the link for the Naughty or Nice? cut?
ReplyDeleteThe file disappeared and shows an error message. Was it deleted?
ReplyDelete