With that said - let's have some fun! First of all sugar sheets are very thin icing-like sheets that can be used to decorate cookies, cakes or cupcakes. They are actually thin enough to be cut with the Silhouette machines and the machine does a nice job.
Because you will potentially be eating the design, you want to be very aware of what the sugar sheets are coming in contact with. I used a brand new blade and covered the one exposed side of the sugar sheets.
Throughout this tutorial you're gonna be looking at some of my photos being like, "Isn't that what she said NOT to do?" Yes...and that's because this was a lot of trial and error...but what I learned a long the way about what WILL work is what I'm passing along to you so you can not waste an entire sheet trying to figure it out because while it worked out for me, this process was clunky.
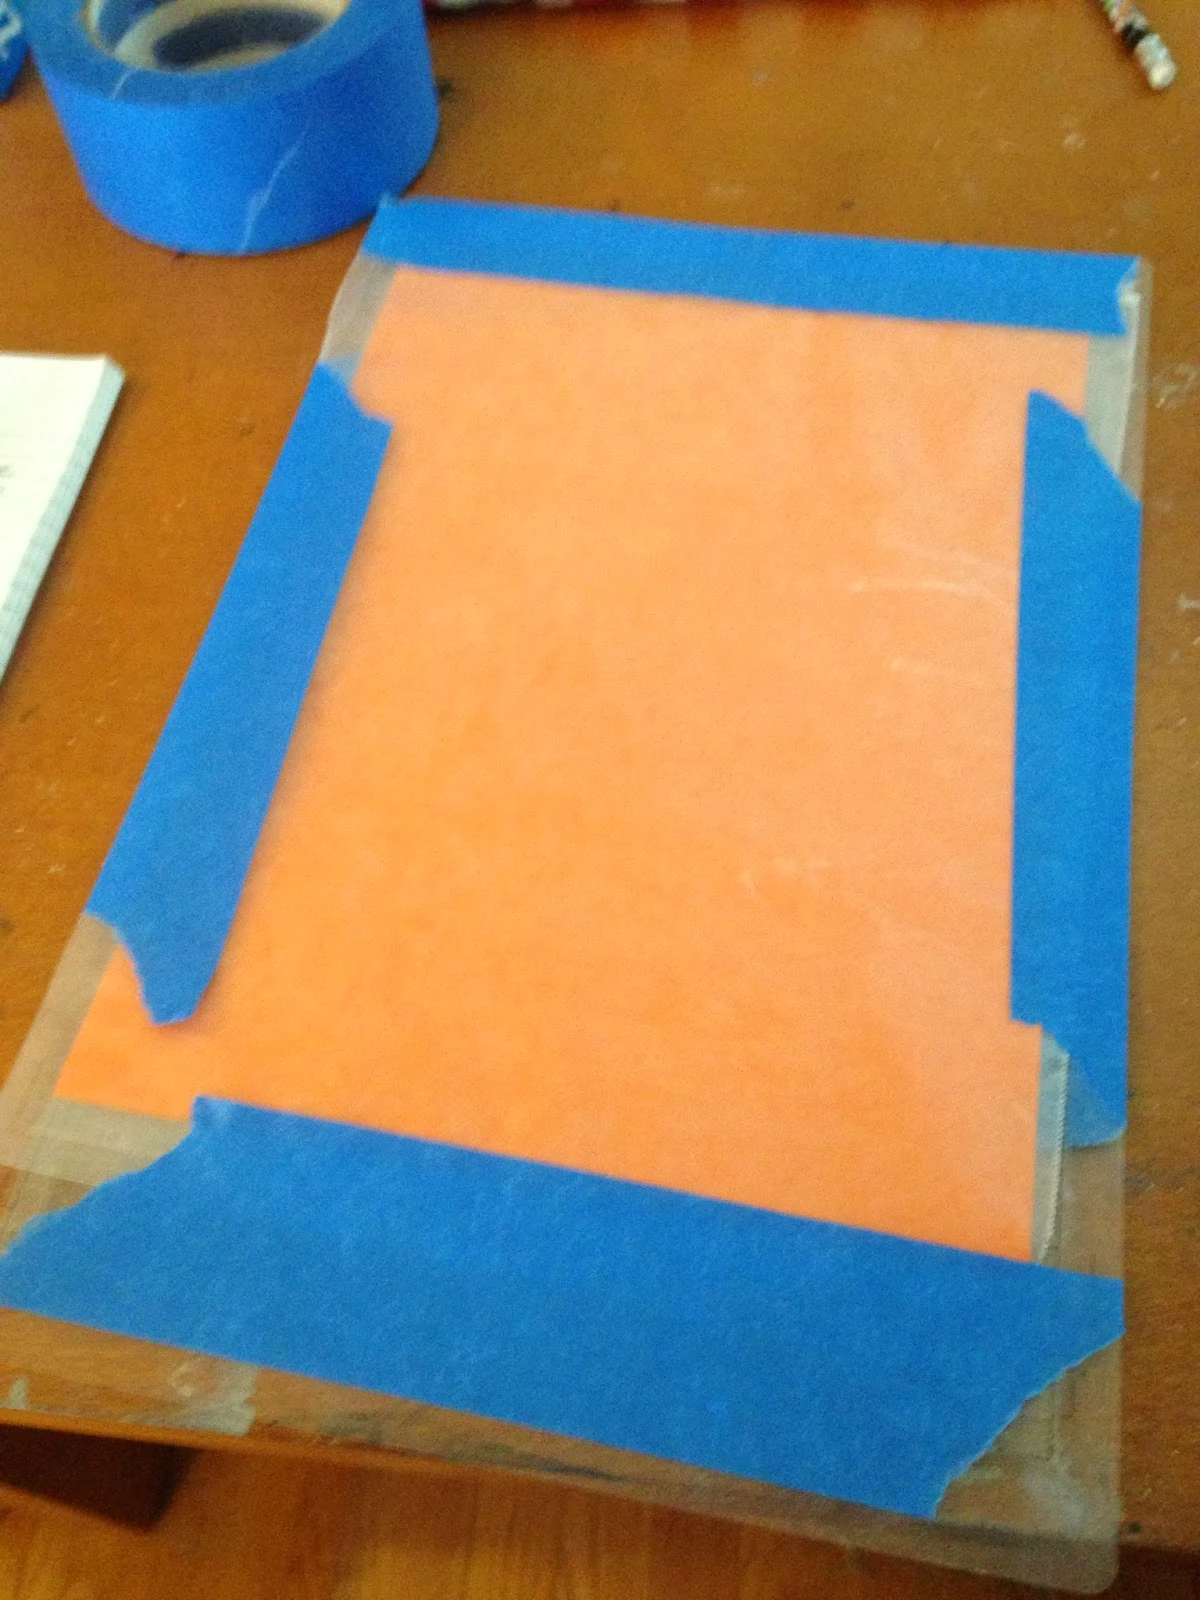
Here's what I can tell you did not work. I put the carrier sheet down onto my mat and covered the top side of the sugar sheet with wax paper, taping it down around the edges of the mat. The blade cut through the wax paper and created the design on the sugar sheet BUT the wax paper got all torn up.
So...what I would suggest instead is to actually covering your mat with a carrier sheet or wax paper (taped down very well) and then lay the sugar sheet down with the carrier side up. Also, you want to make sure that the sugar sheet is not actually going under the roller. You want to trim it so goes on the inside side of the rollers. This is to help prevent it from sugar-ifying your machine and making a sticky gunky mess.
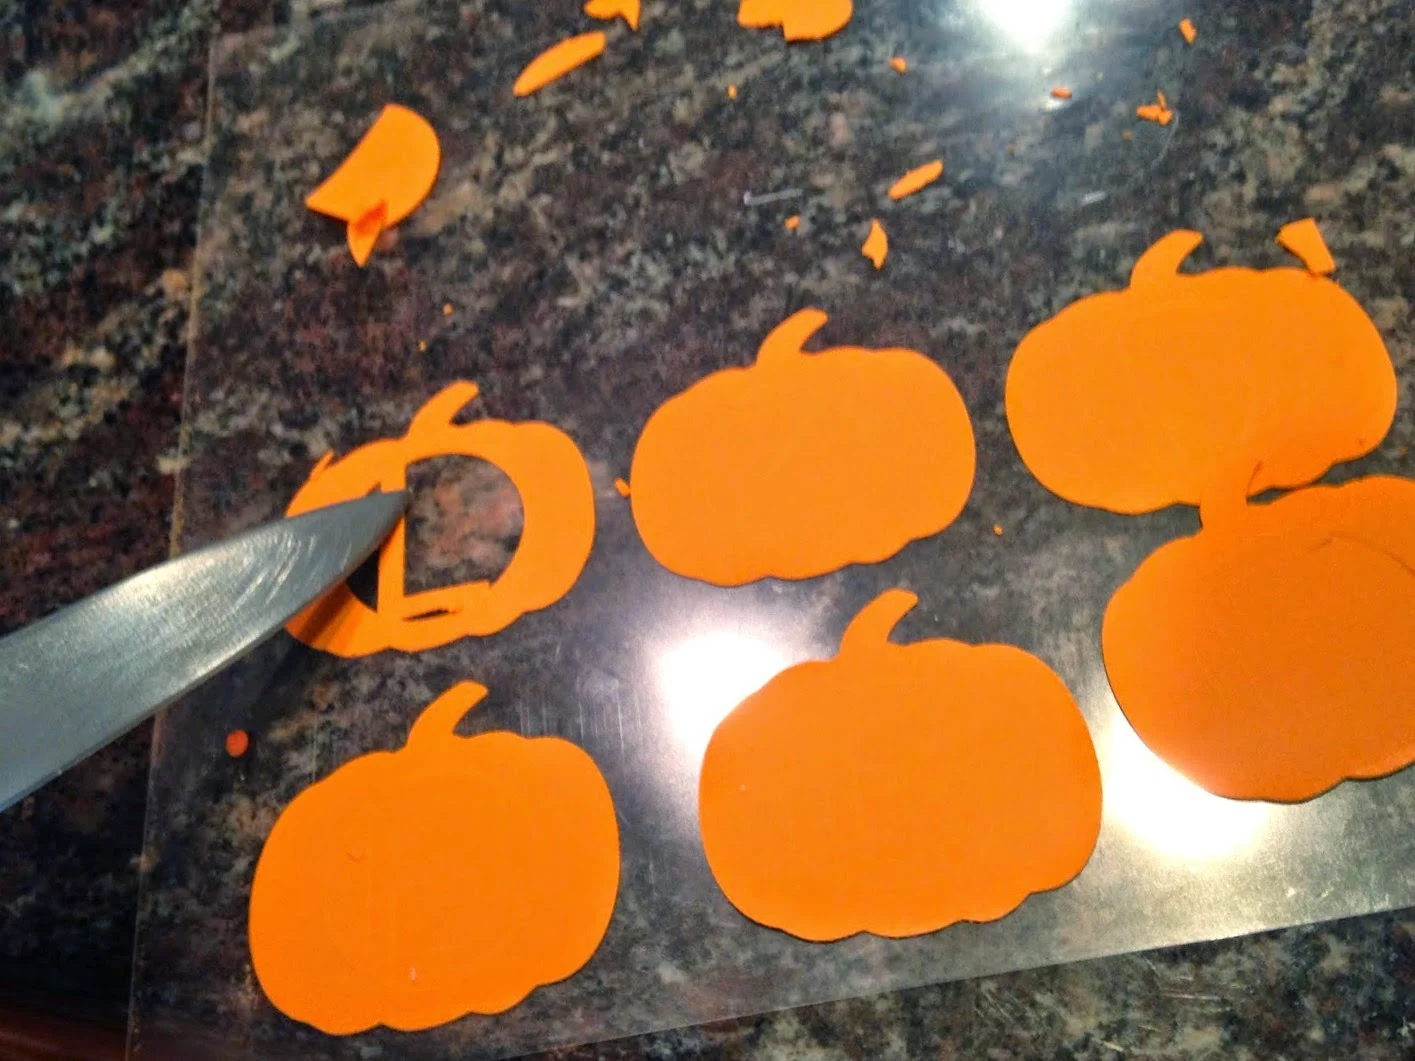
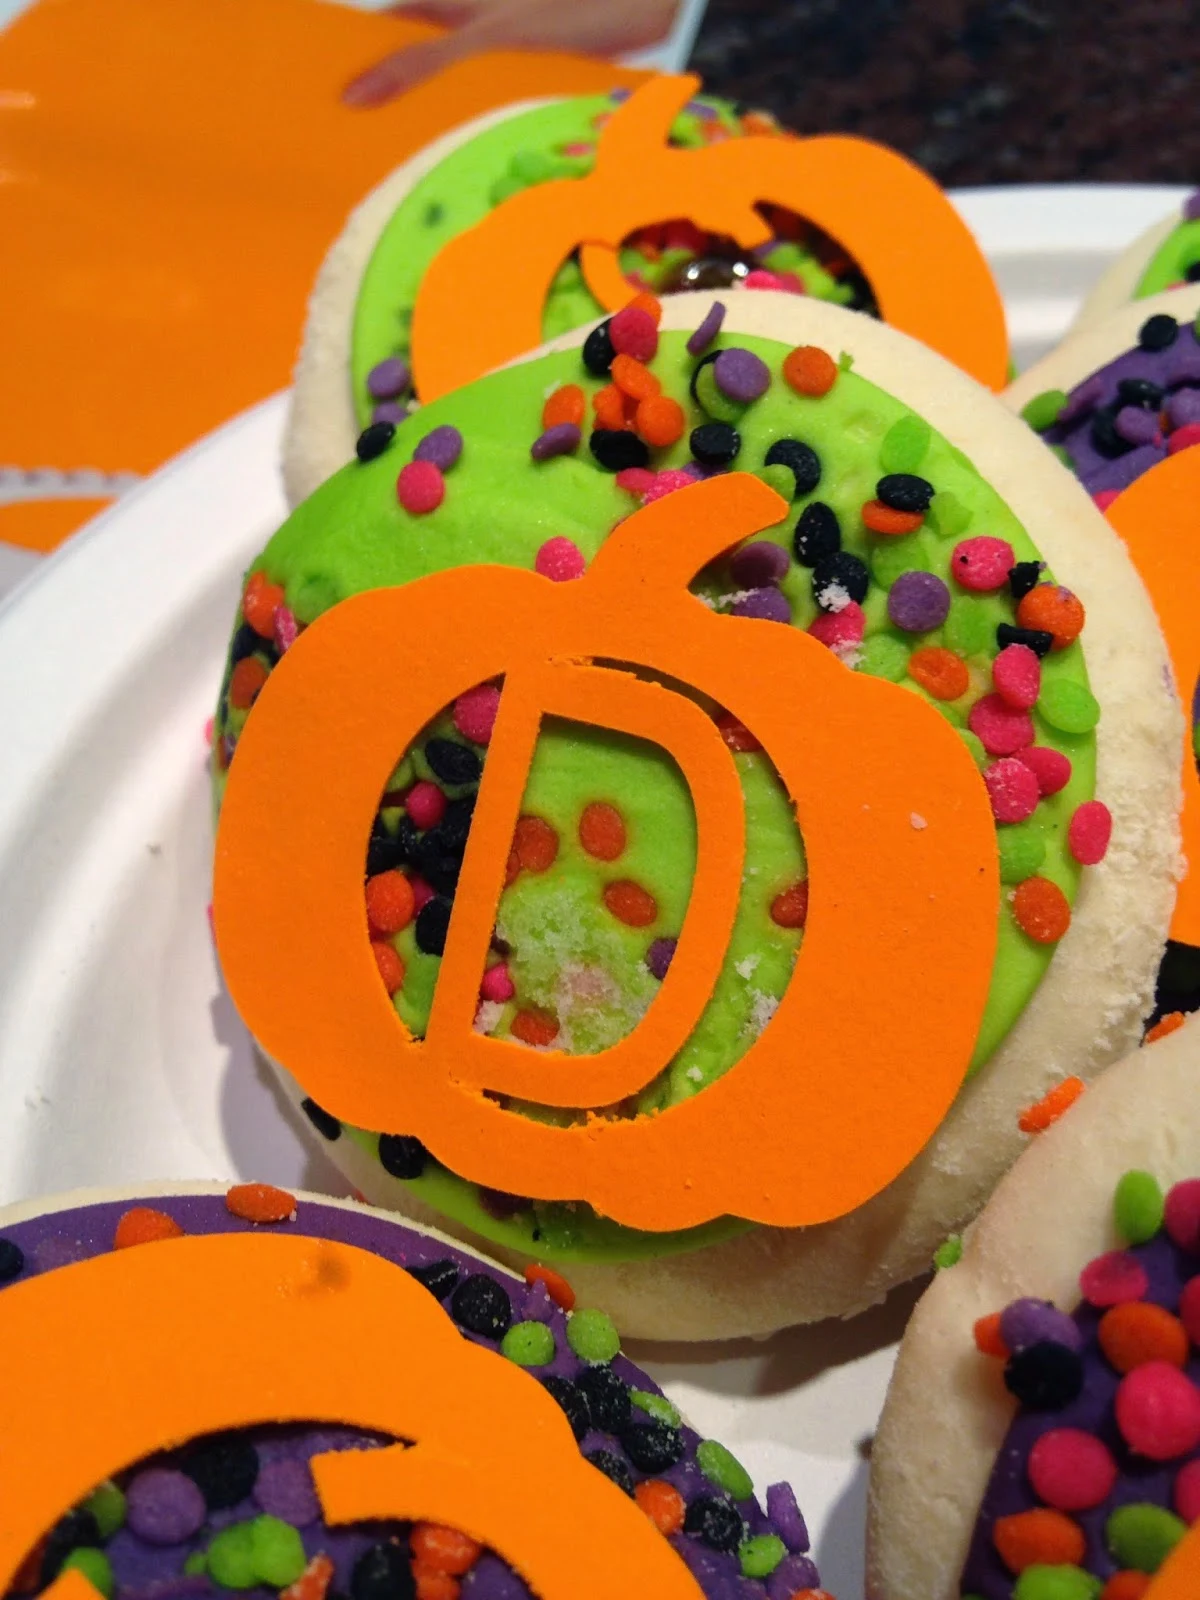
Now that you have your mat and sheet already you want to create your design. My suggestion would be to keep it simple. I put monograms inside pumpkins and while it cut beautifully, as you can imagine "weeding" this stuff isn't the easiest thing to do. The outline of the pumpkin or just a single monogram without the circle probably would have been 10x easier than picking out all those tiny pieces with a knife.
After your design is all ready, you want to mirror it - just like you would with HTV which also uses a carrier sheet. By mirroring the image, after you are done cutting it, you can flip it onto your cupcakes or cookies and peel off the carrier sheet and avoid having to try lift the delicate design off the carrier sheet. Take it from me...
When you're ready to start cutting, adjust the cut settings following the default settings in Studio for card stock adjusting the thickness to about a 23. Don't forget to pop your new blade into the machine. You need to make sure the blade cuts through the carrier sheet and the sugar sheet so go ahead and do a test cut.
If all goes well you can continue on by cutting your entire design.

If you need to weed out any details, use a sharp paring knife.
Then, since you mirrored your design (unlike me who was forced to try to pick up each pumpkin by hand, therefore breaking some of them) flip your sugar sheet design right into place on your cake, cupcake or cookie and then peel away the plastic carrier sheet.
NOTE: Because of the hiccups I ran into - specifically the top sheet ripping and exposing the sugar sheets - I actually told the kids to remove the sugar sheets before they ate their cookies. But they certainly looked cute!
Note: This post may contain affiliate links. By clicking on them and purchasing products through my links, I receive a small commission. That's what helps fund Silhouette School so I can keep buying new Silhouette-related products to show you how to get the most out of your machine!
Thanks for coming to class today at Silhouette School. If you like what you see, I'd love for you to pin it!


.png)


I would like to use this method to decorate a cake. Do you know how long in advance I cut my designs? thank you!
ReplyDeleteI just did this using my silhouette. I actually just put the carrier side down on the mat and a new blade on 4. It cut out the Wonder Woman logo for me beautifully. Weeding was super easy since there wasn't a lot of intricate designs. I used a yellow sugar sheet and they look great against the red icing. My dd is going to love them.
ReplyDeleteDid you cut directly on the sugar sheet?
DeleteI tried the method you described: freezer paper taped down on mat, edible paper on top with carrier sheet facing up, and mirroring image. However, if I mirror the image my image is backwards when applying to cake and removing the carrier sheet. Not sure I understood your instructions correctly. If I don't mirror then i can apply image to cake correctly and then remove carrier sheet. However for weeding purposes, this method may be too complicated as the carrier sheet that comes with the edible paper is cut up. Going to try with the carrier sheet facing down.
ReplyDelete