Holographic Heat Transfer Vinyl is one of the newest crazes in the die cast and DIY world. It comes in a variety of colors and adds the sparkle of rhinestones without dealing with time-consuming rhinestone flipping. You did read my rhinestone 101 tutorial, right? Expressions Vinyl gave me a few sheets of their holographic HTV to
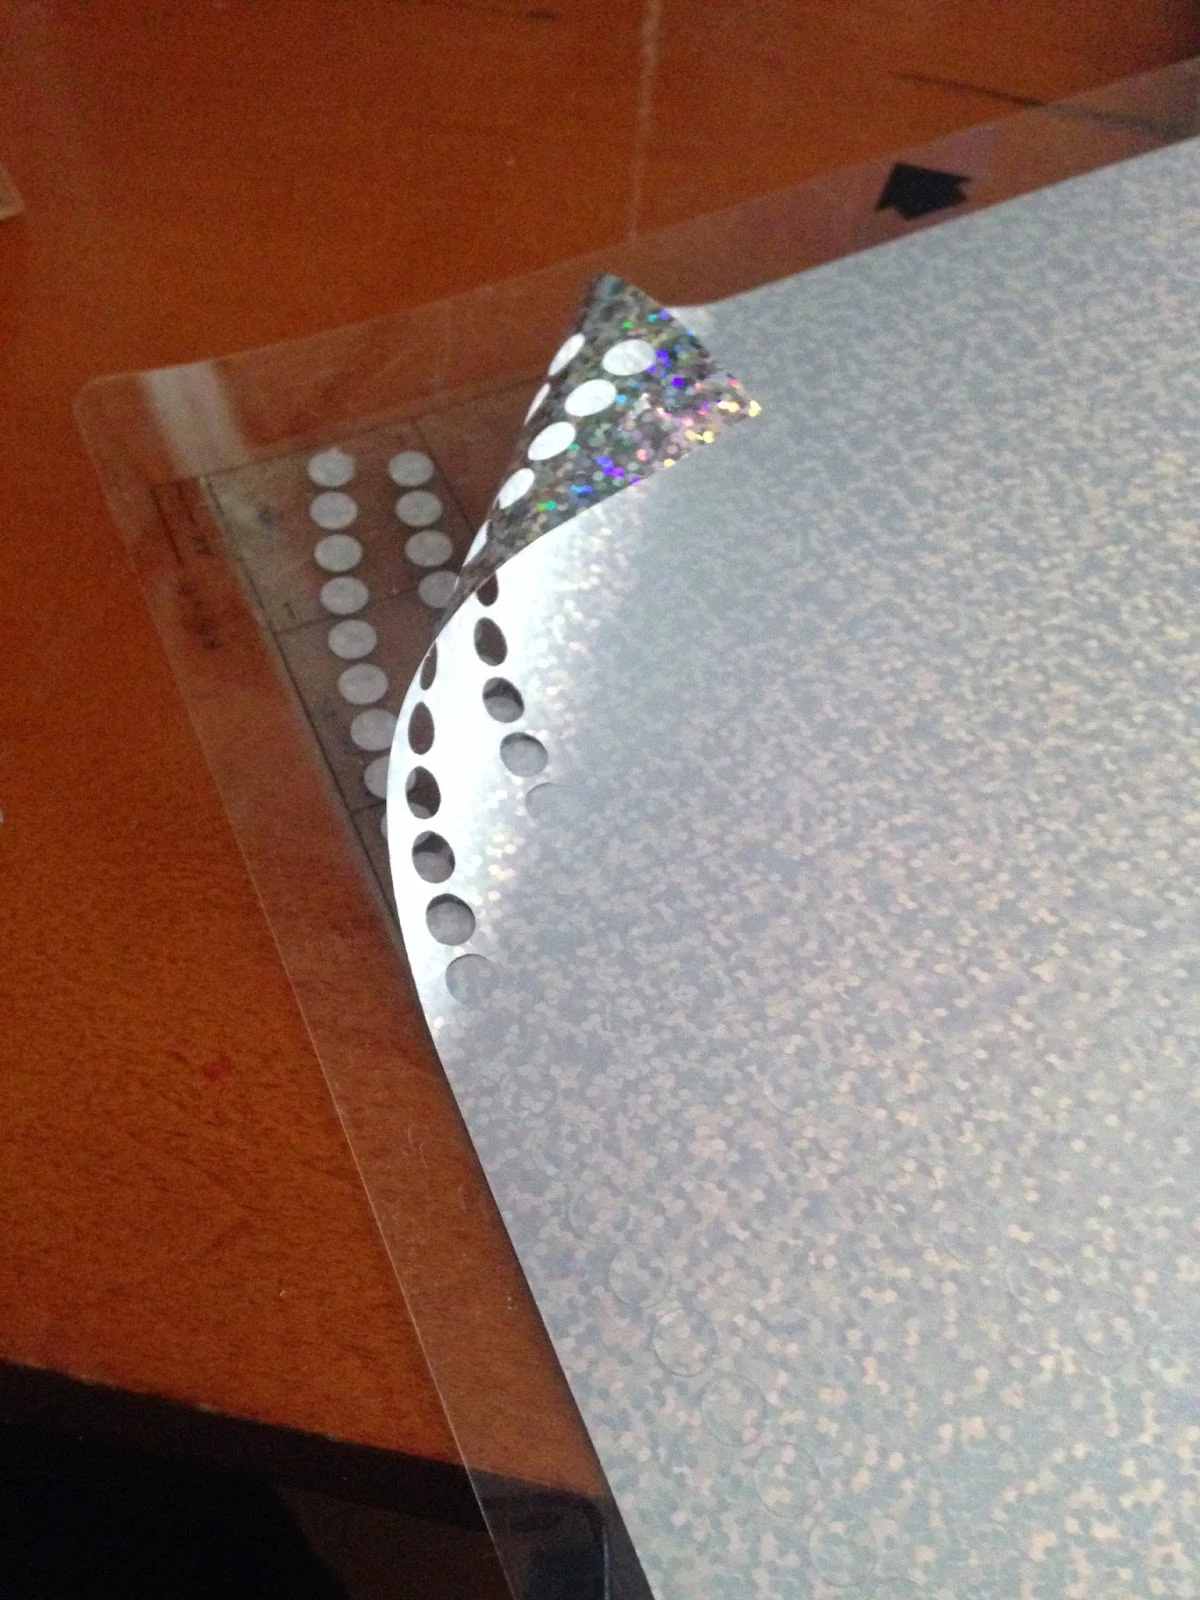
The first thing you need to know about holographic HTV is that it has a totally different feel than regular HTV. It's much more stiff as you can see in this picture. Look how it's curled upright without falling over like smooth HTV would.
Because of its 'stiffness' it's best to make small designs or else you risk turning your kiddo (or you) into the unbendable tin man.
So create your design with small in mind. I wanted to create a faux necklace shirt for my daughter. See this boring old pink shirt? It was a hand-me-down from the neighbor and is still perfectly good...just needs a little sparkle. And since I do a lot of experimenting (you can see some of my flops on Instagram) I like to use free hand me downs, low cost thrift store shirts, etc so I'm not messing up brand new shirts if things go kaput. This did not go kaput and that's because I kept the design small...
I created the faux necklace design with the faux rhinestone look in mind. I am providing the design as a free download below, but I do want to briefly explain how I did this. With Silhouette Studio Designer Edition I used the draw a circle tool to draw three ovals of various sizes. I position them so they were just slightly overlapping.

Then I used the knife tool to make a straight cut about 1/4 of the way down the "necklaces".
Delete the top portion.
I then measured the neckline of the shirt so I would know exactly how big to enlarge the design.
Finally, I selected all of the necklace oval lines and use the rhinestone tool (this is why you need Designer Edition) to turn them into rhinestone designs - selecting two different sizes to give the necklace some contrast. If you do not have Designer Edition, check out my tutorial on alternative ways to make polka dot shapes in Silhouette Studio.
Usually when you cut a rhinestone template you pull away the backing because you do not want to use the little circles - as this is where the rhinestones are set in the template material - but in this case I actually wanted the circles to act as the faux rhinestones.
TIP: If your design calls for it - especially if you have text - be sure to mirror the image before cutting.
I cut the silver holographic necklace first using the default smooth HTV settings. Nothing. It barely scratched the surface of the holographic heat transfer vinyl. I adjusted the settings to: Blade 5, Speed 8, Thickness 15 and double cut and it cut perfectly.
Repeat for the remaining necklaces.
I used my heat press to press the necklaces onto the shirt - one layer at a time. Holographic HTV is a cold peel which means if you try to peel the carrier sheet off immediatly after you lift your press or iron you're gonna have issues. Wait a minute or two until the shirt and HTV cools down and then peel off the carrier sheet. Add the rest of your necklaces one at a time.
After adding the last layer of holographic HTV flip your shirt inside out and press again for another 30 seconds.
And here's a close up so you can see how it mimics rhinestones only the much lower maintenance version.
Note: This post may contain affiliate links. By clicking on them and purchasing products through my links, I receive a small commission. That's what helps fund Silhouette School so I can keep buying new Silhouette-related products to show you how to get the most out of your machine!
Thanks for coming to class today at Silhouette School. If you like what you see, I'd love for you to pin it!


.png)


Any tips for getting it to stick using an iron?
ReplyDelete@Jessica D.
ReplyDeletei tried to use the rainbow one with an iron and found you need a lot of Pressure to get it to stick. i put it on a Table and then placed the shirt on a Town and pressed really hard on the iron for about 40 secs. its all about the pressure.
How did you keep it from melting the print.
DeleteWhen I tried to weed the HTV, it all stuck to the carrier sheet...any tips for that?
ReplyDeleteThank you so much for all your valuable information. I run a business with my Cameo. Anytime I have a question or need to look up something, I come here first. I always find an answer that solves my problem. I tried holographic HTV for the first time today and thanks to you, everything worked fine. Keep up the GREAT work!!!
ReplyDelete