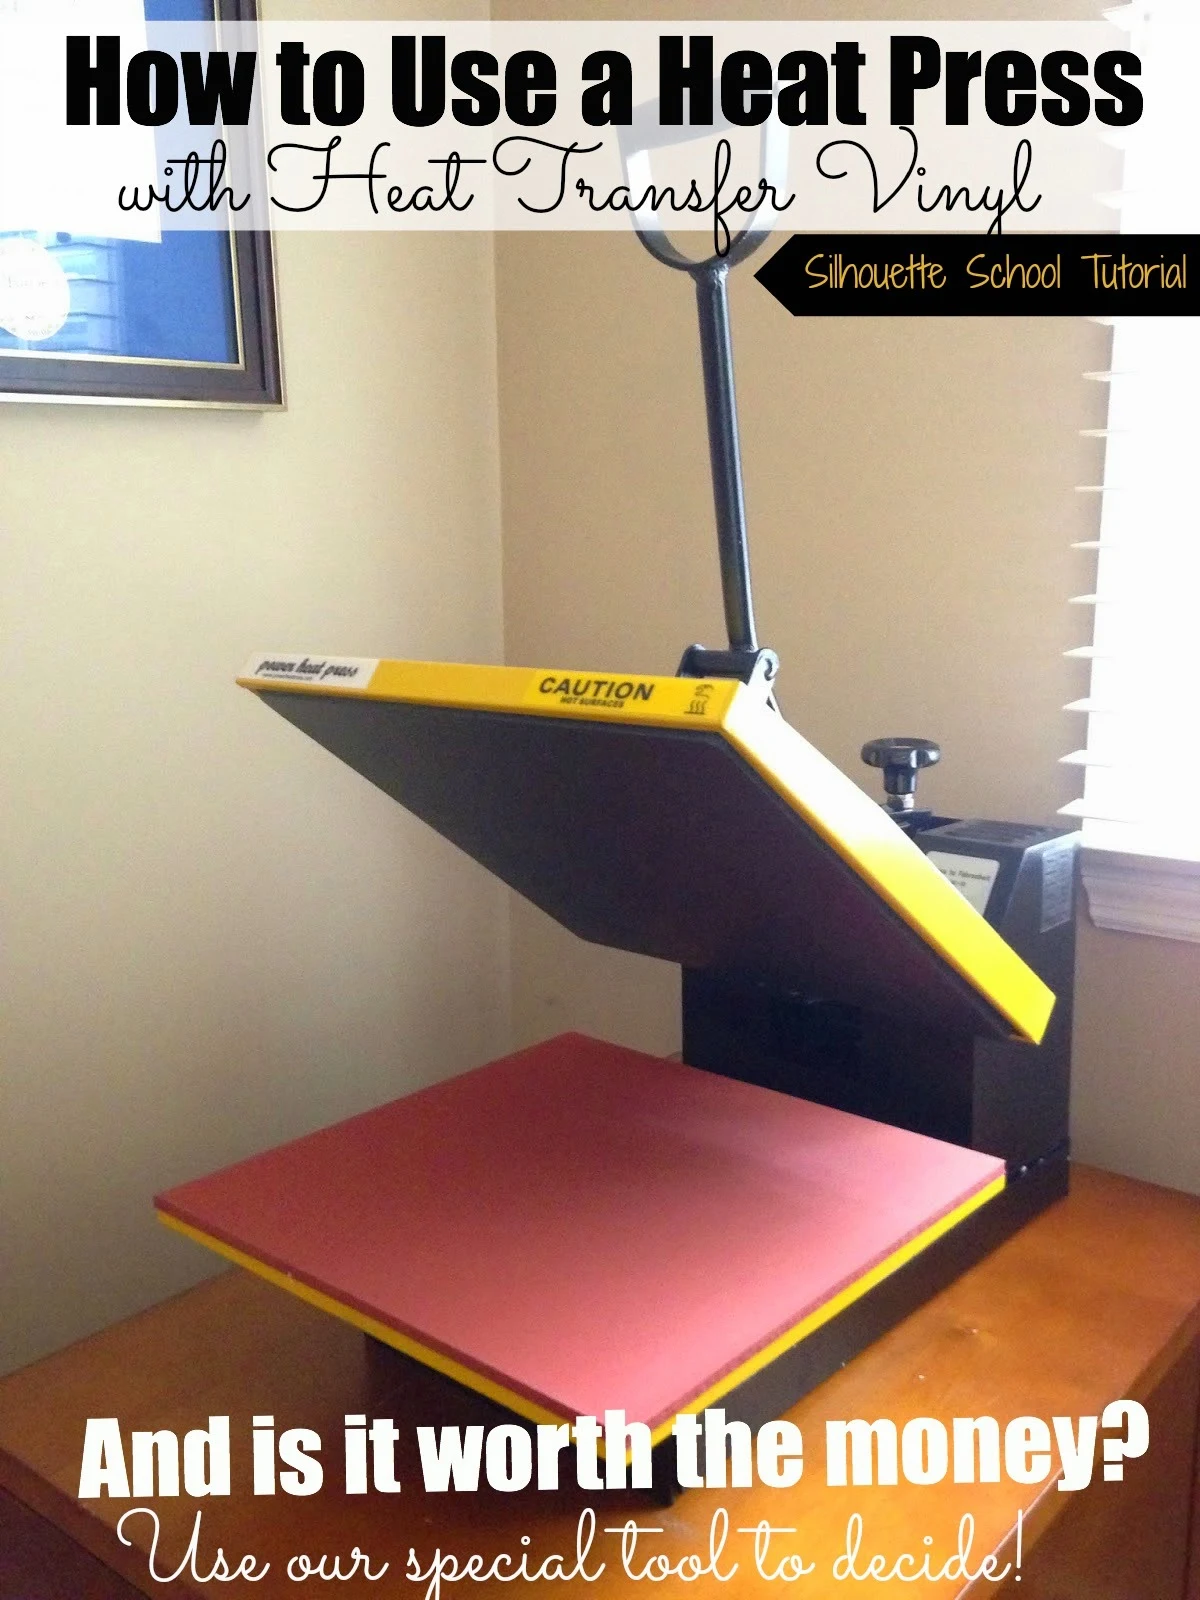
There are some heat press basics that are pretty much true no matter which heat press you get whether it's this entry level heat press or one that has some extra bells and whistles.
Beginner Heat Press Basics
First let's start with the basics on how to use a heat press. When I got my first heat press in 2014, after much searching, comparing, and price checking I decided to get the Fancierstudio Industrial-Quality Digital 15-by-15-Inch Sublimation T-Shirt Heat Press from Amazon and paid about $210 for it on sale. Yes, that's a good deal. Fast forward and the price of the entry level heat press has dropped rather significantly!Two days later...and my heat press was on my doorstep! That's when I realized this thing comes with only a few lines of directions. So here goes...
There are mixed thoughts on if a 'burn off' is necessary for the first time you use a heat press. A burn off is when you pump the heat up pretty high and for an extended period of time to let the stink burn off. I skipped this step and have had no issues.
You want to find the perfect spot for your heat press. A few things to keep in mind when deciding where to put your heat press:
- Put it on a solid surface
- If possible, plug it into its own outlet
- Keep it out of reach of children
- Don't put it too high that you have to reach to pull down the top plate
- Have access to the press from three sides
- A ceiling fan (and windows) in the room is recommended because this thing will really warm the room up
- Perform the heat press pressure test
- Store your heat press open
 |
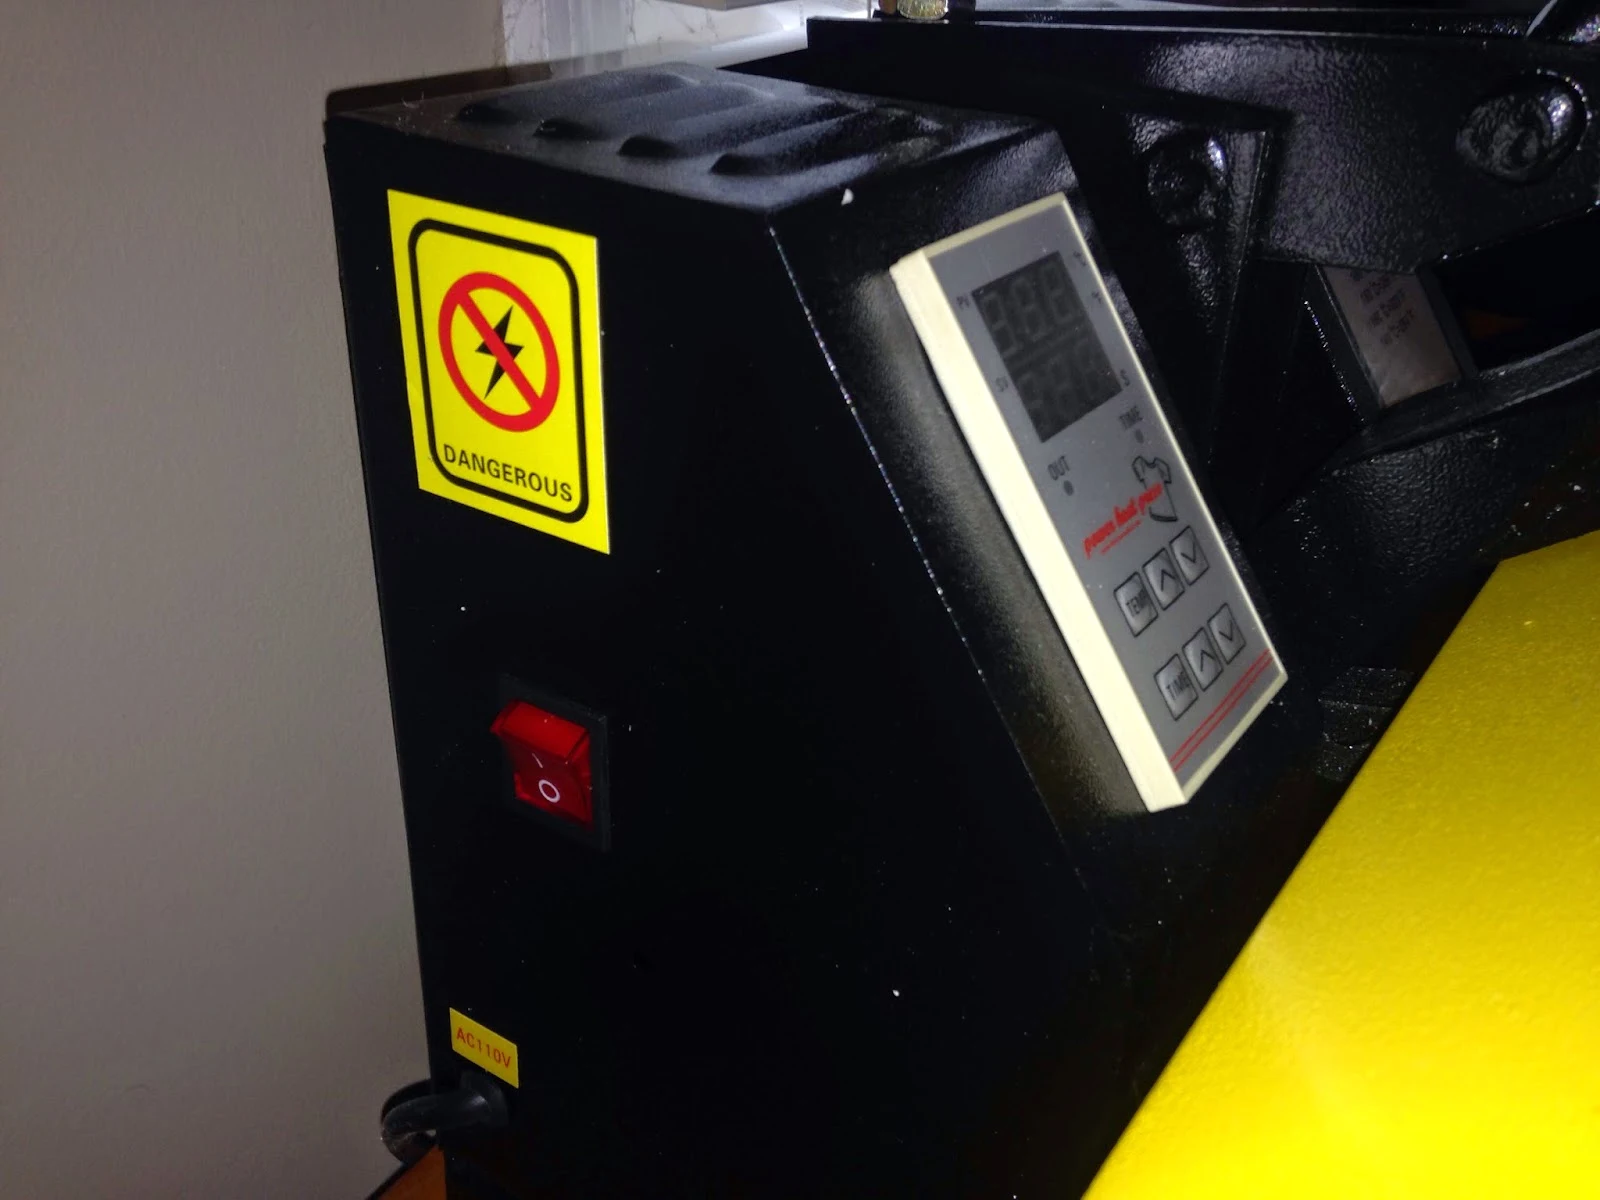
| Big red power button. Press it to start heating up the machine. |
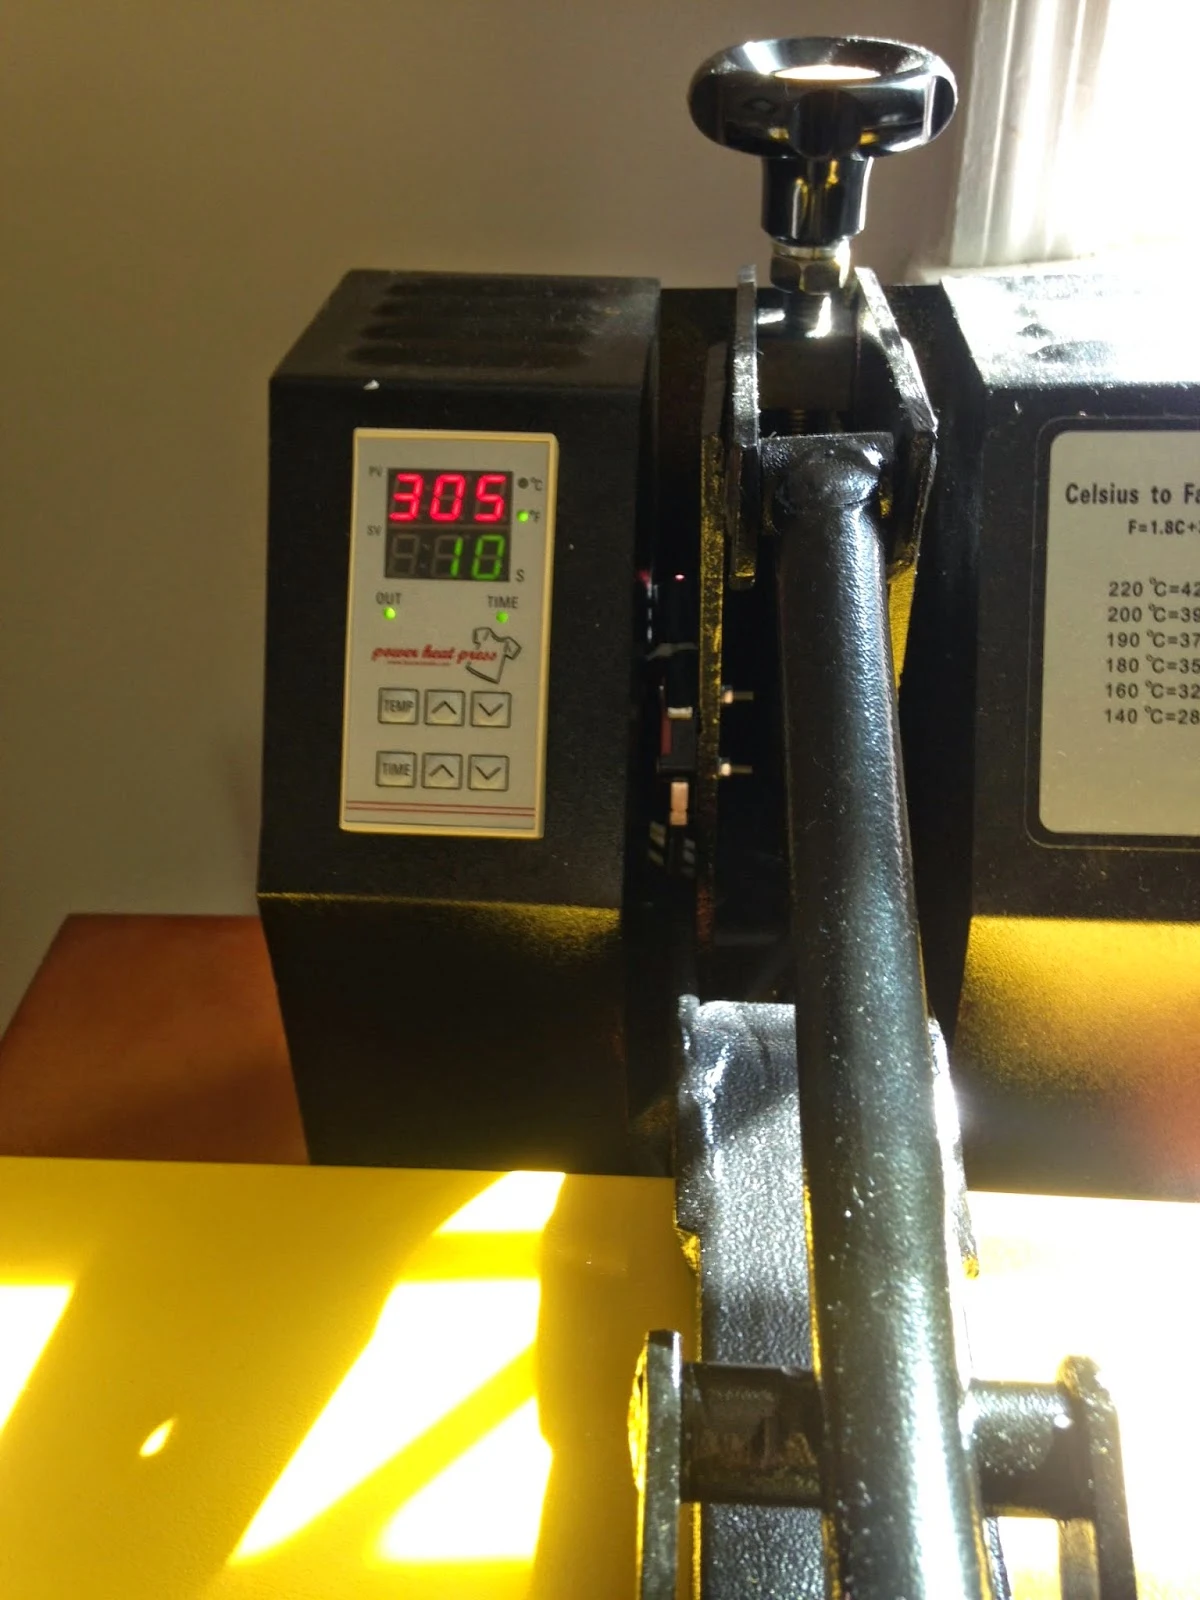
You can find the desired temperature from the vinyl retailer or by using the free Siser NA mobile app. For instance, in the description of Black Siser Easyweed HTV on Swing Design it states:
- Application: Preheat 3 seconds
- Apply medium pressure at 305 °F for 10-15 seconds
- Peel: Hot or Cold
With the top plate up, let the heat press warm up to the necessary temperature while you cut out the HTV on your Silhouette. The machine may or may not beep when it reaches the desired temperature.
Don't Skip Pre Pressing
Now take your shirts or bag and CAREFULLY lay it flat on the bottom plate of the heat press. (No HTV...yet) You are basically going to iron it flat and warm up the fabric to prep it. This pulls out any moisture and gets rid of any wrinkles. Pull down the handle (or swing it around if you have a swing plate) and let it sit on your fabric for about 5 seconds. Lift the handle and remove the shirt.On a flat surface, lay out your shirt (or whatever you're working on) and position the HTV exactly where you want it on the item (backing facing up). Be sure you have weeded off the excess HTV, but leave the clear backing sheet in place.
Once the heat press has reached the desired temperature, move your shirt onto the bottom plate. Again, be very careful NOT to touch the very hot top plate. I find it easiest to keep the neck opening closest to me so the bottom of the shirt is towards the back of the heat press.
The Importance of Pressing Pillows
If possible, let the seam from the neckline hang over the front edge of the bottom plate. Seams can cause the press to not get as tight of a seal as is possible on a totally flat surface. I would highly recommend using pressing pillows to ensure you get the best possible pressure. They also prevent seams, zippers, and snaps from creating gaps in pressure.Before you pull down the handle and top plate, lay the teflon sheet provided with your heat over the htv and shirt.
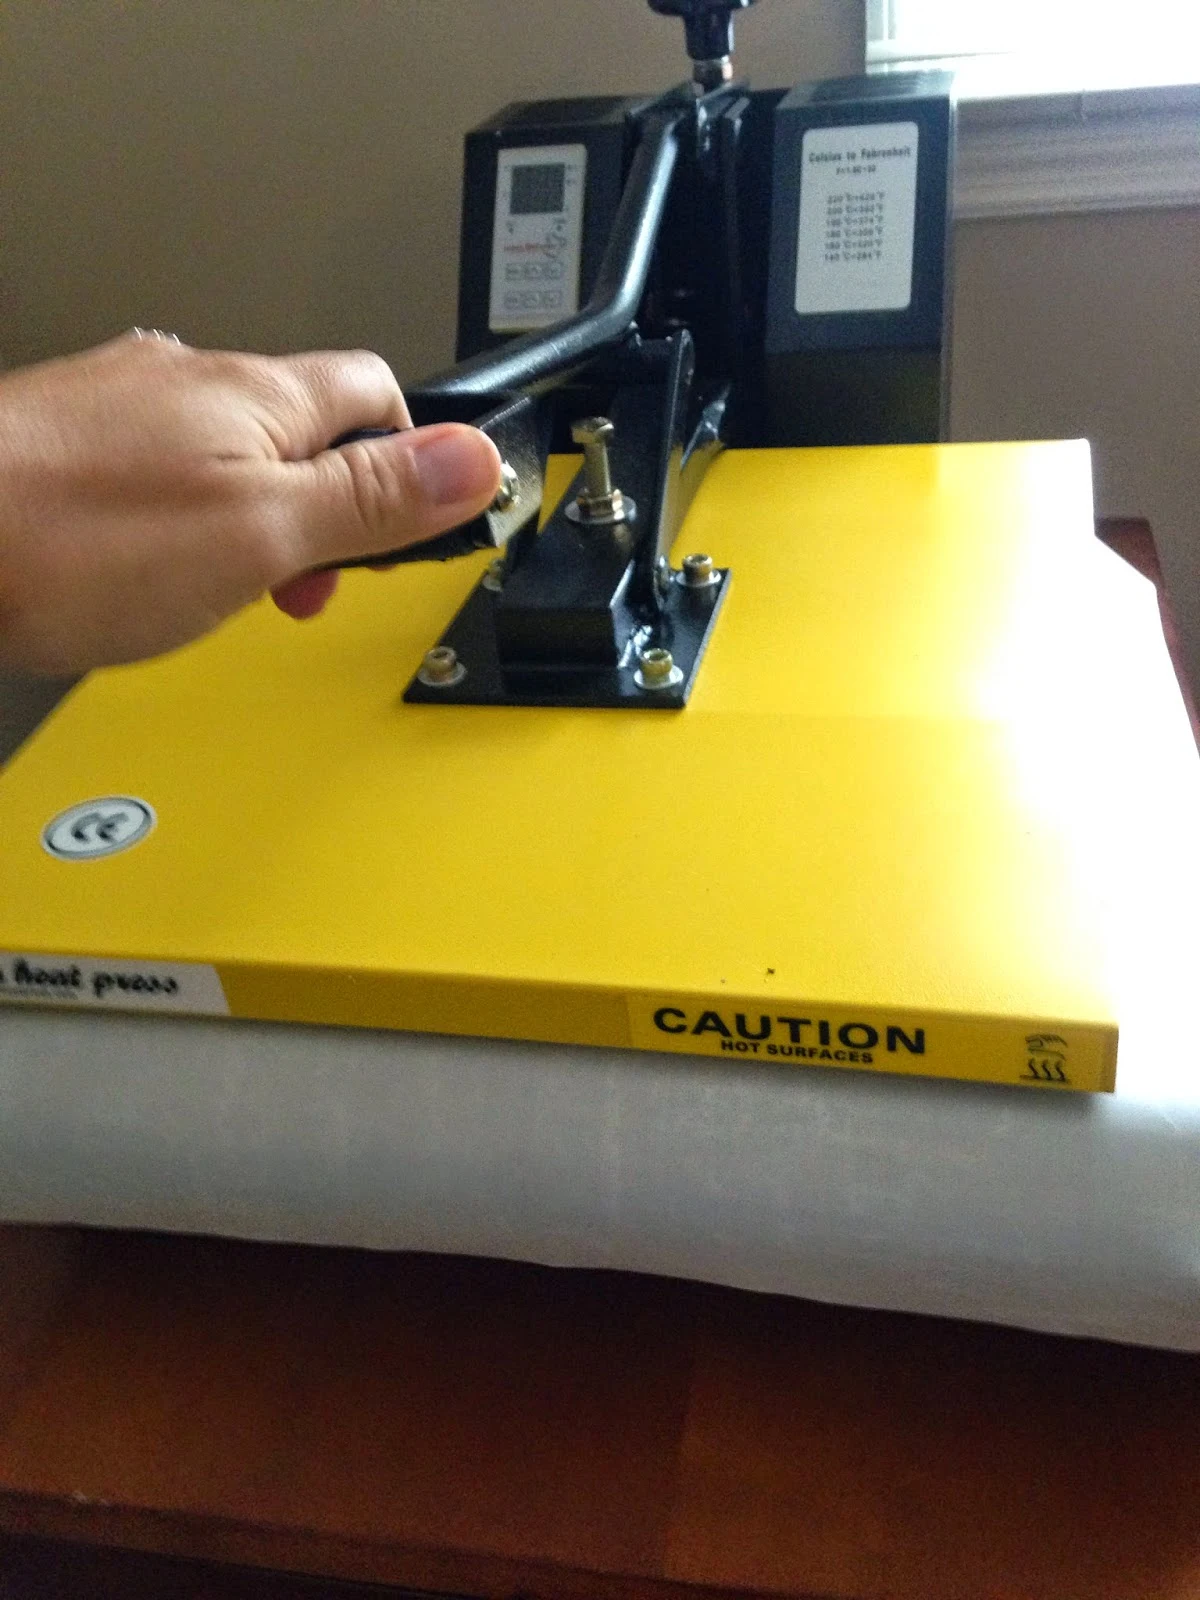
When you're ready, pull down the top plate locking it down with the handle. On the model I have, the timer starts automatically, counts down and beeps when it's reached the end of the time.
At this point, you can unlock the handle, lift up the top plate, remove the teflon sheet and pull out your shirt. You should be able to easily remove the clear HTV backing. (Again, check the manufacturer directions - some HTV requires you pull the sheeting off once it's cool.)
TIP: If you are layering vinyl with two different colors of vinyl, put the first color on and set the time just 1-3 seconds to tack it. Once you've gone through the rest of the steps, and then add the second color, return the shirt to the heat press for the remainder of the time.


Is a Heat Press Worth It? Heat Press Vs Iron
Now the question is - is the price of a Heat Press worth it for HTV? I used an iron to adhere my heat transfer vinyl for months. It worked out fine and I never had a problem.The biggest drawback to using an iron is the amount of time and pressure it takes to get a good stick. Most recommend a full minute and a lot of pressure for each iron-size area. For a large design, this can take a lot of time where it only takes 20-30 seconds to use the heat press.
I ultimately decided to buy a heat press when I realized it would take my business to the next level. If you are making a onesie here or a bag there for yourself or your family, you probably don't need a heat press - an iron will be fine so long as you get a good seal. But if you start getting inquires about making a dozen shirts or decide you want to sell HTV items in your Etsy shop I would definitely recommend a heat press.
The pressure is better, the time is less, and the effort is minimal. So is a heat press worth the money for you? I created this nifty little chart tool to help you decide if a heat press is worth the investment.
Ready to invest or at least start shopping around? Check out this heat press comparison to find the best heat press!


.png)


