***
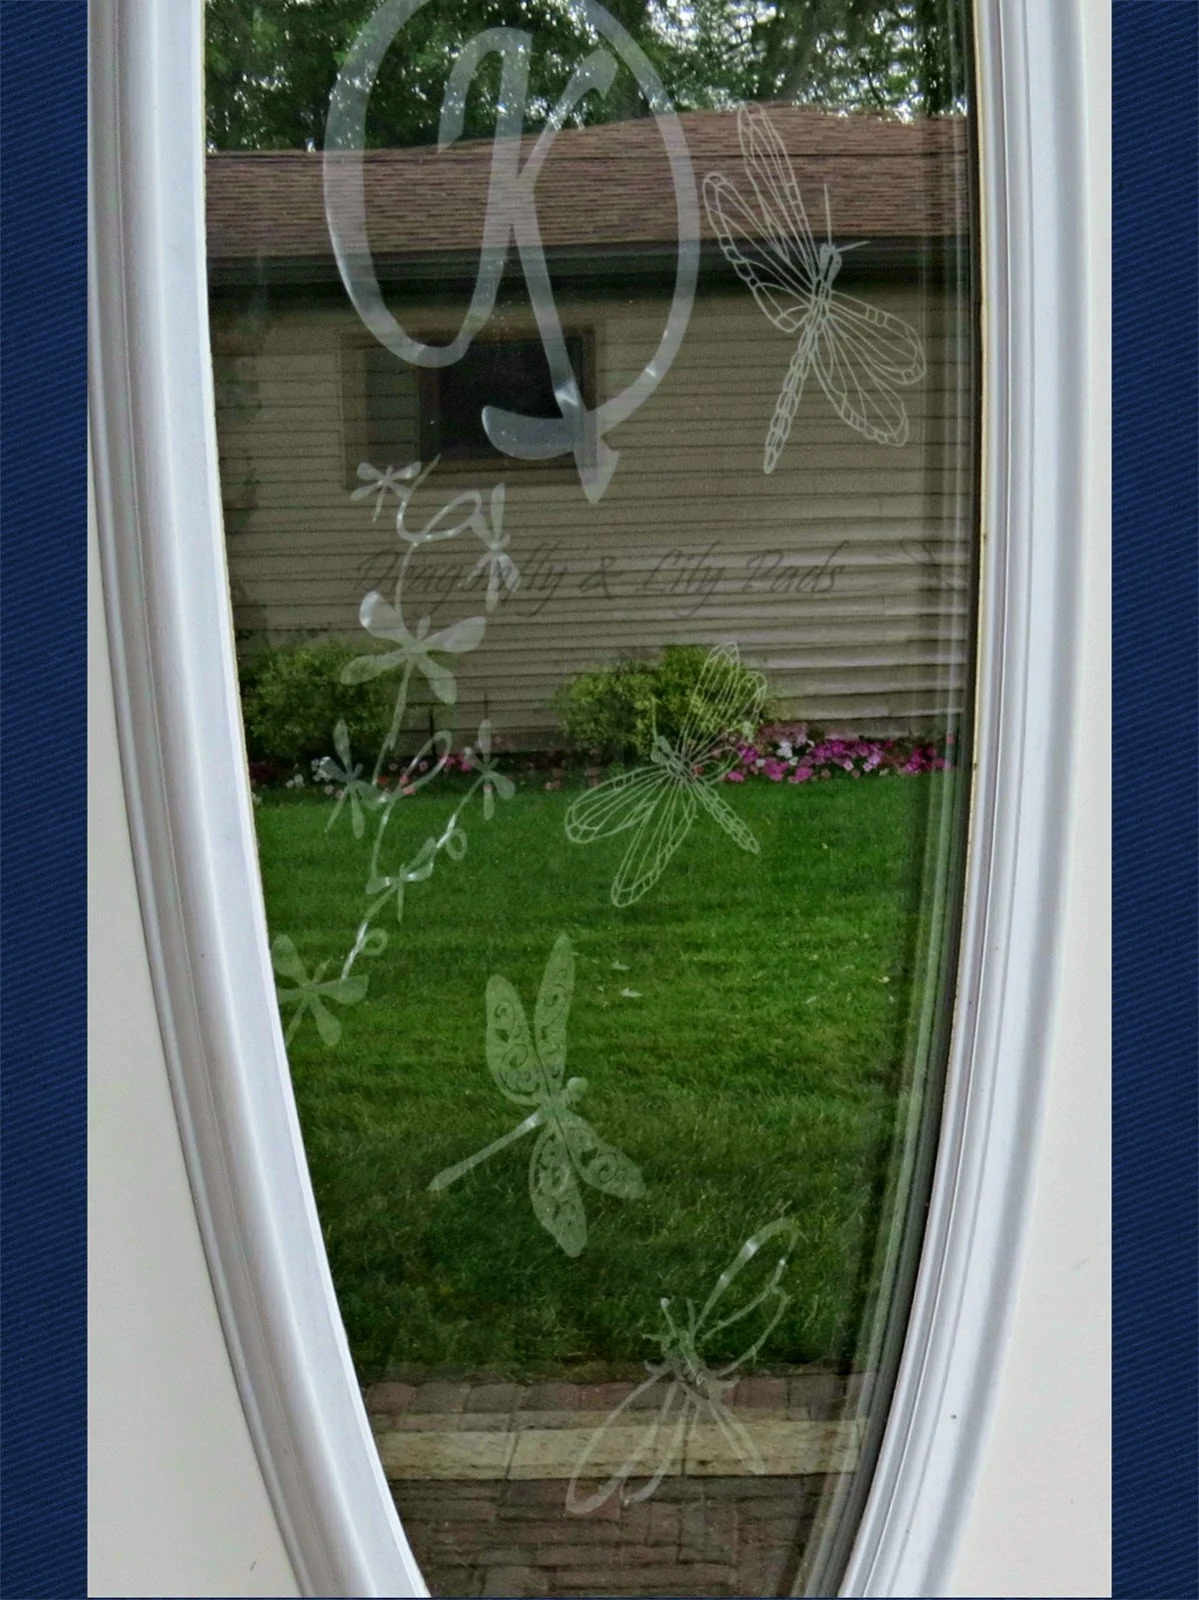
Hi, Karen Marie Kedzuch subbing for Melissa at Silhouette School while she is away from technology today. I am honored to share my twist on Faux Etched Glass with you (and it's perfect timing since today is the last day for Melissa's etched glass vinyl giveaway). Can you guess the name of my blog. Check-out the window of the door for a hint.
Dragonfly & Lily Pads is where I share my passion for DIY. My goal is to inspire you, to join me, while I create and transform projects.
Hmmm. How I could create an etched glass effect, which was also removable and inexpensive? I scoured the Internet, big box home hardware stores, finding all of the vinyl was permanent adhesive, and costly. I could not make that permanent commitment, wanted to lessen the cost, and wanted to change my designs frequently.
SUPPLIES
Frosted vinyl (1 yard $3.50 of light weight frosted vinyl found in the home decor dept. of +Jo-Ann Fabric and Craft Stores )
Silhouette 12 x 12 Cutting mat
Sharp scissors,
+Silhouette America Cameo
Cutting blade
cut design choice(s)
First cut 12" X 12" squares of frosted vinyl.
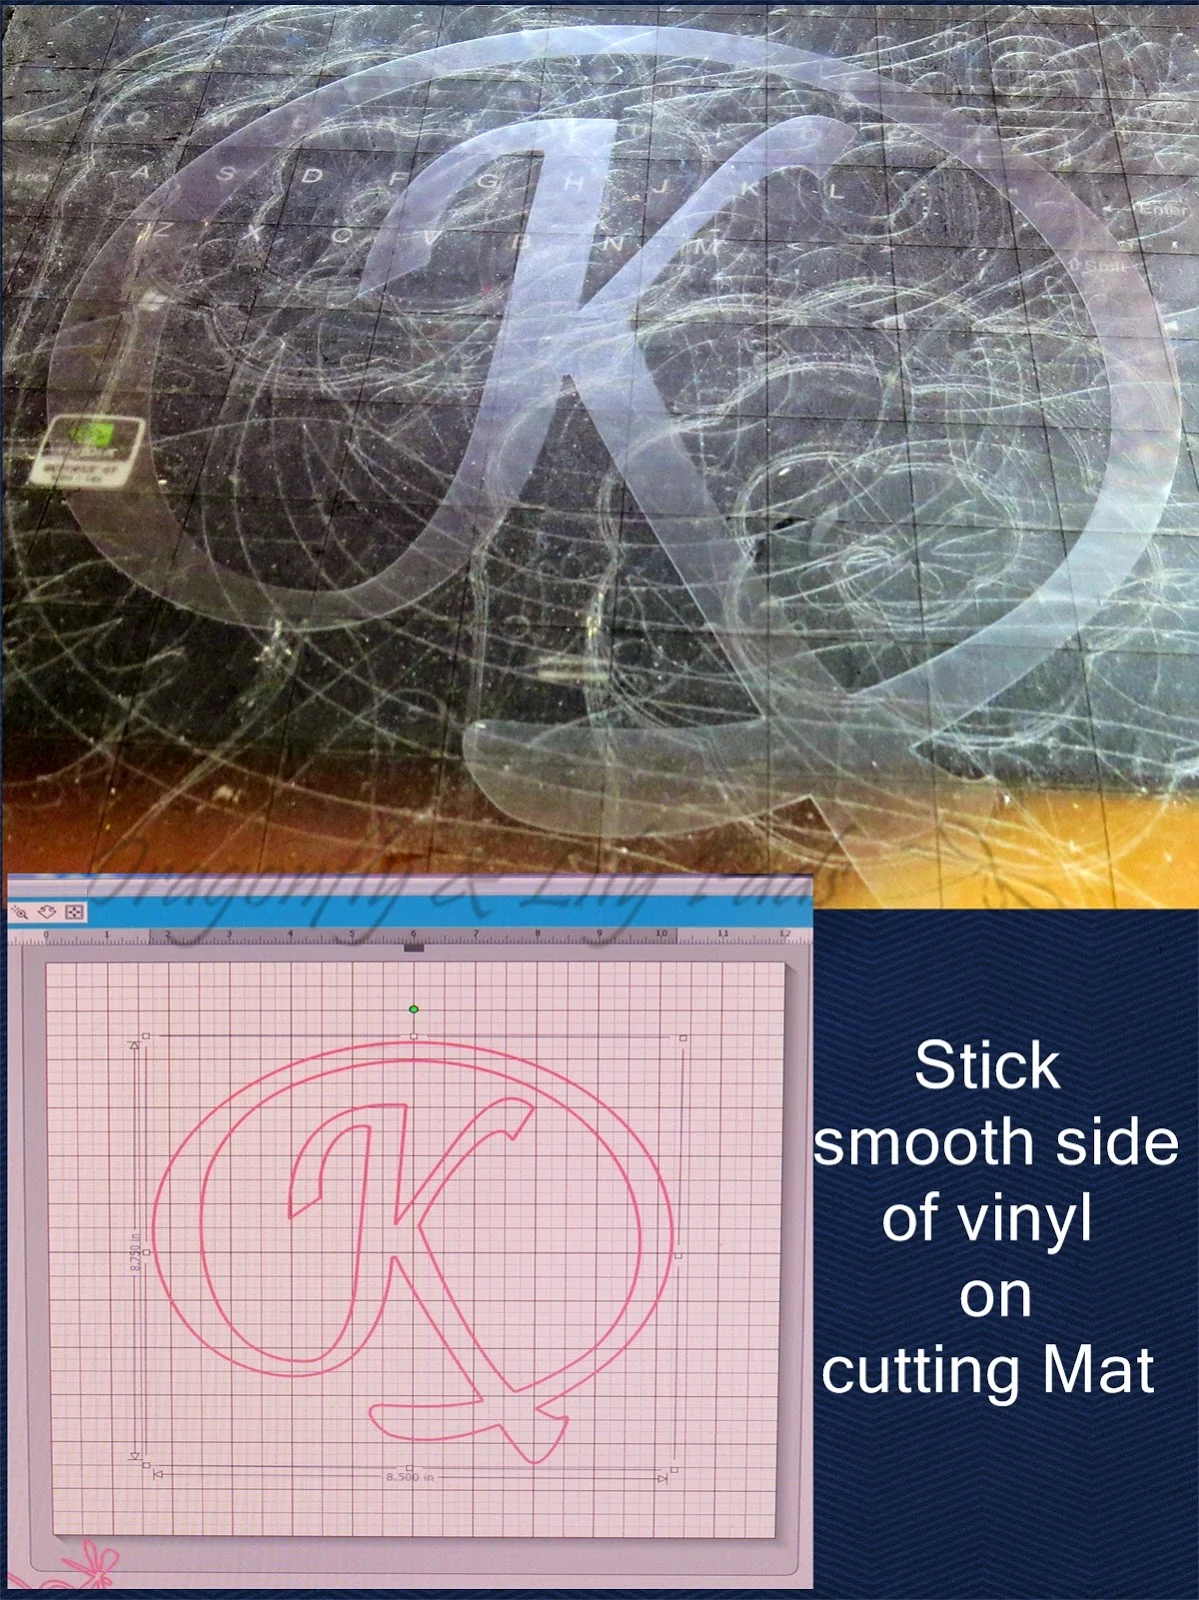
Slowly lay the shiny side of the vinyl down (there's no backing on it!) on the 12" X 12" cutting mat. Make sure to smooth out all wrinkles and bubbles.
Follow the cut settings for Silhouette brand vinyl. I did change the blade depth. It was suggested to be set at 3 but, I found 5 worked better.

In the picture above, after weeding the the mat, a few pieces did not cut through. I gently loosened the cuts until I came to vinyl that was not cut. I took a small scissors to carefully snip the tethered pieces free.
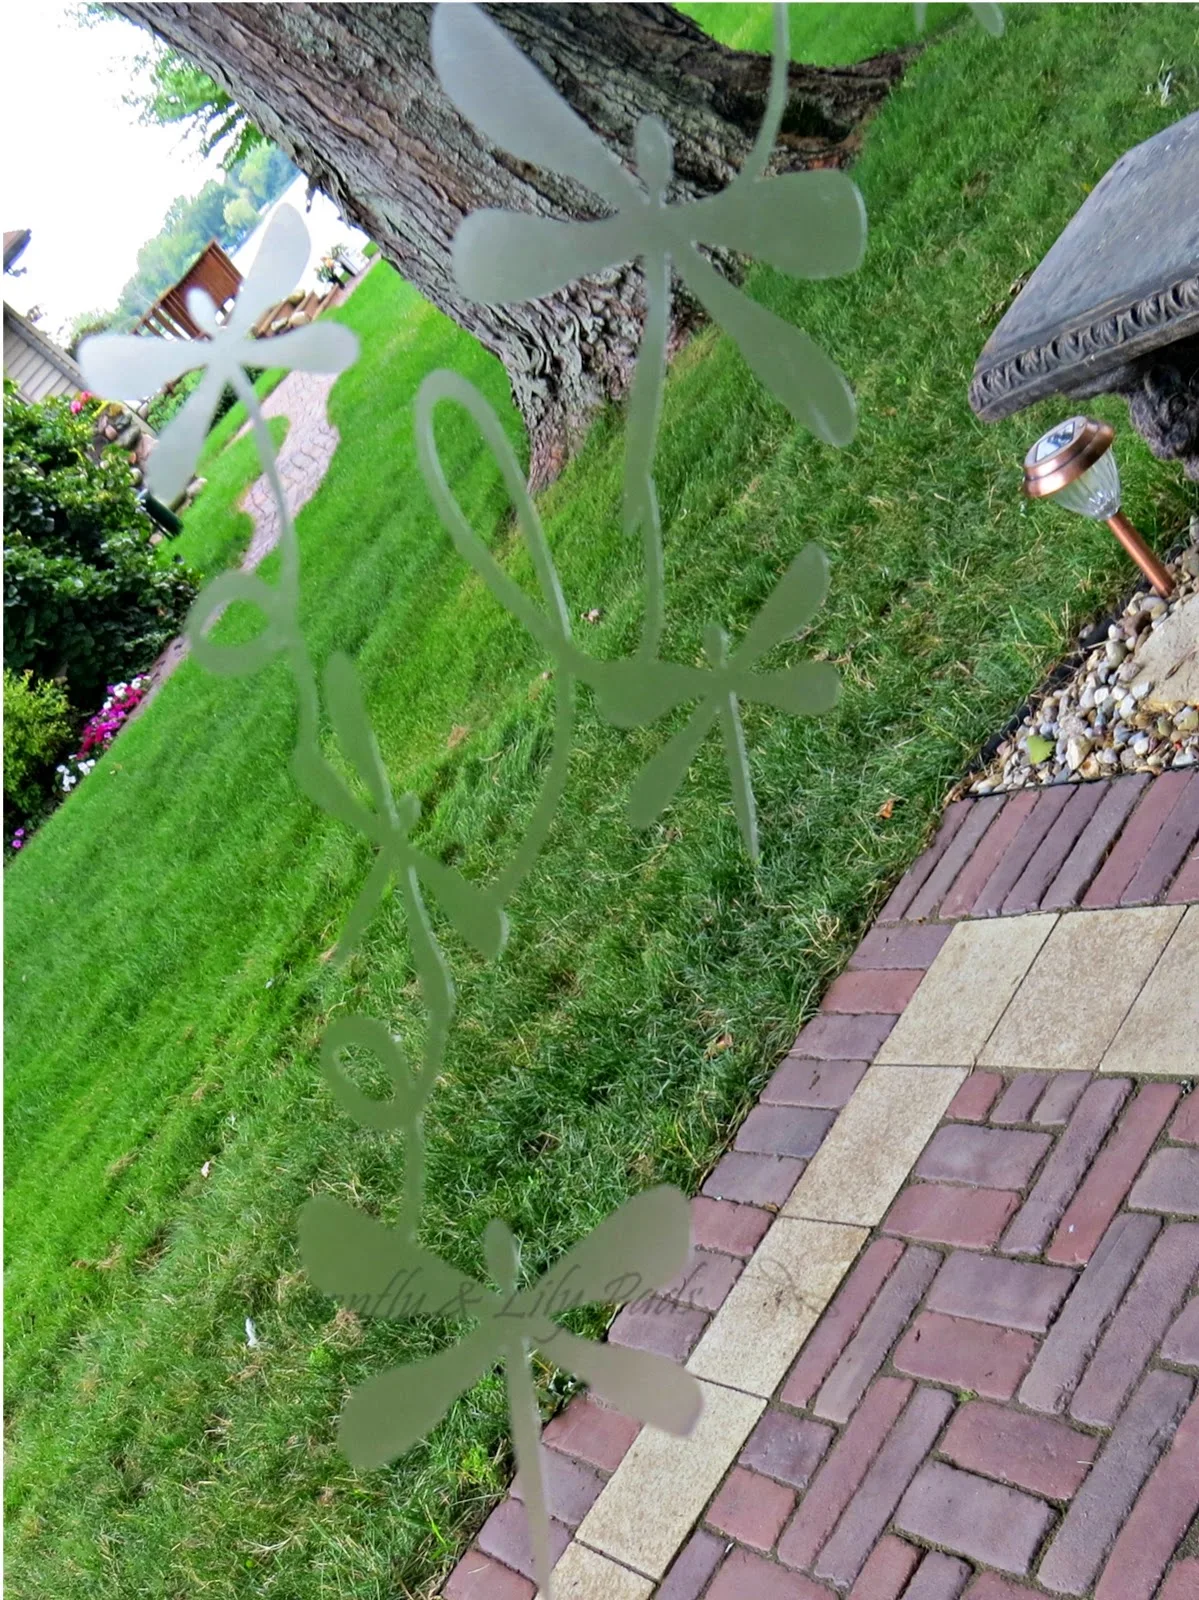
Here are a few examples of designs I cut.

Notice the static cling is keeping the design in place..it's not adhesive like a regular vinyl.
This picture shows you the effect of the frosted vinyl on my front door.
Helpful Hints:
1.Keep size in mind while choosing design, the larger pieces will be heavier. Weight is not your friend, it does not cling.
2.The vinyl is delicate, it does tear, gentle, slow and careful are important.
3. One yard of frosted vinyl leaves plenty of extra material for a learning curve, or more projects. :)
Now you know how to make your own Faux Etched Glass.
Thank you Melissa for sharing your readers with me. I truly loved subbing for you at Silhouette School. I hope this project gets your creative minds turning. What Faux Etched Glass projects is your mind dreaming off? Melissa and I would love for you to share your thoughts in the comment section below.
Have a wonderful day! Karen Marie Kedzuch
~ Let your Creative Spirit Dance ~
Thanks for coming to class today at Silhouette School. If you like what you see, I'd love for you to pin it!


.png)


No comments
Thanks for leaving a comment! We get several hundred comments a day. While we appreciate every single one of them it's nearly impossible to respond back to all of them, all the time. So... if you could help me by treating these comments like a forum where readers help readers.
In addition, don't forget to look for specific answers by using the Search Box on the blog. If you're still not having any luck, feel free to email me with your question.