I'm still on vacation so we have another guest blogger today! I'm thrilled to welcome Randi from the blog Sowdering About. She has a super cute Silhouette jewelry tutorial to share today...so I'll let Randi take it from here!
****
Hi, I'm Randi! I blog from a blue recliner in the wet city of Seattle where my family and I live. I write about my crafting adventures and parenting trials, because if you can’t find humor in your own life, then who will?
 With school just around the corner, it seems that every where I turn, I am being punched in the face with erasers, reams of paper and of course, pencils. So when this idea popped up in my head, I really wasn't surprised. I mean, sometimes I can't help but surprise myself, but this time, I feel like I was expecting this to come out of my brain.
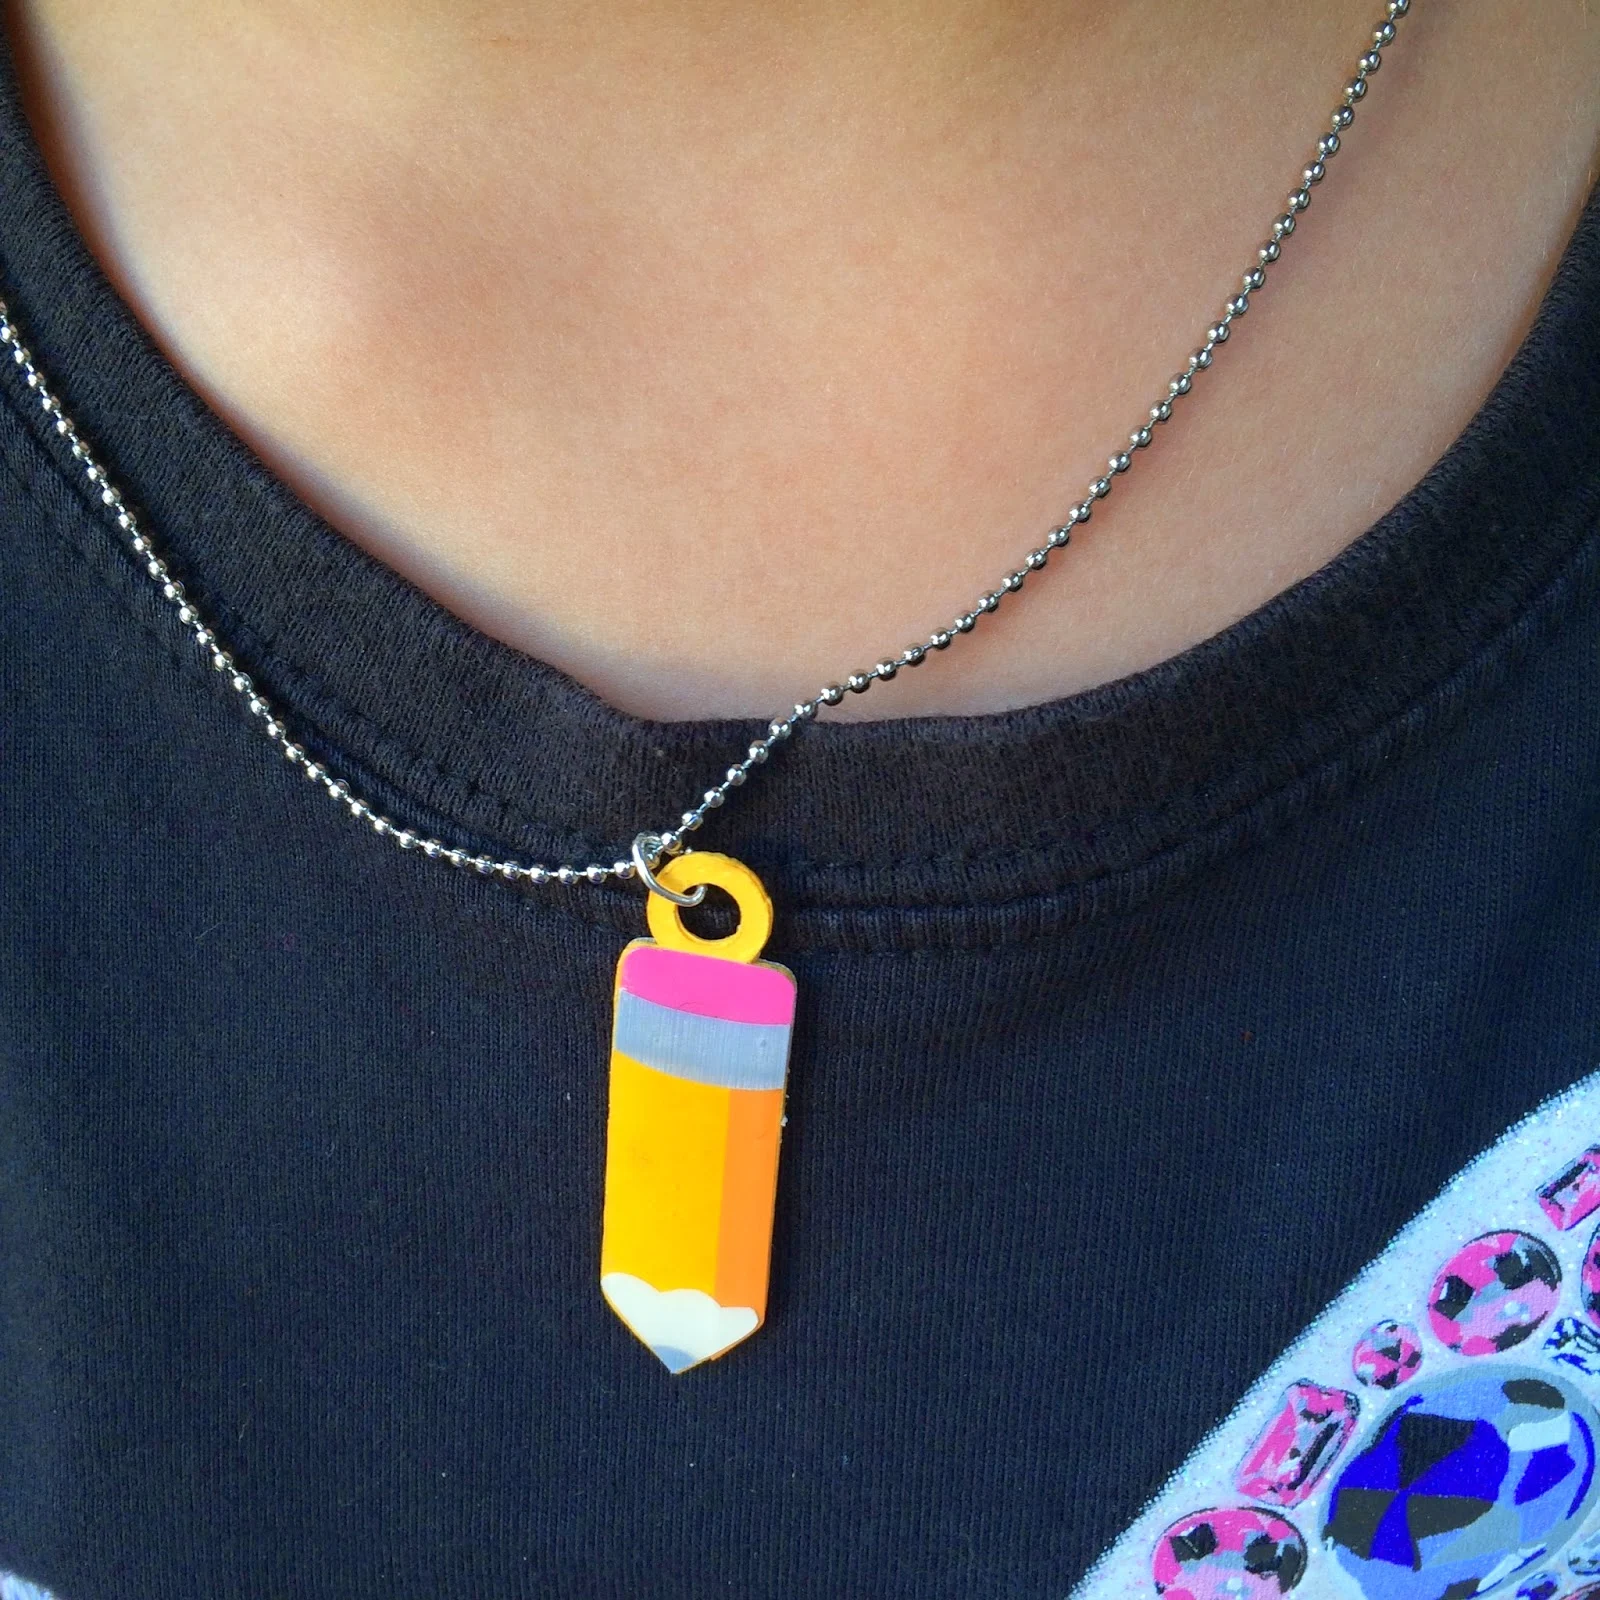
 I bought a cut file from the Silhouette store of a pencil. I added a little circle to the top of it and used the offset tool to make another internal circle. After a quick little weld of the bigger circle and the pencil, I had made a charm. I cut out three of them and glued them together to make the paper pencil thicker and less delicate.

The details on the pencil, the eraser, pencil tip and dimension strip on the side, were all added using vinyl. See a few months back I requested a sample book of vinyl from 3M and they sent me one. It's a sample book of all their vinyl colors and textures. It's only 2"x3" but it's come in handy for super small projects like this.
After gluing and adding the details, I covered the charm with Mod Podge Dimensions.
Here is where I can give you a quick tip. If you, like me, are completely incapable of waiting for glue to dry and you try to use your blow dryer to speed up the process, just know, that it will ruin your project if you are using Mod Podge Dimensions. I may or may not know this from experience. I may or may not have had to completely redo this project because of said...experience.
When it was all dry (after only about 20 minutes without using my blow dryer), my daughter decided it was going to hers to wear to school on the first day. And, of course, I can't argue with that!
This project took all of 20 minutes from start to finish, not including dry time and not including having to start all over when I ruined it the first time. It's a quick and easy project that is super versatile and could be made for any occasion! What charms are you going to make?
This project took all of 20 minutes from start to finish, not including dry time and not including having to start all over when I ruined it the first time. It's a quick and easy project that is super versatile and could be made for any occasion! What charms are you going to make?
Note: This post may contain affiliate links. By clicking on them and purchasing products through my links, I received a small commission. That's what helps fund Silhouette School so I can keep buying new Silhouette-related products to show you how to get the most out of your machine!
Thanks for coming to class today at Silhouette School. If you like what you see, I'd love for you to pin it!


.png)


Wow!!Its so pretty!I wanna get one or my wife.. She will be very happy seeing the necklace and also will enjoy buying recliner from recliner reviews .
ReplyDeleteThese are the factors that will determine the kind of look you are able to pull when wearing your necklace.
ReplyDeletename necklace