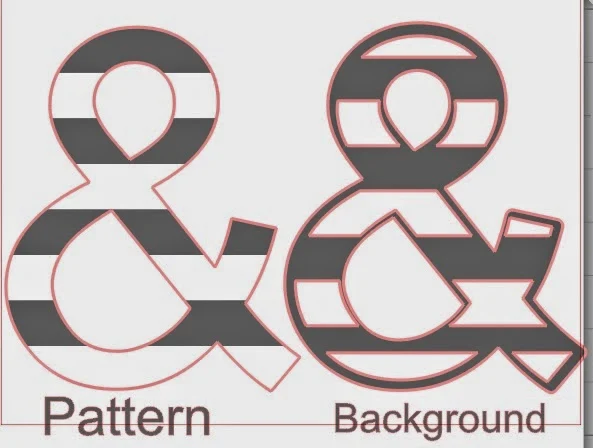
I've been asked more than a time or two how to fill a design or text with a pattern or background...you know like a chevron anchor or text taken to the next level. But just how do you get from this to this?
Today I'm going to show you how you to fill a design or text with a cuttable background in just a few steps in Silhouette Studio.
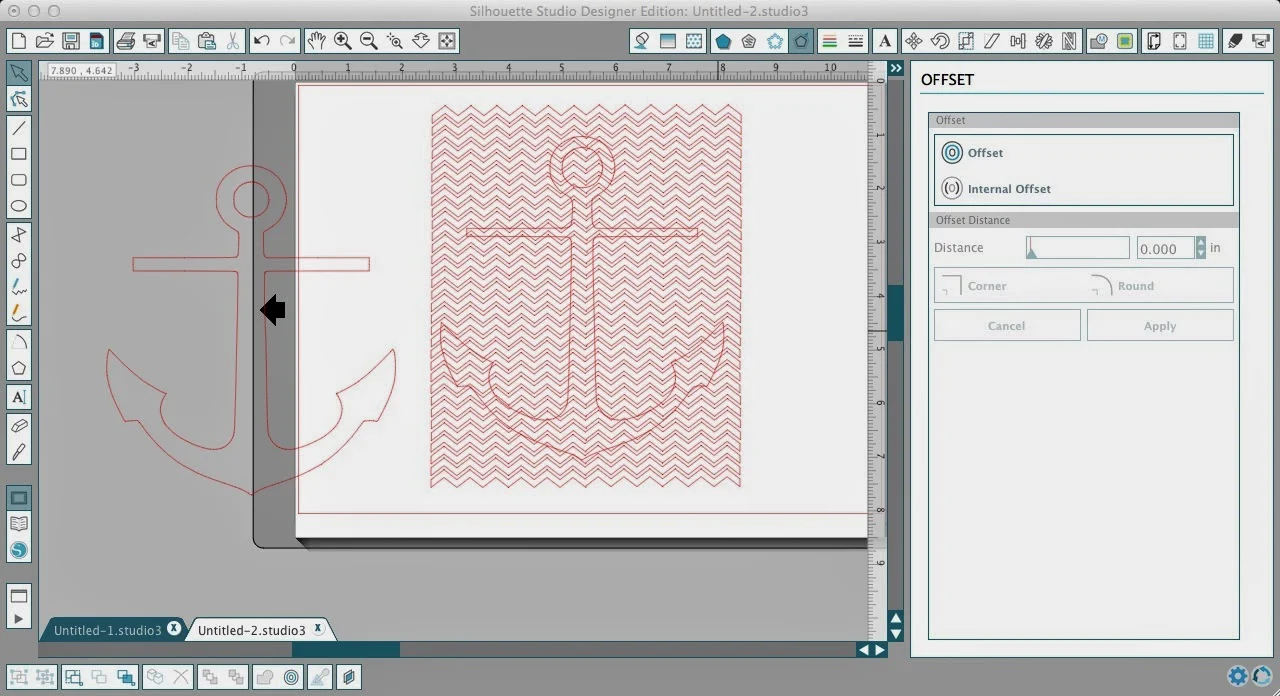
First - open up your design. I'm going to be working with an anchor but this would work with pretty much any design...or text.
Now I'm going to open up my background. Remember, a pattern and a background are different. To be able to cut the design into the shape or letter you want to use a background since it's cuttable and can fill a shape. You can tell because a background has cut lines around the individual pieces as seen here....
A pattern is technically more like wallpaper. It would not get cut lines around the designs on the pattern and the colors can't be changed. To make things more confusing, the online store makes the distinction very confusing since SA sometimes gives 'backgrounds' names such as 'geometric pattern' as is the case with the recent free design of the week #61966.) Kay who's the expert Sil user behind Clever Someday blog came up with this super helpful infographic to explain the differences between a background and a pattern.
And now back to the point...
Depending on both the size of the background and the design, you may need to resize the background or duplicate it and weld it together. Below, the left is the original....but for the anchor, I made the chevron very small since the sides/frame of the anchor are so thin. If you'd like to use the chevron background I'm offering it as a free .studio download here (for personal use only!)
Now it's time to make an internal offset.
Highlight both the background and the internal offset and from the Modify window click "Crop". You'll see the chevron is now cropped into the anchor shape.
You need a frame..which is where the original anchor comes in.
...then select the design and the entire cropped background and make it a compound path (Right Click > Make Compound path).
If I fill in my chevron anchor, you can better see how the design would cut on vinyl or paper or as a stencil. The white space between the blue chevron would be all the areas that are hollow or cut out.
And from there the creative juices can really start flowing....
Looking for simple backgrounds? You can create your own with something as simple as the Draw a Circle tool.
Thanks for coming to class today at Silhouette School. If you like what you see, I'd love for you to pin it!


.png)


Hi Melissa,
ReplyDeleteI've been using this technique for ages now, and it's worked brilliantly, thank you!
I'm just wondering if you know why things have changed today? When I click çrop' it crops out the image, leaving a white silhouette with the pattern around it. It doesn't seem to matter whether I put the image at the front or the back. Am I missing a step somewhere?
Thanks!!
I am also having problems, when I crop
ReplyDeleteI want to print a solid black letter with Sketch. I fill the empty letter with black fill and it shows on my screen as a solid black letter. However, when use the sketch pen to "cut" the letters print with outline only. Help!
ReplyDeleteI'm having the same problem as Janna. Any ideas?
ReplyDeleteHi,
ReplyDeleteHow can I save the chevron background that she is offering it as a free .studio download. I dowloaded but I do not know how to save.