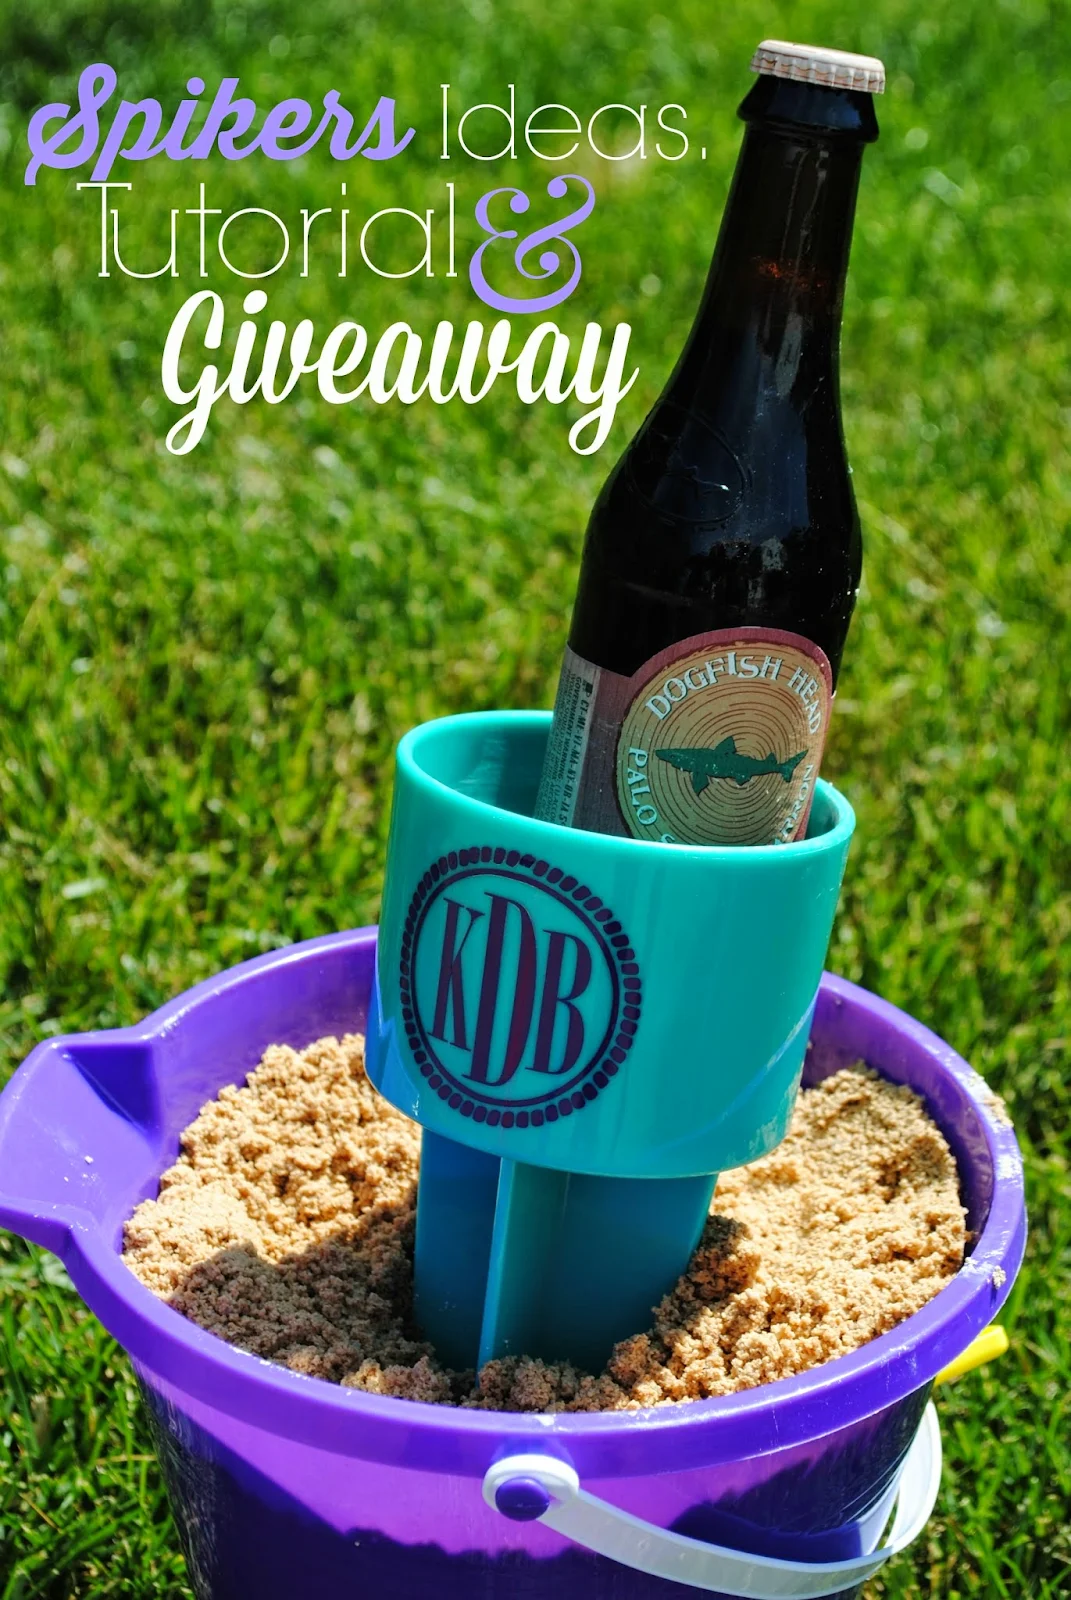
First let me show you how easy and fun it is to customize and personalize spikers. Pick your favorite color - there are a lot to choose from so go wild! With the spikers you want to use the glossy permanent adhesive so that you can wash them with no fear that the vinyl will be removed or peel up.
One of the things I was pleasantly surprised about is the size and the high quality of the plastic cup holders. These things are heavy duty thick plastic, but still light weight so they're not weighing down your beach bag. They're also big enough to not only fit a cup, can, bottle or juice box, but also a phone, sunglasses, or suntan lotion...anything you want to keep from getting sandy!
The surface are that you can decorate 3" tall so keep that in mind when you are making your design. All of my designs are just slightly smaller than 2.5" tall. Also, the opening is not tapered so your design should go on straight.
I played around with three different designs and will briefly explain each to help get your creative juices going because honestly the possibilities are endless.
Monogram: The nautical circle design is a PicMonkey image that I saved and imported into Studio to turn into a cut file. (Read more on how to turn a PicMonkey design into a cut file here.) I thought it was a cute play on the nautical theme since spikers are for the beach.
I typed the monogram out and then ungrouped the letters so I could make the letters different sizes and kind of stretched and pulled until they filled in the circle. This one I cut on just one color vinyl and then transferred using transfer tape right onto the spiker. The little 'rope' pieces around the outside of the circle were a bit stubborn, but nothing my Silhouette scraper couldn't help pick up.
My Happy Place: This is a fun design that I came up with using a state dingbat font. I then put a little heart design over our beach town. The text was cut on a separate color vinyl.
The two vinyl designs were then layered using my no fail vinyl layering technique before I put the single design onto the spiker.
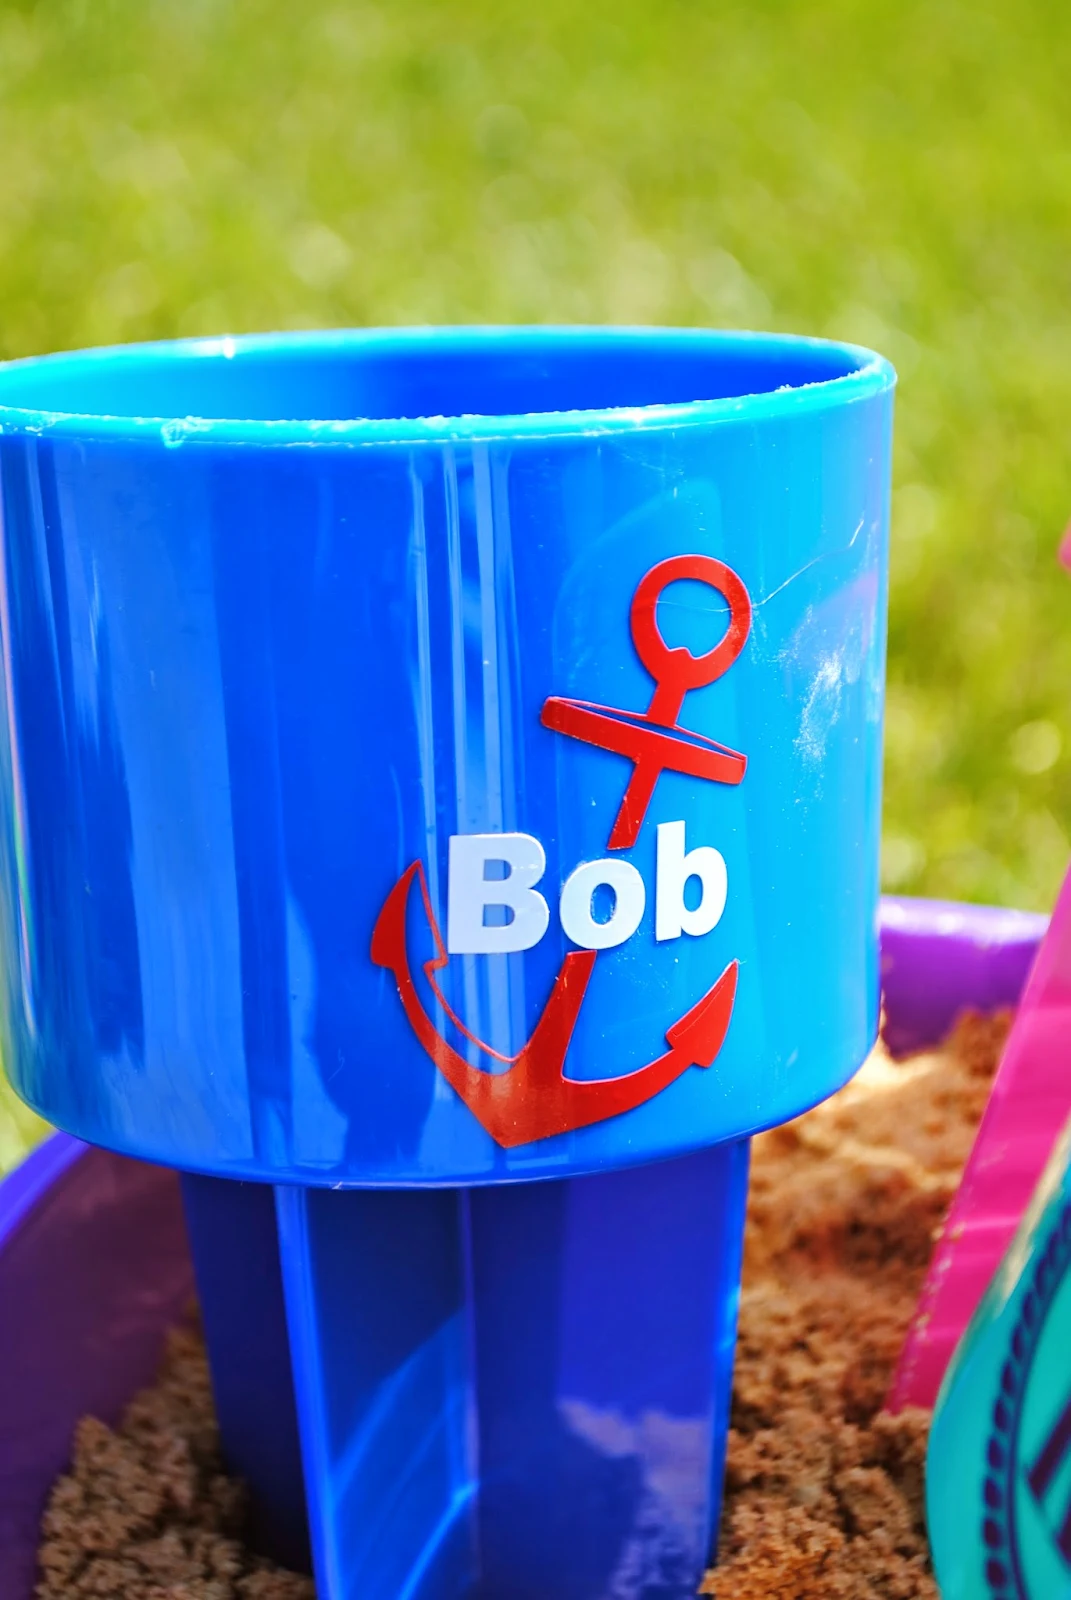
Anchor: The anchor is another PicMonkey design.
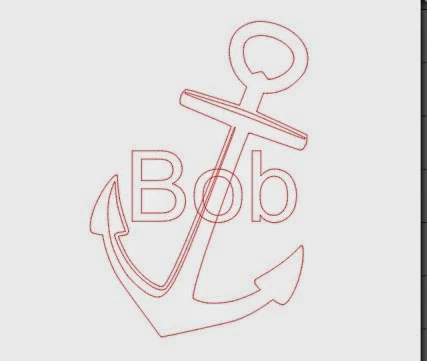
To get the split anchor with the name in the middle, I first typed out the name, moved it over the anchor, and sized it so it would fit.
Then I made a rectangle that filled the same space as the name.
I moved the name out of the way and put the rectangle right over the anchor where the name would go.
I then opened the Modify Tool Window (highlighted in blue along the top tool bar above) and with both designs highlighted hit "Subtract" to remove the area of the anchor below the box. I could then delete the box and move the name into place. Read the Subtract and Subtract All 101 Tutorial here.
Again, this design was cut on two different color vinyls and layered using the same layering technique as the Happy Place design.
NOTE: Spikers sell out fast at My Vinyl Direct..but no worries! MVD is happy to work with customers to order larger quantities and colors of spikers. They are also happy to do custom orders so shops/crafters can get what they need when they need it if stock is low on the site. How's that for customer service?!
Thanks for coming to class today at Silhouette School. If you like what you see, I'd love for you to pin it!


.png)


What are the little squares for at the top of the design before you applied it?
ReplyDeleteThese are SUPER cool and would've never thought of such a thing!
ReplyDeleteHi! I just got a shipment of these and they are way better quality than I expected! When you say 'glossy permanent adhesive' vinyl, are you talking about 651? Thanks so much!
ReplyDelete