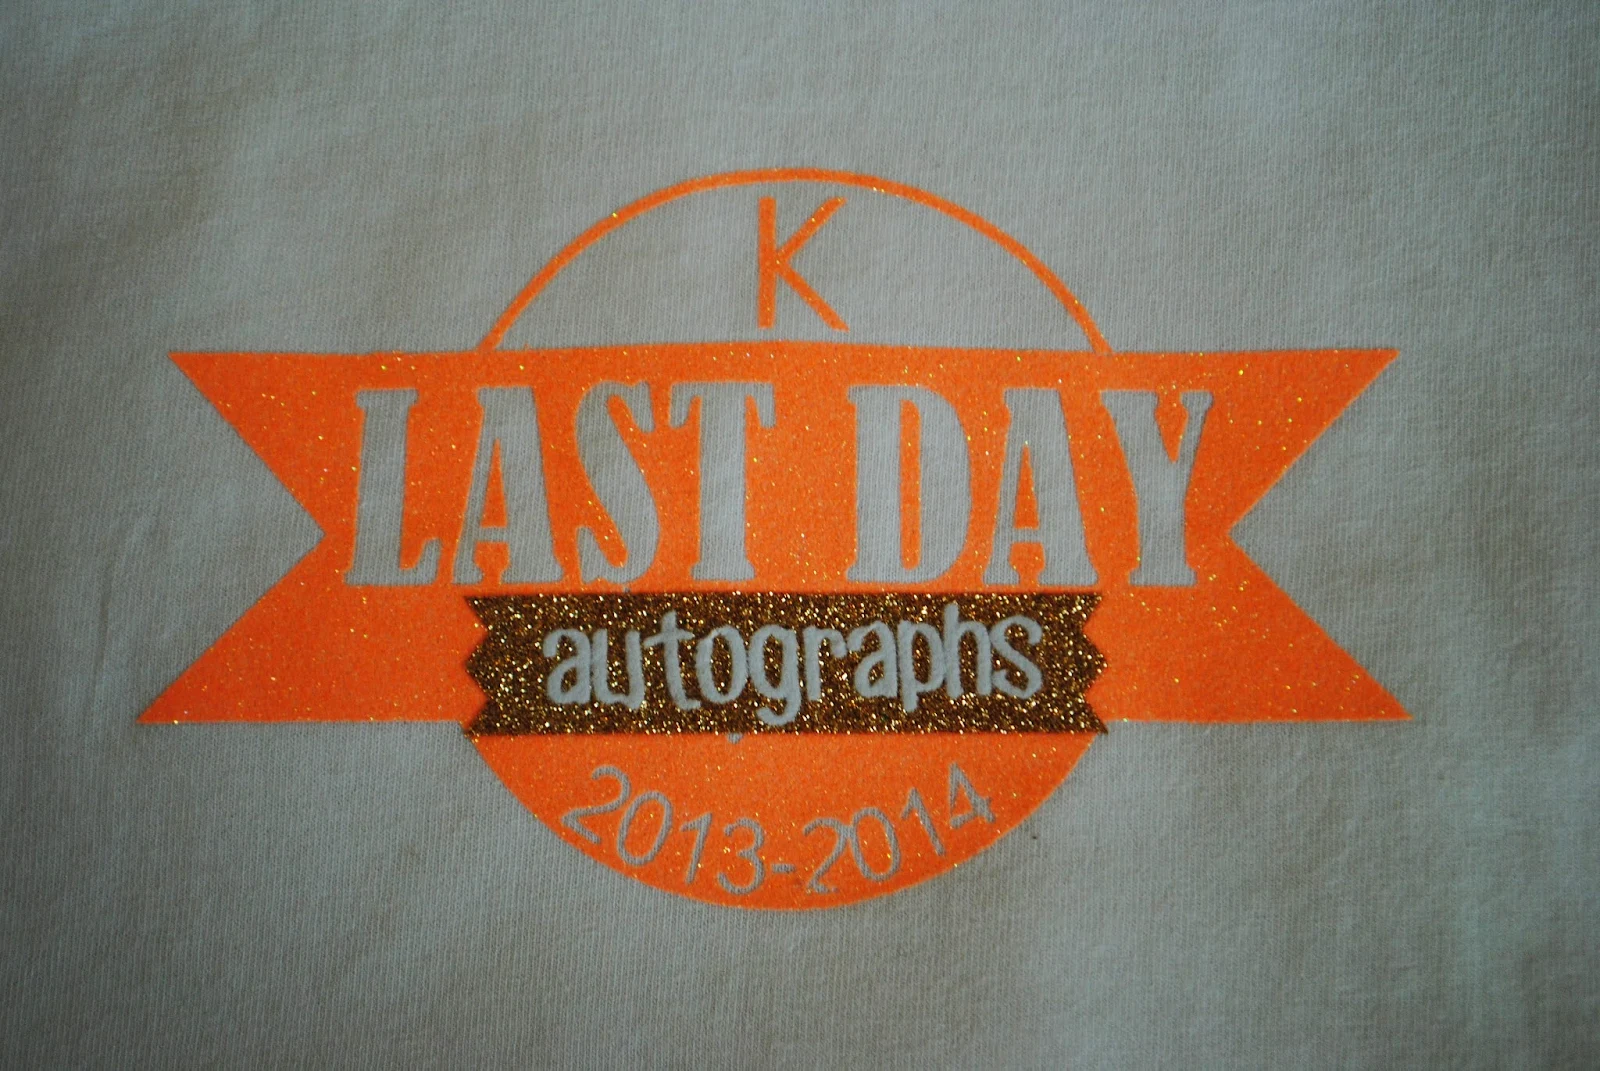
Admittedly, most of the hiccups were user error. See that gold glitter HTV banner? Yeah, it wasn't supposed to be there...but it's hiding a big ol' screw up. See that cutout around the K? Yeah, the circle was supposed to be solid and it was supposed to say "kindergarten" not just "K". I am only pointing all this out because I want you all to know that even us experienced Silhouette users run into trouble... I did manage to get it back on track and save the project which was half the "fun."
Now to make this a whole heck of a lot easier on you I'm going to give you the free .studio cut file (one mirrored and one not in both V2 and V3). FOR PERSONAL USE ONLY!
1. Print and Cut the design on Square1 Iron Ons (easiest method)
2. Cut on regular heat transfer vinyl (101 HTV lesson here)
3. Make a freezer paper stencil, then paint on the design using craft paint
NOTE: I'll have a beginner-level tutorial and review on glitter HTV (this is from Expressions Vinyl) next week.
Using the free .studio file provided above, go ahead and change anything you need to change to personalize it (use the mirrored image if you're using HTV and the regular image if you're using freezer paper or Iron Ons), and when you are ready then cut it.
With the exception of SQ1 Iron Ons, you'll need weed the design carefully - there are a lot little areas between the letters and numbers. Place the stencil, iron on or HTV (shiny side up) onto your shirt and iron it on.
1. Square1 Iron Ons: Iron for 15 seconds on Cotton Setting (no steam)
2. Freezer Paper: Iron on to seal the freeze paper onto the shirt, then paint and peel off the stencil
3. HTV: Cover the design with a thin piece of fabric, using a lot of pressure, press down the iron (Cotton Setting, No Steam) onto the design for at least 1 minute.
See...I knew you'd have an easier time than me, right?!
Get out your fabric pens and let your child's classmates go crazy! SCHOOL's OUT FOR THE SUMMER (unless you're in Silhouette School).
On a side note....I am not nearly as happy that kindergarten is over for my baby girl. I can't believe she's already headed to first grade!!
What's been your most frustrating Silhouette project and how did you save it? Or did you just throw up your hands and move onto the next one? Leave a comment below.
Note: This post may contain affiliate links. By clicking on them and purchasing products through my links, I received a small commission. That's what helps fund Silhouette School so I can keep buying new Silhouette-related products to show you how to get the most out of your machine!
Thanks for coming to class today at Silhouette School. If you like what you see, I'd love for you to pin it!


.png)


I love this!!! BUT I can't figure out how to change the wording on it. I can't seem to click on it and change and I tried to replicate it but couldn't figure out the bend of the words. SOMEONE PLEASE HELP!!!
ReplyDeleteJennifer this shows you how to do the curved wording. Hope this helps!
ReplyDeleteI'm struggling on how to get the text to curve to the path like kinder is...I can get it to the top and underside but when I do the underside it's upside down...I know it's got to be a simple click, but just can't figure it out.
ReplyDelete