There's always more to learn, right?! Well that is certainly the case for today's Silhouette tutorial.
A few weeks ago I got an email from Sally. Sally was looking to put photos into a design in Silhouette Studio, that part she knew how to do (and soon you will too). But her question was this:
"I have been able to put photos in the rectangles or squares, but not able to move them around or resize them."Basically she wants to manipulate the photo once it's inside the rectangle (or any other shape for that matter) so she can determine how zoomed in the photo is and also to pan the photo around.
Well darn if Sally didn't stump me....but she also had me curious and so I set off to find a way.
I wanted to make a photo phone case so that's the shape I'm working with....tomorrow I'll share part two of the tutorial which is actually how to turn your photos into a phone case cover.
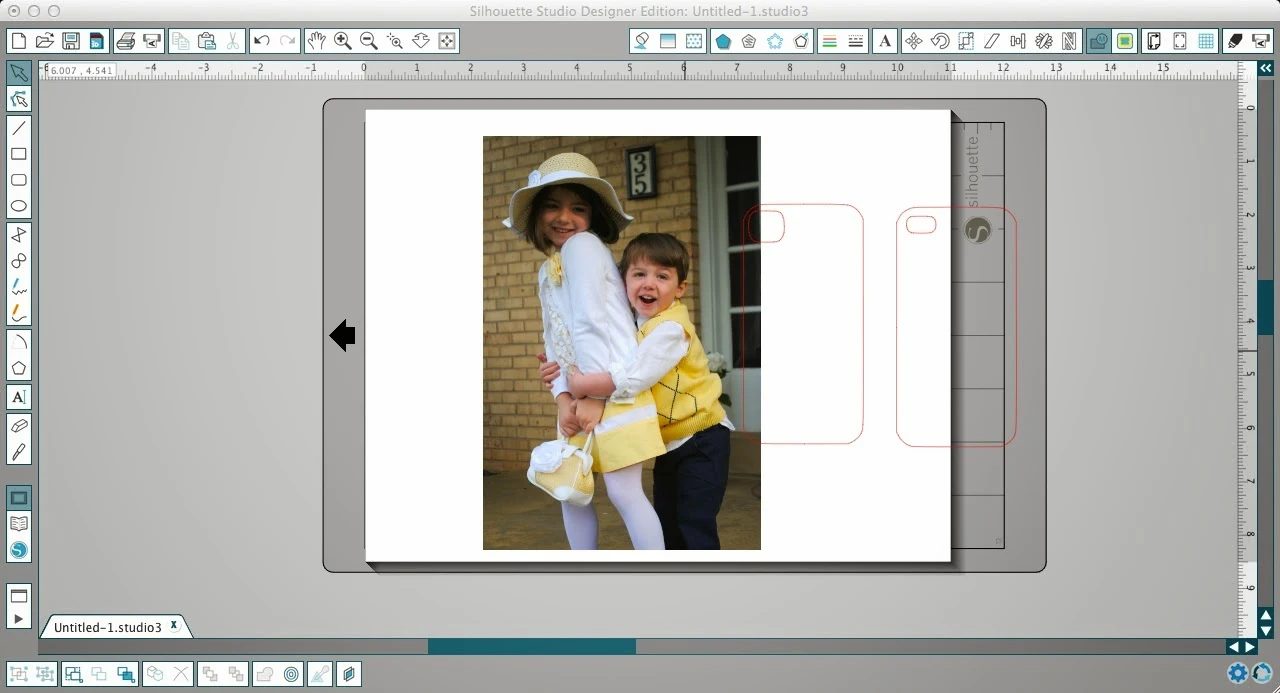
First drag your photo (in jpeg or gif format) into Silhouette Studio.... click here if you aren't sure how to bring a jpeg into Studio. Once your photo is in the work space, you'll likely need to resize it.
In the photo above you can just barely see the red outline of the phone case over the photo. Once the photo is exactly where you want it...highlight everything...the photo, the design just do one big highlight.
Open up the modify window and click 'CROP' and the photo will be cut into the shape of the design.
That's it for the work around....
*************
Now if you have Designer Edition what you are going to do is slightly different.
If you have Designer Edition what you want to do is open up your Silhouette library. Drag your photo from the desk top into the 'My Patterns' folder and you'll see a thumbnail appear.
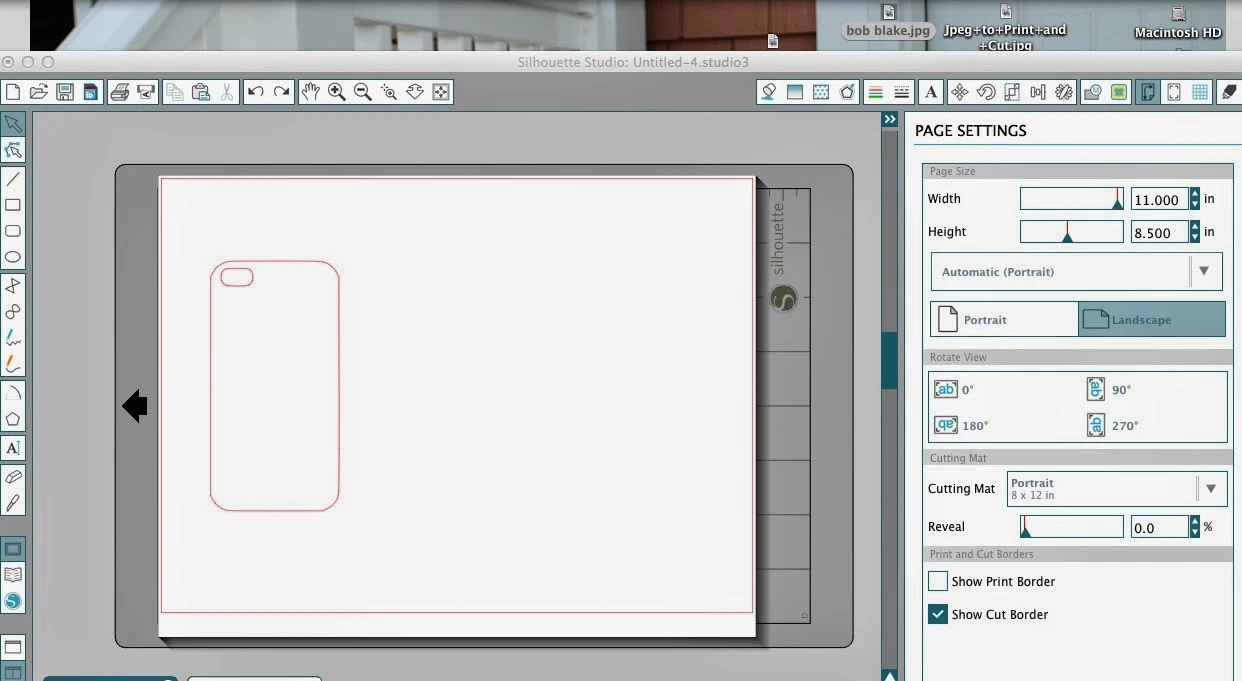
Now close out of the library and go back into the Studio work area. Find or draw your shape.
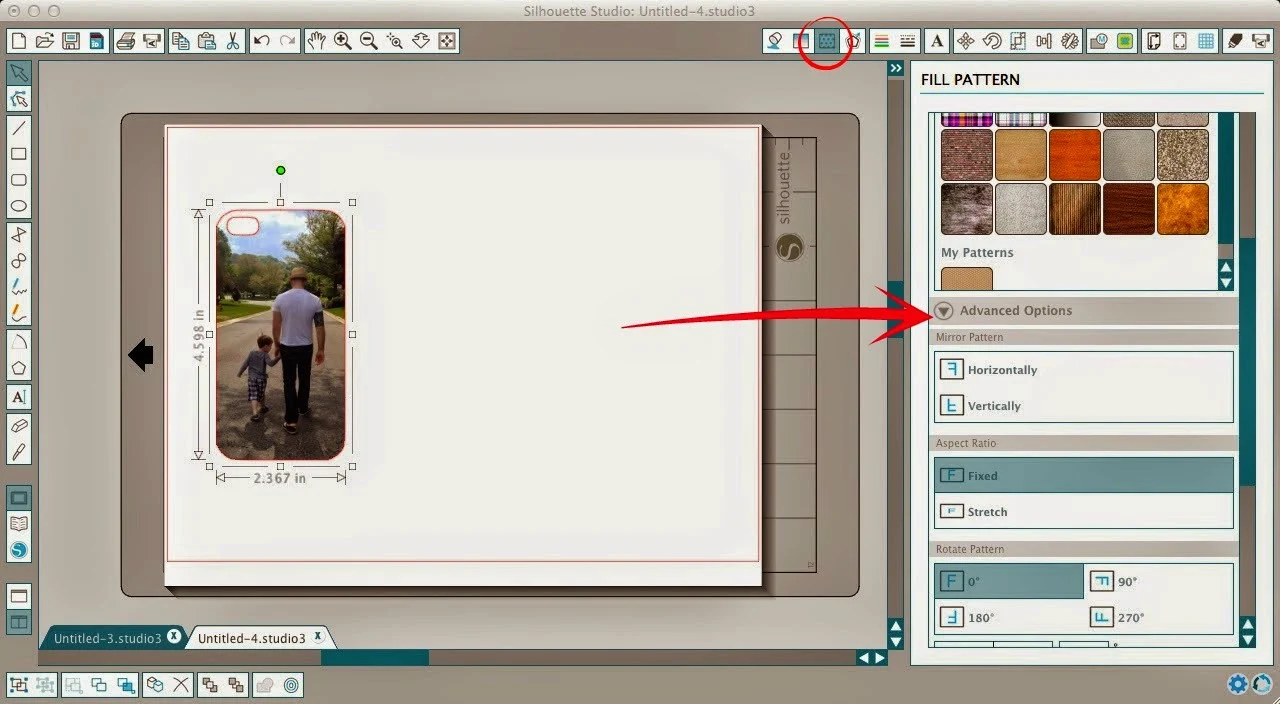
Click on the Fill Pattern icon and scroll down until you get to 'My Patterns.' See your photo there?!
Now select your design and then double click your photo and it will move into the shape.

If it needs to be centered or manipulate click on the Advanced Options. (Apologies for the differing pictures, this is actually the third time I've re-written this tutorial due to changes with Designer Edition.)
If you want to rotate the image you can use the 'Rotate Pattern' options or you the square with the red horizontal line gives you 360 degree control of the rotation. Here's a closer look at the advanced options menu.
A few notes...
If you want to add a photo to a design that has a frame, you will get differing results depending on whether or not your design is a compound path.
Also, these advanced fill pattern options not only work for photos, but also the fill patterns (go figure).
Don't forget to come back tomorrow for the full tutorial on making a photo iPhone case!
Note: This post may contain affiliate links. By clicking on them and purchasing products through my links, I received a small commission. That's what helps fund Silhouette School so I can keep buying new Silhouette-related products to show you how to get the most out of your machine!
Thanks for coming to class today at Silhouette School. If you like what you see, I'd love for you to pin it!


.png)


So, will this work if I want to fill an SVG? ameslorie@gmail.com :)
ReplyDeleteDoesn't seem to work for me. Everytime I hit crop it makes my picture disappear and all that's left of it is around the ring of the shape I am trying to crop it to, Ok I just tried it with an oval and it worked. My other shape was an oval picture frame that came with the program. I am thinking the frame looks hollow but isn't
ReplyDeleteWhat is the optimim image size for the patterns section of the library?
ReplyDelete