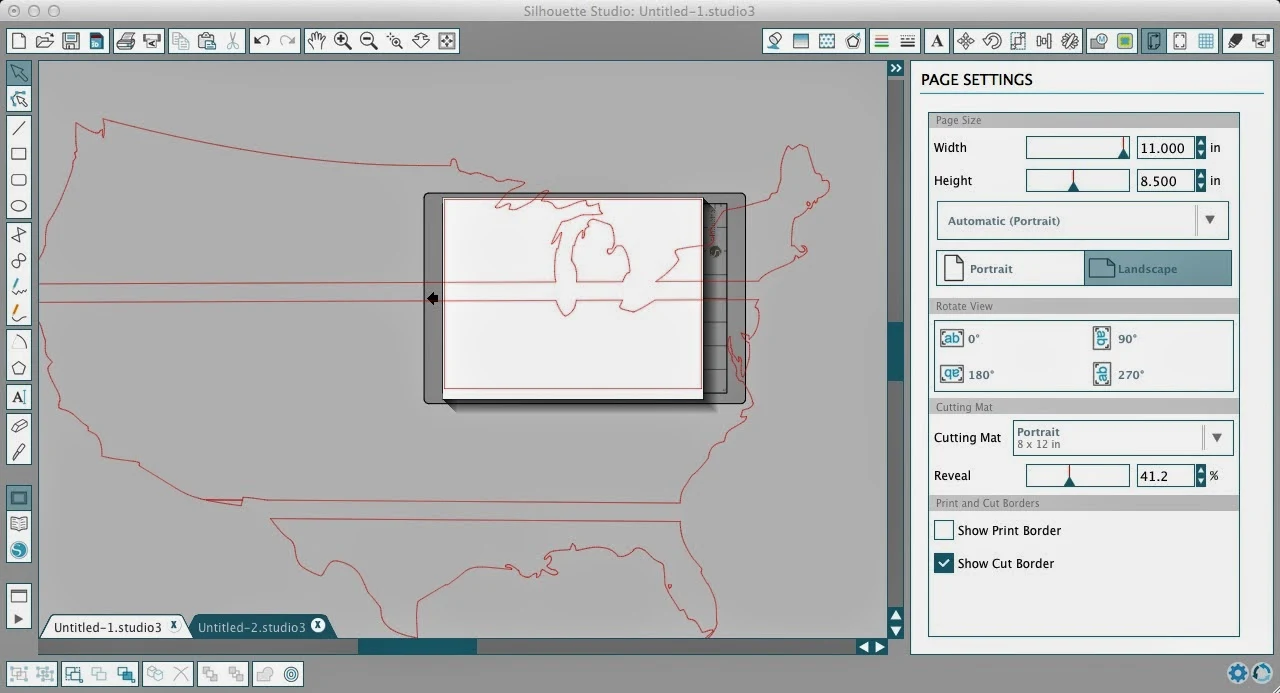
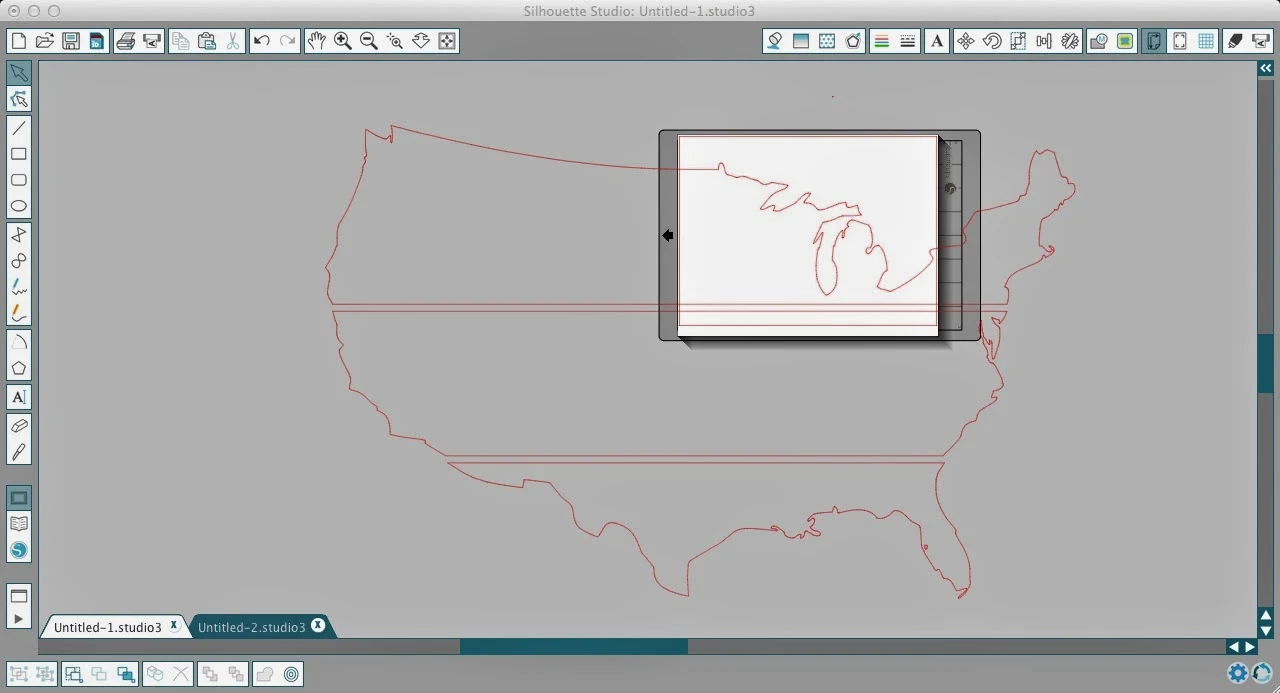
1) Zoom Out: While working in Studio on a very large design zoom way out using the magnifying glass with the minus sign. This will allow you to see your entire design much more easily.
2) Resizing: Resize your entire design as a group! Whether you drag the corner to resize or use the more precise tools in the Scale Window is up to you - just remember to scale the entire design as a group! You definitely do not want to resize one section of your stencil or design and not another or resize it a different proportion. Resizing pieces separately is risky business and can lead to the stencil not fitting together properly once all the pieces are cut. (Obviously if you have one big design like the USA map this is not as much of an issue unless you decide to resize after you make your knife cuts.)
3) Measure Twice, Cut Once: Measure your surface area and then decide how big you really need your stencil or decal. Recently, I was working on a large wood sign that could have accommodated a 38" long stencil. But since the design was of the US, I need to keep it in proportion. If I had cut the maximum width, the height would have been too long to fit on the wood piece...so I had to make the design closer to 33" wide to fit. In other words, measure exactly how big your area is and then resize your design keeping in mind the entire proportion of the design.
4) Shift + Knife Tool Is Your BFF: To cut large designs with your machine, you will need to break them down into smaller sections. To do this use the knife tool to slice through your design....but to keep the lines perfectly straight, press down the SHIFT key while using the knife tool.
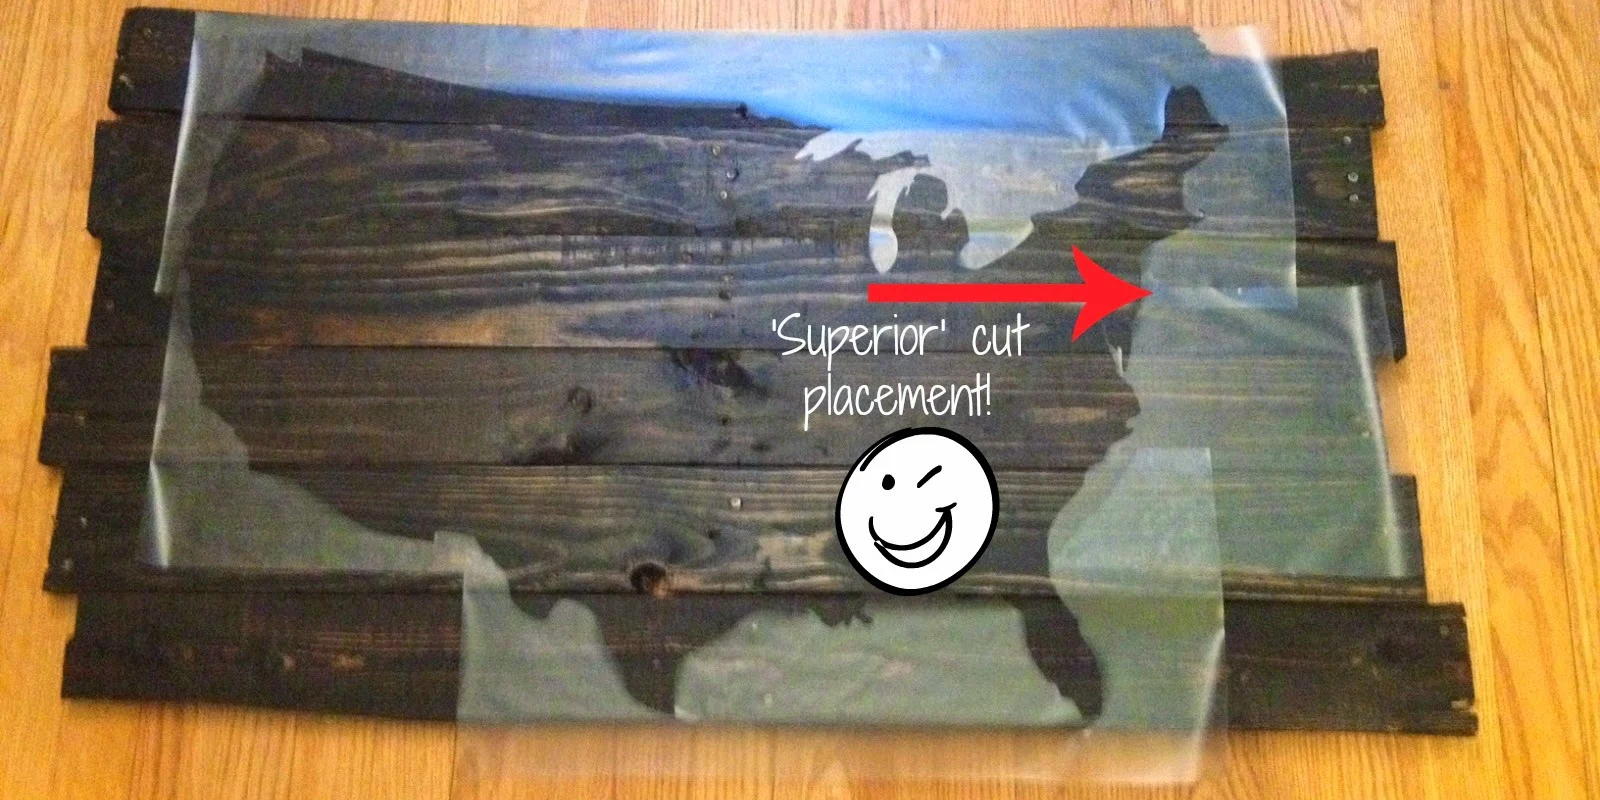
5) Cut Placement Matters: Be cautious and consider where you're making cut lines. I actually made two stencils for the USA map. The first time around sliced right through Michigan and the Great Lakes.
When I was trying to piece the stencil back together on the wood it was extremely difficult to get this area looking accurate because it wasn't a solid cut and the stencil material was overlapping each other in so many places around this delicate and detailed area.
I ended up scraping the stencil and moving the knife cut line down just slightly so all of Michigan and the Great Lakes would be cut in one solid piece.
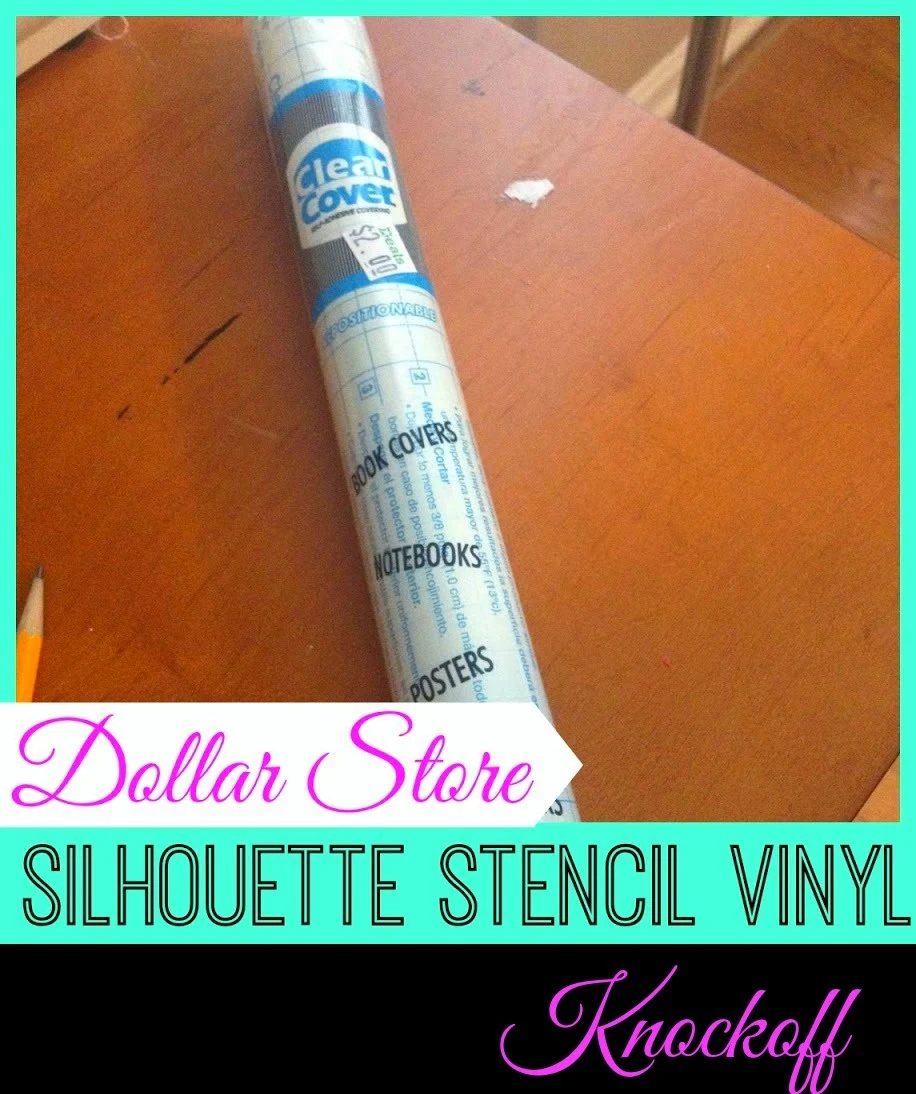
6) Cut Stencils on Dollar Store Contact Paper: Rather than using a whole bunch of expensive vinyl or stencil vinyl to make a stencil, use a much less expensive supply from the dollar store: contact paper. The rolls are 18" wide so Portrait users actually benefit from being able to literally cut the roll in half to get twice as many cuts. Plus, contact paper is like vinyl in that you don't have to use a mat which brings me to my next point...
And here's how my large USA sign came together! If you're interested in the full tutorial on making the sign from start to finish....or should I say pallet to wall...head over to our sister site Two It Yourself!
Have you worked with a huge design in Silhouette Studio? What tips can you share with other readers? Leave a comment below.
Note: This post may contain affiliate links. By clicking on them and purchasing products through my links, I received a small commission. That's what helps fund Silhouette School so I can keep buying new Silhouette-related products to show you how to get the most out of your machine!
Thanks for coming to class today at Silhouette School. If you like what you see, I'd love for you to pin it!


.png)


I'm kind of surprised to see the knife tool used! I found that it took out chunks of my design (which was pretty intricate, and not something I'll do again) and made lining up very difficult. I thought I saw once that the divide tool was better for something like this, but never played around with it. Thoughts?
ReplyDeleteYou can adjust the width of the cut: take a look at this: https://cleversomeday.wordpress.com/2014/03/18/knife/
ReplyDeleteYou can also just draw a straight line, by holding down the shift key, and select the width you want, and make sure you select it when you set up cuts.
This comment has been removed by the author.
ReplyDeleteResizing pieces separately is risky business and can lead to the stencil not fitting together properly once all the pieces are cut window vinyl decals
ReplyDeleteThanks for sharing some useful tricks. You have pointed out some excellent points, I as well believe this is a very superb blog.
ReplyDeleteI have a problem that I can't seem to solve when cutting vinyl/contact paper without the mat. It slips around and bunches in the machine. How to prevent this?? Thanks!!
ReplyDeleteWant to learn the weight loss tricks that work. It is hard to lose weight, as can be seen by over half the population who is overweight. But even still more than half of people want to lose weight.
ReplyDeleteI am having problems figuring out how to move the cut boarders. So I have a stencil, 17.5 x 29.5. I can cut out one section but how do I move the cut boarders to cut the next section without moving the images around?
ReplyDeleteI try to limit my length to 3 feet, because the longer my design, the greater the possibility my "loading" of vinyl was off by a fraction. I wasted an entire roll of vinyl in the past for large -back window- car designs. I fixed this by slowing down my cutting speed to a 3 on large works.
ReplyDeleteWhat are the correct cut settings when cutting contact paper?
ReplyDelete