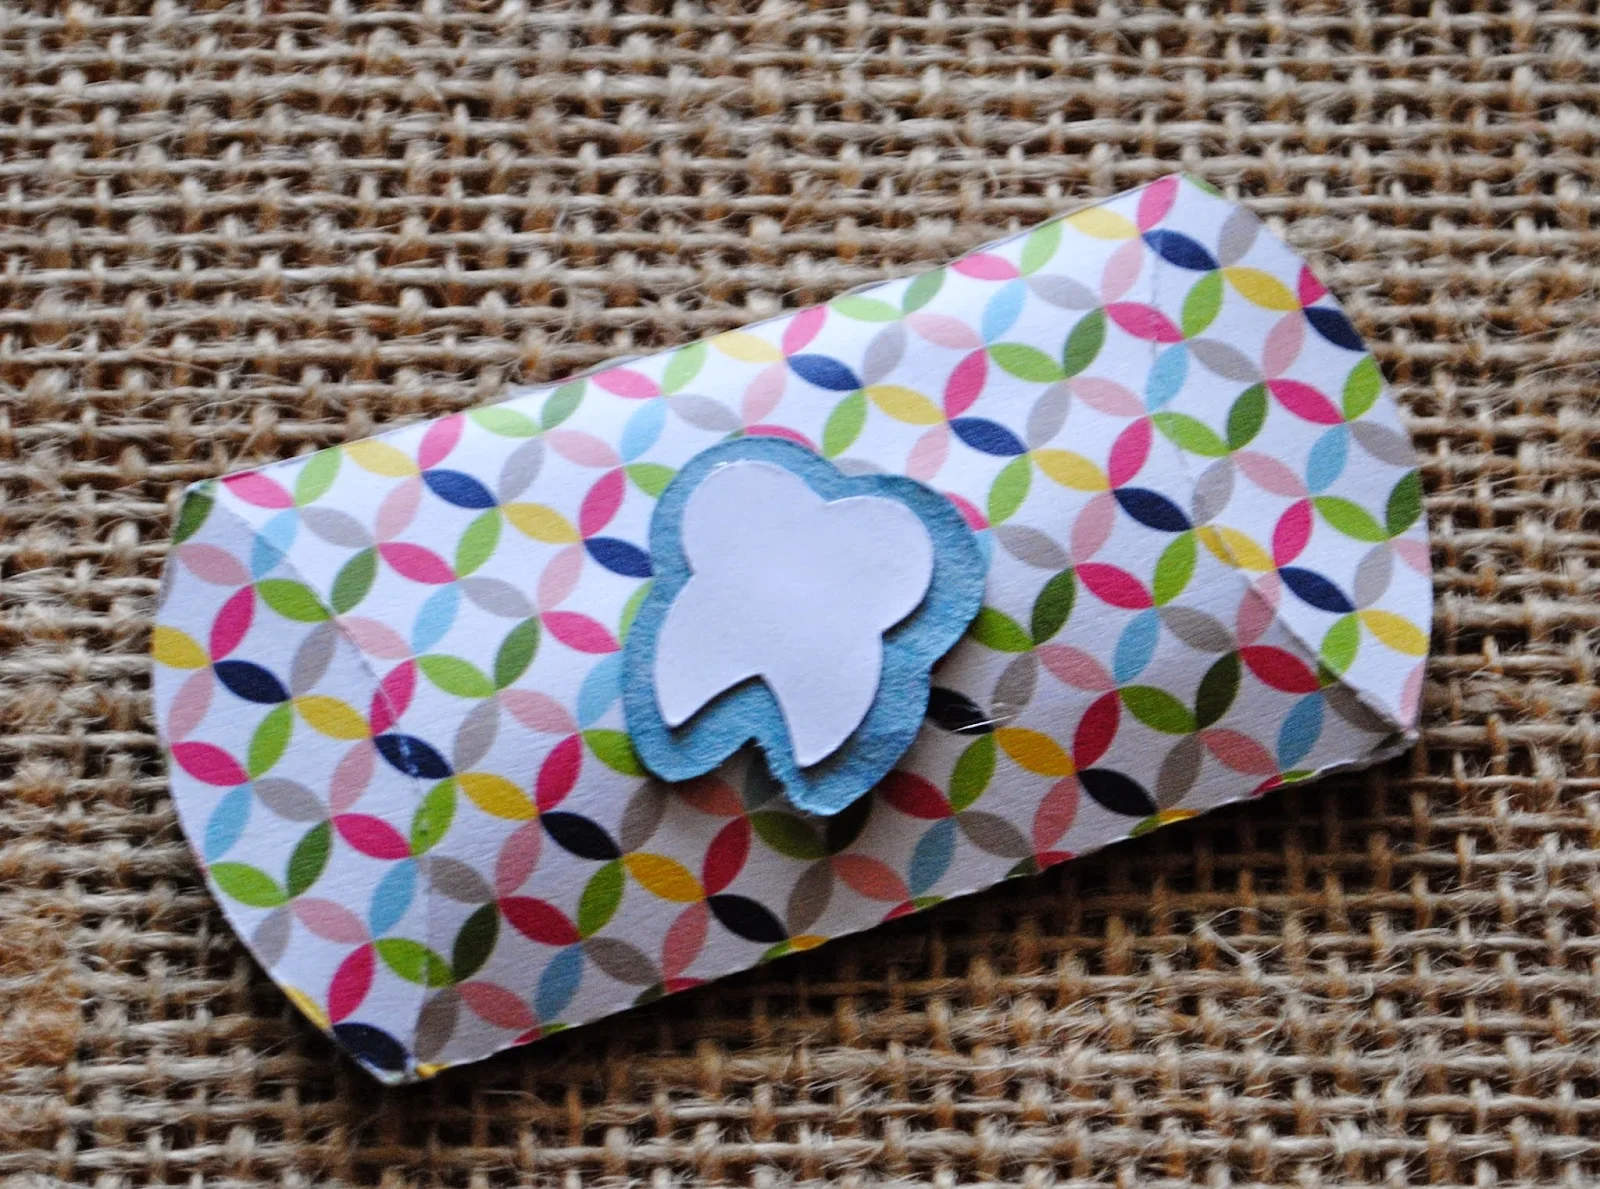
I created this kit with the help of my Silhouette (machine and supplies are quite the deal on on Zulily) and by making a few traces for the tooth, the tooth fairy, the tooth chart and the basic shape of the pill box which actually needed some adjusting. So a note upfront: please, please, please this tooth fairy kit is for PERSONAL USE ONLY! Silhouette School will have to suspend offering free designs if they start being sold and nobody wants that.
Since, I didn't really plan to share this on the blog initially I failed to take pictures along the way, (who am I kidding, I was racing against the clock between the tooth about to fall out and needing to get it done before I had to pick up my younger one from pre-school), but I think you'll be able to follow along regardless. Leave any questions in the comments, as always.
I am by no means a graphic designer and I have no clue how the lovelies who design all the awesome studio files do it. That's basically my disclosure for the pill box cut lines. You'll see what I mean...it cuts out fine, but I could not get rid of the perforated lines on the top and bottom edge so it basically double cuts.
The pill box is to hold the actual tooth so it doesn't get lost under the pillow. I intentionally made it in a paper that didn't exactly match the others in the set, because I gave the pill box to my daughter ahead of the tooth falling out and told her that's where she puts her tooth when she loses it. I didn't want her to connect that I made all the pieces in the tooth fairy kit ;).
To put the pill box together, fold on the perforated lines. The only spot of glue or tape you'll need is along the long straight perforated line. That connects to the other long edge to form the box.
Here's what it looks like flat before the ends are folded in.
and now with one end folded in and the other open and ready for the tooth...

The receipt is designed as a print and cut. If you want to adjust the colors - say for a boy - highlight the text and lines and fill with a different color. You'll also have to adjust the line color. Then add your registration marks and you can print and cut. Note:You'll notice that on the studio file there are boxes next to "good" "great" and "excellent" but they are not on the receipt here. That is because before I printed I forgot to add a line weight to the boxes so the default line weight of '0' meant no line printed. It is fixed in the design file for download below so you should have no problem.
The money envelope closes without the little slide around it if you'd rather skip the slide. I just added that for another layer of pretty paper.
Fold the slide on the perforated line and use that little piece to glue it into a circle so you can slide it on and off the envelope.
The face on the tooth fairy were drawn using sketch pen before I cut out the tooth. I also added my daughter's name on the envelope, using a sketch pen, just to make it a little more personal when she takes the slide off. I'll have my trick on how to fill in fonts with sketch pens on the blog tomorrow.
Show me what you've got! Download the kit below and then share your creations with me! Add a link in the comments below or post it to our Facebook wall.
Note: This post may contain affiliate links. By clicking on them and purchasing products through my links, I received a small commission. That's what helps fund Silhouette School so I can keep buying new Silhouette-related products to show you how to get the most out of your machine!
Thanks for coming to class today at Silhouette School. If you like what you see, I'd love for you to pin it!


.png)


This is so cute. Wish they had this when my daughter was little.
ReplyDeleteThankou so much. My Great Niece will love this. She is just starting to lose her baby teeth so I am sure it will be well used.
ReplyDelete