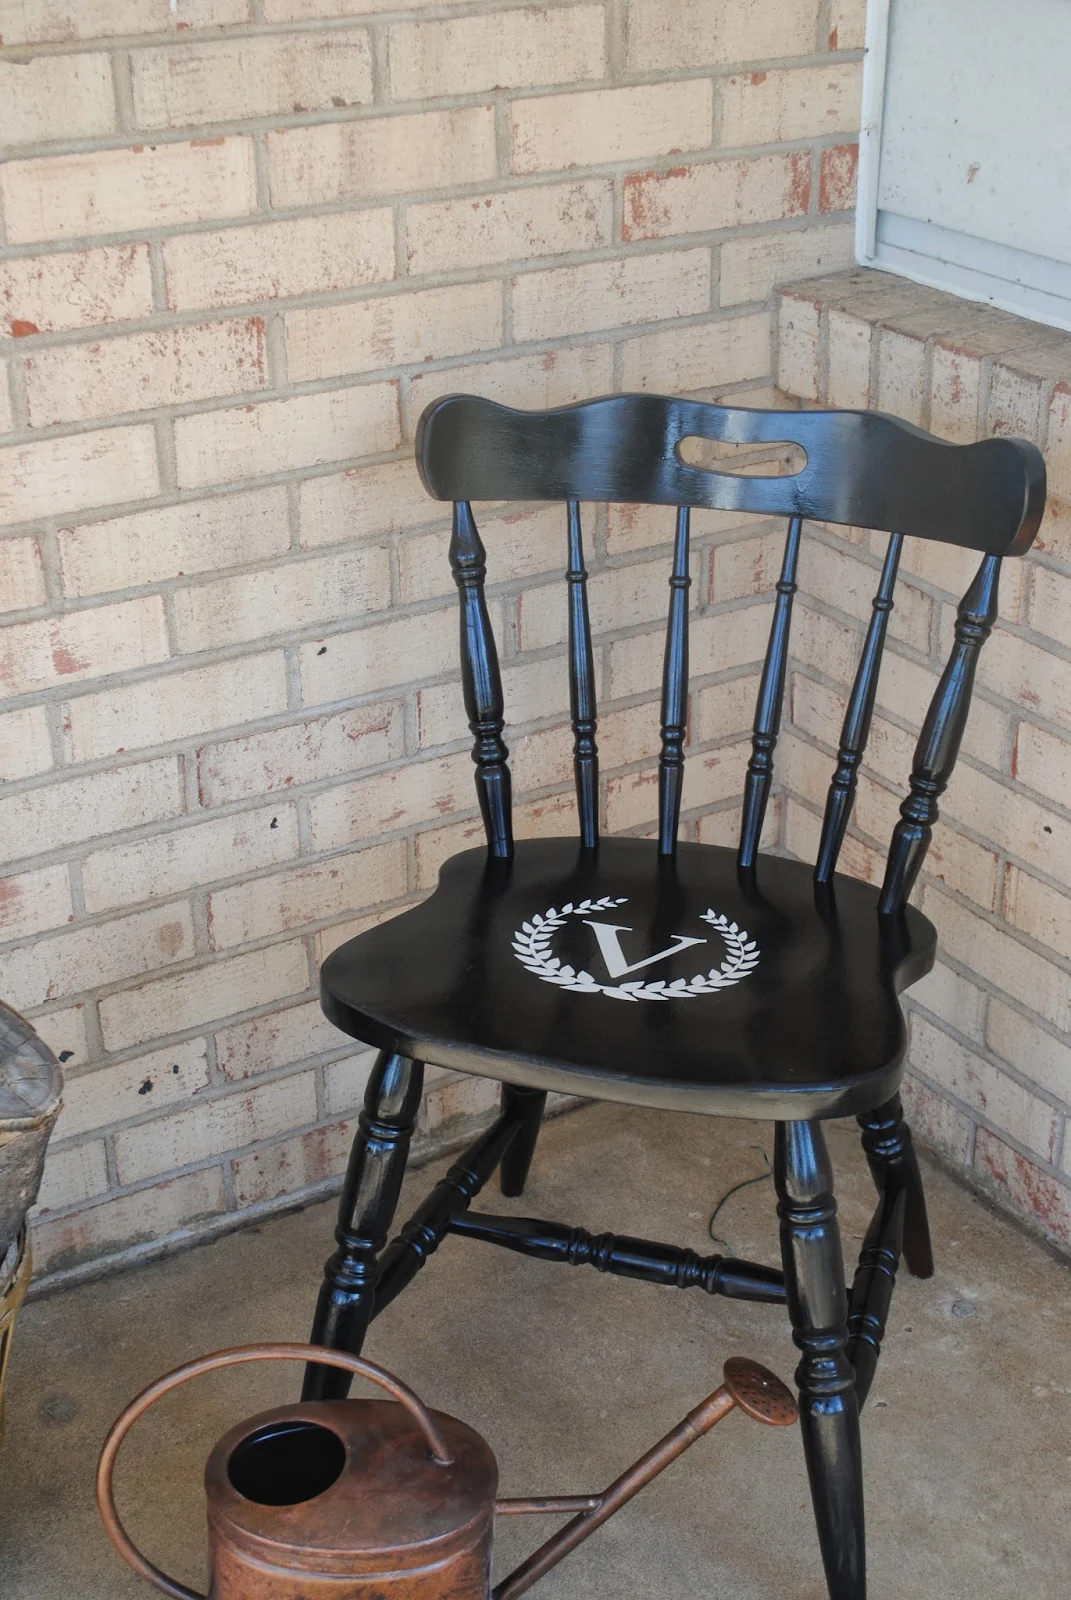
Anyway, after the chair was painted black I wanted to add a vinyl monogram to the seat. I created the design - for free - in PicMonkey. Click here for details on cutting PicMonkey designs in Silhouette Studio.
When my design was all ready to go I put my vinyl - with the backing still on - onto my cutting mat. You do not need to use a cutting mat for vinyl, but I like to when I can.
Here's what the cut file looked like...
So my vinyl monogram cut and it came out nicely. Sorry...forgot to take a picture of it before I took it off the mat.
When I weeded it, I made sure the negative space vinyl (everything not part of the V and the wreath) came off the mat with its backing still attached to the vinyl. I normally would throw out the negative vinyl, but this time I saved that piece. I later removed the backing and used the cut out vinyl as a stencil for a burlap pillow. The vinyl stuck nicely to the burlap, so I could paint the design onto the pillow cover using black craft paint.
Now for my original project....I used gridded transfer paper to pick up the vinyl monogram off the cutting mat. Once the vinyl was on the transfer paper, I removed (and saved) the vinyl backing, which is also gridded. (More on that in a minute.) I then placed the vinyl monogram onto the chair's seat and removed the transfer paper as you normally would.
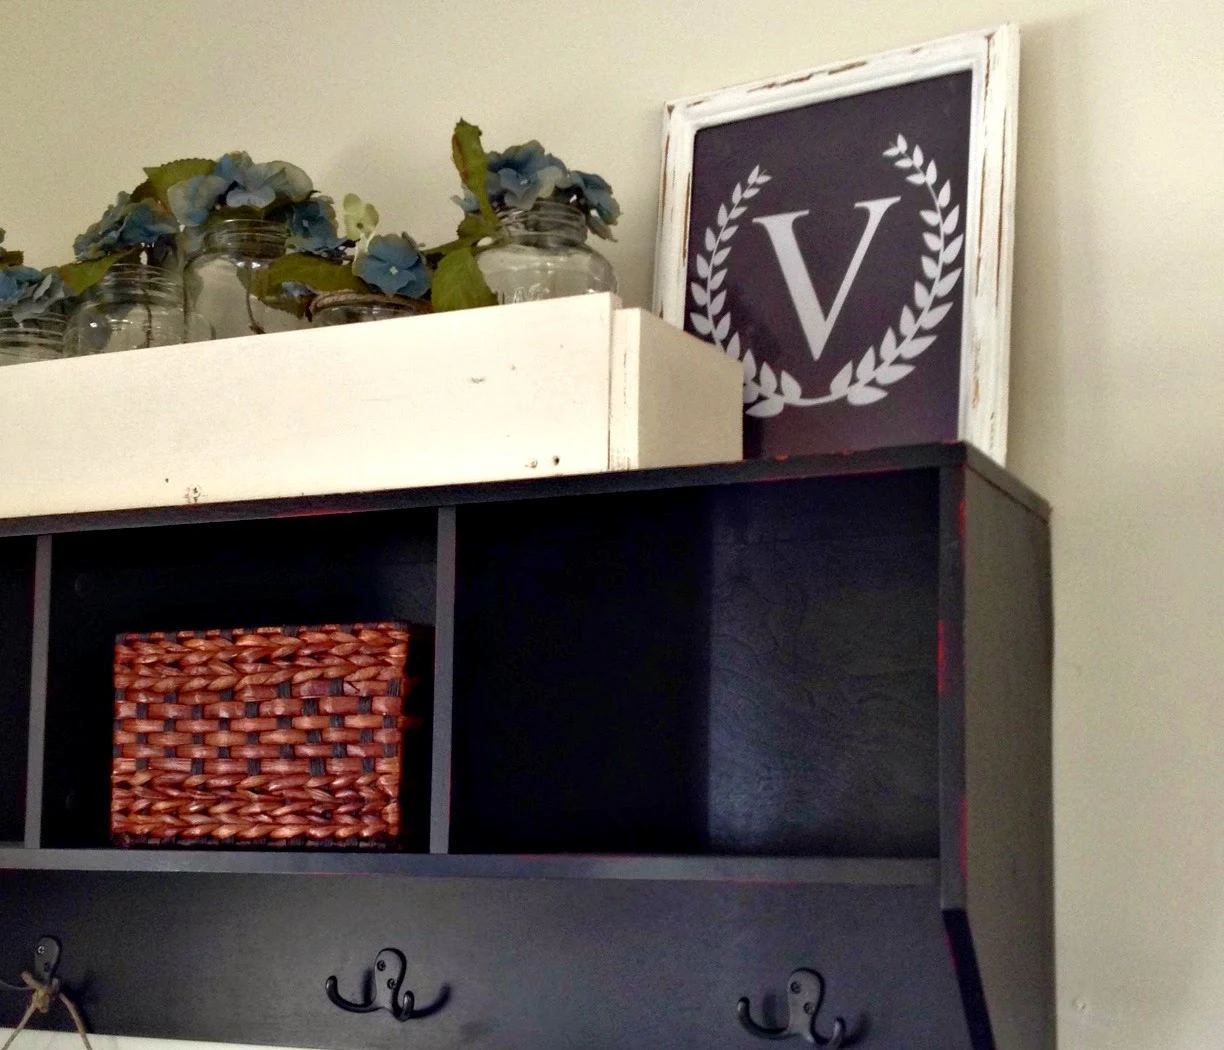
The third project was one that I happened upon by accident. The vinyl backing - which ideally should not be cut through - cut the same shape as the vinyl because my blade was slightly too high. It was lying with the gridded side down on the floor. I thought it was actually a piece of paper until I picked it up to throw it away. But why waste it? I used a light layer of spray adhesive to adhere it - white side up - to a piece of black paper...
Then I placed it in an 8x10 frame I had on hand. No one will ever know it's actually just the gridded vinyl backing.
And that's how you use every square inch of vinyl. If you don't want three pieces of decor with the exact same design these make great gifts for family...just sayin'.
Thanks for coming to class today at Silhouette School. If you like what you see, I'd love for you to pin it!


.png)


What cut settings did you use to cut through the vinyl and the backing?
ReplyDeleteWhat cut settings did you use to cut through the vinyl and the backing?
ReplyDeleteThis comment has been removed by the author.
ReplyDeleteAbove it says: "I created the design - for free - in PicMonkey. Click here for details on cutting PicMonkey designs in Silhouette Studio." I clicked on the link, but I don't see anything on how that site has anything to do with Silhouette. The tutorials are all about photo editing. So how did you make a design at that site?
ReplyDeleteI must be missing something, how do you enter the the giveaway for the $25 Expressions Vinyl gift card?
ReplyDelete