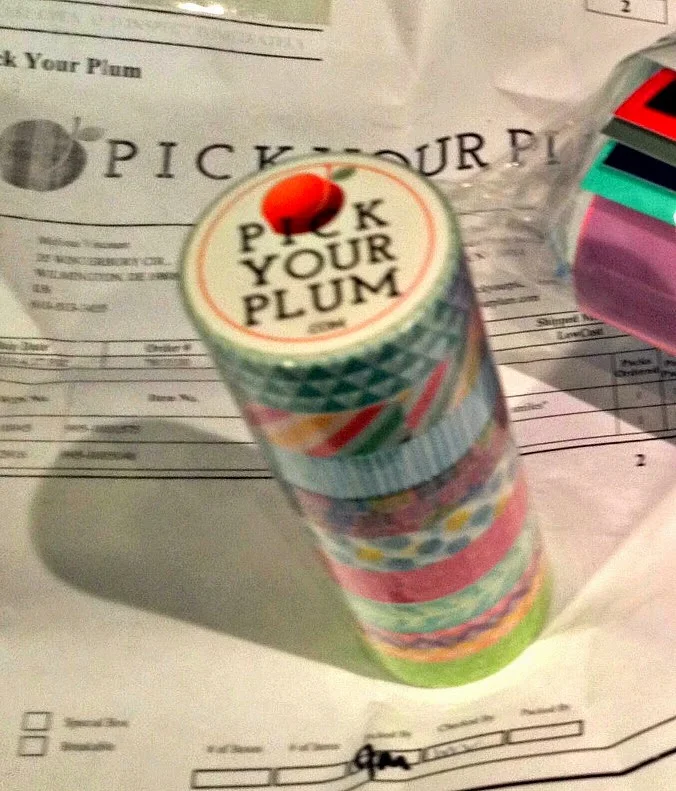
Since I had 9 new rolls I needed a place to store my stash and a plain old jar would not do. Why would it? When the Washi and Silhouette gods get together - magic happens. Just you watch.
You can cut your washi tape design one of two ways - you can stick the washi tape directly onto your Silhouette cutting mat and cut that way or you can do what I did and stick it to a piece of paper and the put the paper on the mat to cut.
 |
Apologies for the grainy picture here I was so excited to get these spring designs out, I ripped the package open pretty much immediately! |
I went to my #1 monkey - PicMonkey - and grabbed it for fa-ree! (It can be found by clicking the butterfly icon to reveal the overlays and then scrolling down to the facial hair category). If you're new here and don't know my trick on bringing PicMonkey designs into Silhouette Studio read the tutorial here first. Go on..we'll wait.
Good? Everything traced? Okay moving on. I then sized my design so it would fit on my glass jar. That's an old dijon mustard jar, by the way. Totally ate mustard by the spoonful just so I could have storage for my washi tape. No, I didn't really. I'm not that desperate.
Once I sized it and had the dimensions I revealed the cutting mat and that let me know how long each strip of tape needed to be and how many strips I needed.
I lined the washi tape up on a piece of paper and then put the piece of paper directly onto the cutting mat.

Then I just cut as I normally would using the Silhouette suggested settings for cutting washi paper.
Once it was cut, I weeded and then used two 2" strips of painters tape to easily transfer the design directly onto the glass jar.
I lucked out here because when I removed the original label from the jar most of the sticky residue was left behind. Normally, I would clean it off with GooGone, but this time I left it since it was totally clear. It actually worked in my benefit for sticking on the new Washi Tape 'Stash' design. In a few areas the corners didn't hit a sticky areas so I used a little mod podge on a q-tip to stick them down.
I lucked out here because when I removed the original label from the jar most of the sticky residue was left behind. Normally, I would clean it off with GooGone, but this time I left it since it was totally clear. It actually worked in my benefit for sticking on the new Washi Tape 'Stash' design. In a few areas the corners didn't hit a sticky areas so I used a little mod podge on a q-tip to stick them down.
I finished her up by wrapping a piece of washi tape around the threads at the top of the jar.
How's that for a cute way to store my washi tape stash?


.png)


No comments
Thanks for leaving a comment! We get several hundred comments a day. While we appreciate every single one of them it's nearly impossible to respond back to all of them, all the time. So... if you could help me by treating these comments like a forum where readers help readers.
In addition, don't forget to look for specific answers by using the Search Box on the blog. If you're still not having any luck, feel free to email me with your question.