 Yesterday I shared a little secret on how to stretch your dollar in the Silhouette Online Store and today I'm going to show you exactly how I put one of those images I purchased (as part of a larger design) to use. I recently made a set of Painted Burlap Kitchen Art and my Silhouette did all the heavy lifting. Honestly, I don't think this project would have been possible without it - at least it wouldn't have been possible to complete the entire thing in about 30 minutes.
What I wanted to do was replace the existing art in three frames that I already had with the 'eat', a set of utensils, and a monogrammed mug. The opening in each frame/mat measured 5 3/4" square so I cut three pieces of 6 x 6 burlap. Click here for tips on cutting burlap perfectly straight and details on how to keep it from fraying.

To make the designs I opened up Silhouette. Because the designs were small I was able to cut them all on the same 8x11 piece of freezer paper.
I purchased a set of utensils from the Silhouette Online Store and brought them into my work area.
I re-sized them a little bit and then ungrouped the design to make the it a little wider to fill my burlap square and to allow me to move the fork and spoon to either side of the knife.
Then I used the font tool to type out the word 'eat.'. I wanted a script font so I found one from my font library (any font on your computer will work on Silhouette so if you don't have what you're looking for...go download it and it will automatically appear in Silhouette the next time you open the program.)
Finally, I added the mug design (ungrouped and separated from the other elements in this larger design).


I wanted my mug to be monogrammed so I added an 'm' in the center.
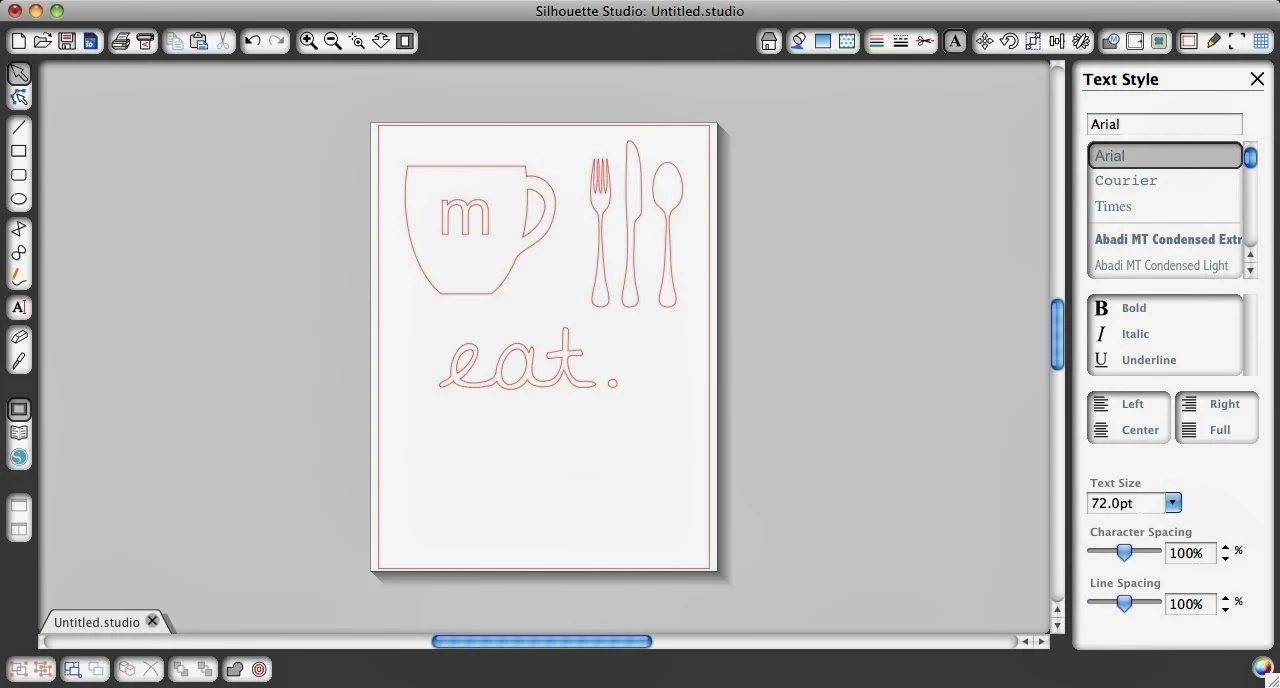
I paid special attention to the measuring box around each element to ensure that all of my elements were about the same size. Once I had everything sized how I liked it I prepared my cutting mat to make a freezer paper stencil with the Silhouette. Here's my lesson on why I love freezer paper stencils for painting on fabric. Here's what my cut file looked like just before I sent it to cut.

Once the stencil was cut, I carefully peeled it off the mat and cut it apart so that I could put each element on it's own burlap square. Be sure to use the negative cut out of the mug and the actual 'm' to get the monogram on the mug. Use an iron to adhere the freezer paper to burlap for easy, no-bleed painting. The great thing about the freezer paper here is even the tiny cuts on the spokes of the fork are defined when painting because of how well the freezer paper adheres to the fabric.
Then it was just a matter of using my foam pouncers to paint the stencils. I use Martha Stewart's Foam Pouncers which come in a set of six various sizes along with white craft paint. I removed the stencil as soon as I was done painting. The paint dried pretty fast and they were ready to hang!

I also made a similar version for a friend where I combined the utensils (sans the spoon) and 'eat' for a slightly different look.
Thanks for coming to class today at Silhouette School. If you like what you see, I'd love for you to pin it!


.png)


Beautiful, thanks for the Silhouette inspiration. I'm always looking for new and unique ways to craft with it.
ReplyDeleteSuper cute! I love burlap and your kitchen art is adorable! I'm featuring it in this week's Power of Paint Party Spotlight.
ReplyDeleteOh my goodness, Maryann! You made my day. Thank you so much :) I love your blog and all your ideas!!
DeleteLove this project! Great way to re-purpose old artwork!
ReplyDelete