I finally got around to it and I'm here to report back on how to use it and give it a grade.
The Silhouette brand gold and silver temporary tattoo paper is actually even easier to use than the printable temporary tattoo paper because it has the clear sheet already applied and there's no printing. That means you can literally go from opening the package to having a beautiful gold tattoo in under 10 minutes.
Here's what you want to do. First of all this stuff is not cheap - considering you only get two sheets in a pack. In other words - read through this Silhouette tutorial first and then plan your temporary tattoo design carefully. I decided to make a few different tattoos.
First measure the area where you plan to put your temporary tattoo. Measure carefully - again you do not want to waste this material - it's like gold.
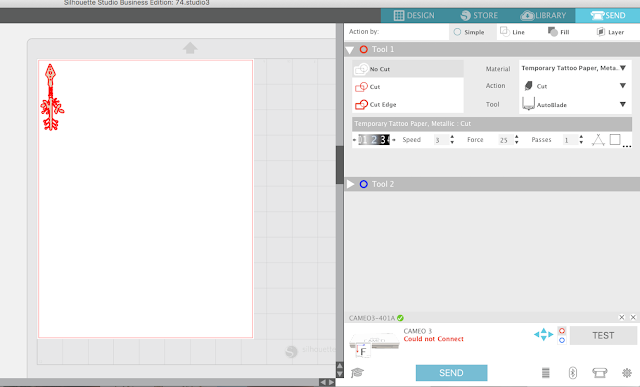
In Silhouette Studio open your design and size it for the area where you plan to put your tattoo.
Once you have your design set, mirror the design by selecting it > right click > Flip Horizontally.
Put your design near the edge of cutting area so you're not cutting right in the middle of the sheet. Again, this stuff is expensive you do not want to waste any of it!
Move to the Send panel and from the material list select "Temporary Tattoo Paper, Metallic". The recommended cut settings worked perfect for me. But before you cut...I'd highly recommend you do a test cut. If you are using a ratchet blade manually adjust the blade to the recommended blade depth. The AutoBlade will automatically adjust in the CAMEO 3 and Portrait 2.
Place the sheet of metallic temporary tattoo paper on your Silhouette cutting mat with the gold or silver side up.
Load it into the Silhouette cutting machine and perform the test cut. The goal is for the blade to cut through the metallic tattoo layer, but not the backing.
If the test cut worked well, send the full design to be cut.
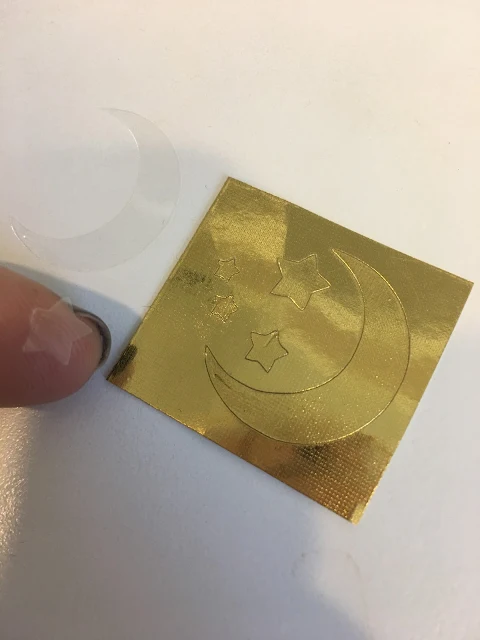
Remove the gold tattoo paper from the cutting mat. I would suggest you use scissors to cut off right around the area that was cut.
Carefully use tweezers or your weeding hook to peel up and remove the clear sheet ONLY in the areas where you want the tattoo to transfer. This is honestly the most difficult part of the entire process.
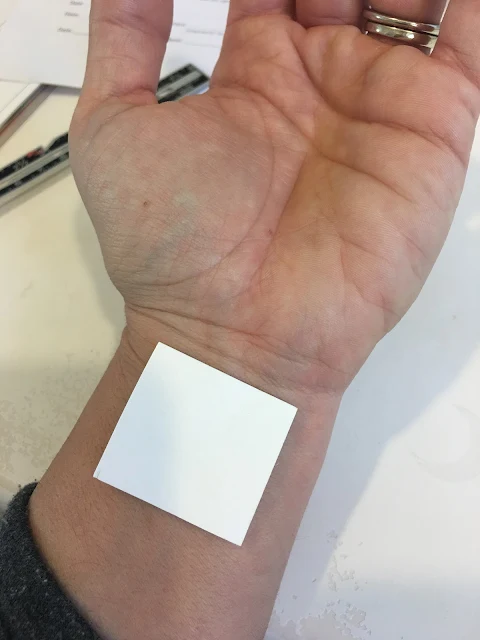
Flip the temporary tattoo onto the skin and then cover with a wet washcloth for 15 seconds.
Slowly peel up the tattoo sheet and the gold or silver tattoo - in the areas where the clear cover sheet was removed - should remain on the skin.
Now for people who don't have any wrinkles and perfectly smooth skin
this stuff is probably a perfect A...but for normal people, like me,
you're going to get some cracking if the gold or silver tattoo paper is
on any skin that basically moves.
The crescent moon developed some slight cracks right on the area where my wrist bends and the arrow on my hand ended up looking like an an aged tree branch within a short amount of time.
The temporary tattoos lasted about a day on my hand.
So...overall I would give the Silhouette gold and silver tattoo paper a solid B. It cuts wells, looks beautiful on, and is easy to use. The biggest cons are the price and the slight cracking.
Note: This post may contain affiliate links. By clicking on them and purchasing products through my links, I receive a small commission. That's what helps fund Silhouette School so I can keep buying new Silhouette-related products to show you how to get the most out of your machine!
Get Silhouette School lessons delivered to your email inbox! Select Once Daily or Weekly.


.png)


Do you have any advice or guidance on using this paper with the Cricut machine? I'm not sure what settings to use when cutting out my design. Thanks!
ReplyDeleteUnfortunately I don't have the cut settings for Cricut.
ReplyDelete